If you’re searching for a sauce that elevates your holiday table or simply makes every turkey meal feel like a special occasion, look no further than The Best Turkey Gravy Recipe. This luscious, silky gravy captures the deep, rich flavors from your turkey drippings, transforming simple ingredients into a glorious sauce that’s both comforting and indulgent. Easy to whip up and absolutely crowd-pleasing, it’s the perfect finishing touch to golden roasted turkey, mashed potatoes, and stuffing alike.
Ingredients You’ll Need
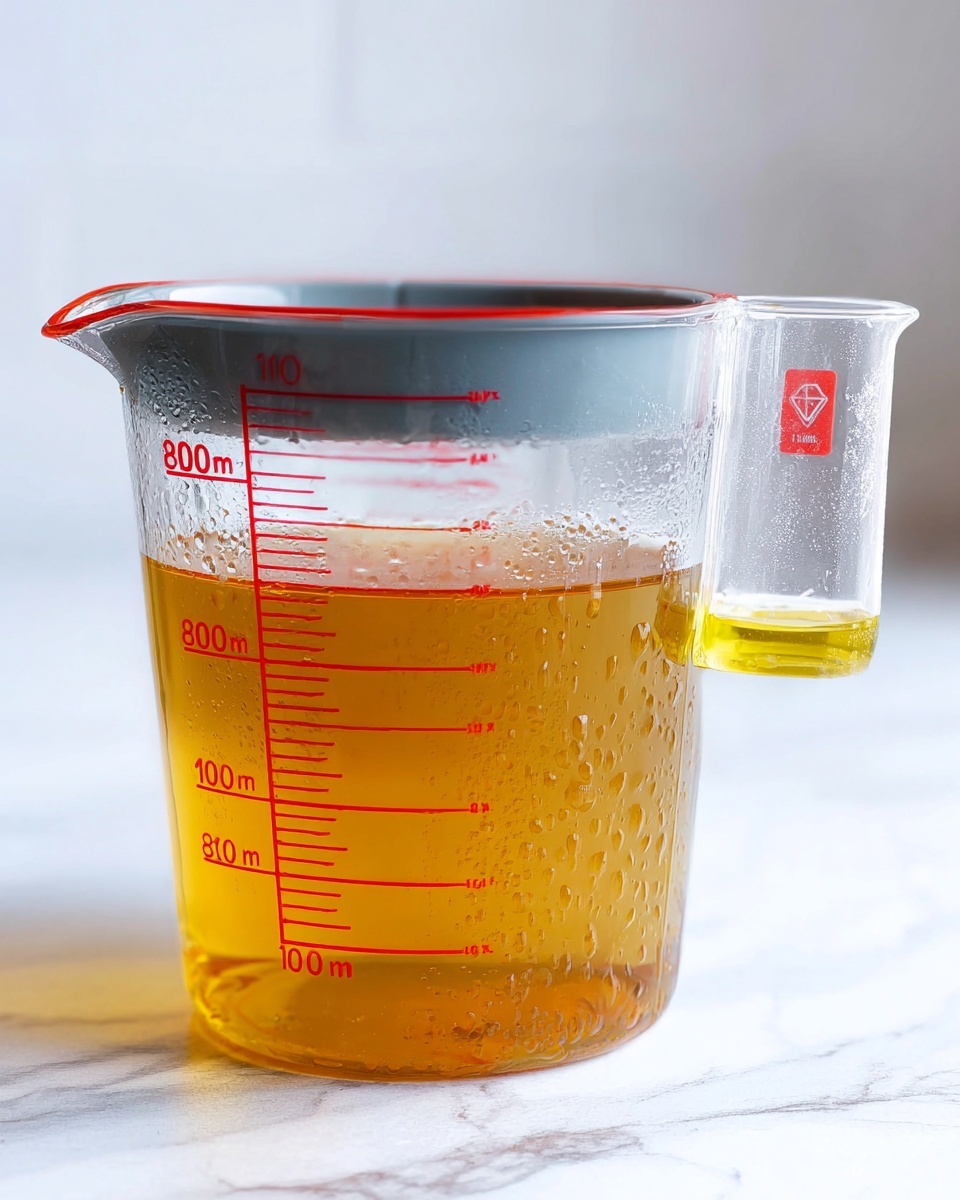
The magic behind this recipe lies in a handful of straightforward ingredients that come together to craft a gravy with unbeatable texture, flavor, and sheen. Each item plays a crucial role, ensuring your gravy is creamy yet rich, with just the right balance of seasoning to complement your turkey.
- ¼ cup fat skimmed from drippings: The flavorful fat that carries the essence of your turkey, giving the gravy its depth and richness—add butter if there’s not enough.
- ¼ cup all-purpose flour: Acts as a thickening agent, creating the perfect silky consistency without clumps.
- 2 cups drippings: The star ingredient, packed with roasted turkey flavor and juices that make this gravy incomparable.
- 1 tablespoon butter or heavy cream: Adds a glossy finish and rounded richness to the finished gravy.
- Salt and pepper to taste: Essential for seasoning and balancing the savory flavors to your palate.
How to Make The Best Turkey Gravy Recipe
Step 1: Make the Roux
Start by transferring the turkey fat to a large saucepan over medium heat. Let it melt gently, then sprinkle the flour over it. Stir continuously with a wooden spoon to combine the fat and flour into a smooth paste. Cook this roux for about 4 to 5 minutes, allowing the flour to brown slightly—this step deepens the flavor and removes any raw flour taste.
Step 2: Heat the Drippings
If your turkey drippings have cooled, warm them up in the microwave or on the stove until hot. This is important because adding cold liquid to the roux could cause lumps. If you’re short on drippings, don’t worry—enhance the volume by adding turkey or chicken broth to maintain that savory base.
Step 3: Whisk in the Hot Drippings
Slowly pour the hot drippings into the roux, whisking continuously to blend everything smoothly. This gradual incorporation keeps the mixture lump-free and starts the gravy’s transformation into a luscious sauce.
Step 4: Simmer to Perfection
Bring your gravy to a gentle simmer, stirring frequently. As it heats, the mixture will thicken to the ideal consistency. Keep an eye on it—too thick, and you can thin with a splash of broth; too thin, let it simmer a bit longer to concentrate.
Step 5: Final Seasoning and Finish
Season the gravy with salt and freshly ground pepper, adjusting to taste. For the grand finale, stir in a tablespoon of butter or heavy cream to impart a silky finish and luxurious depth. Serve your gravy hot in a gravy boat and watch it disappear faster than you can say “pass the potatoes!”
How to Serve The Best Turkey Gravy Recipe
Garnishes
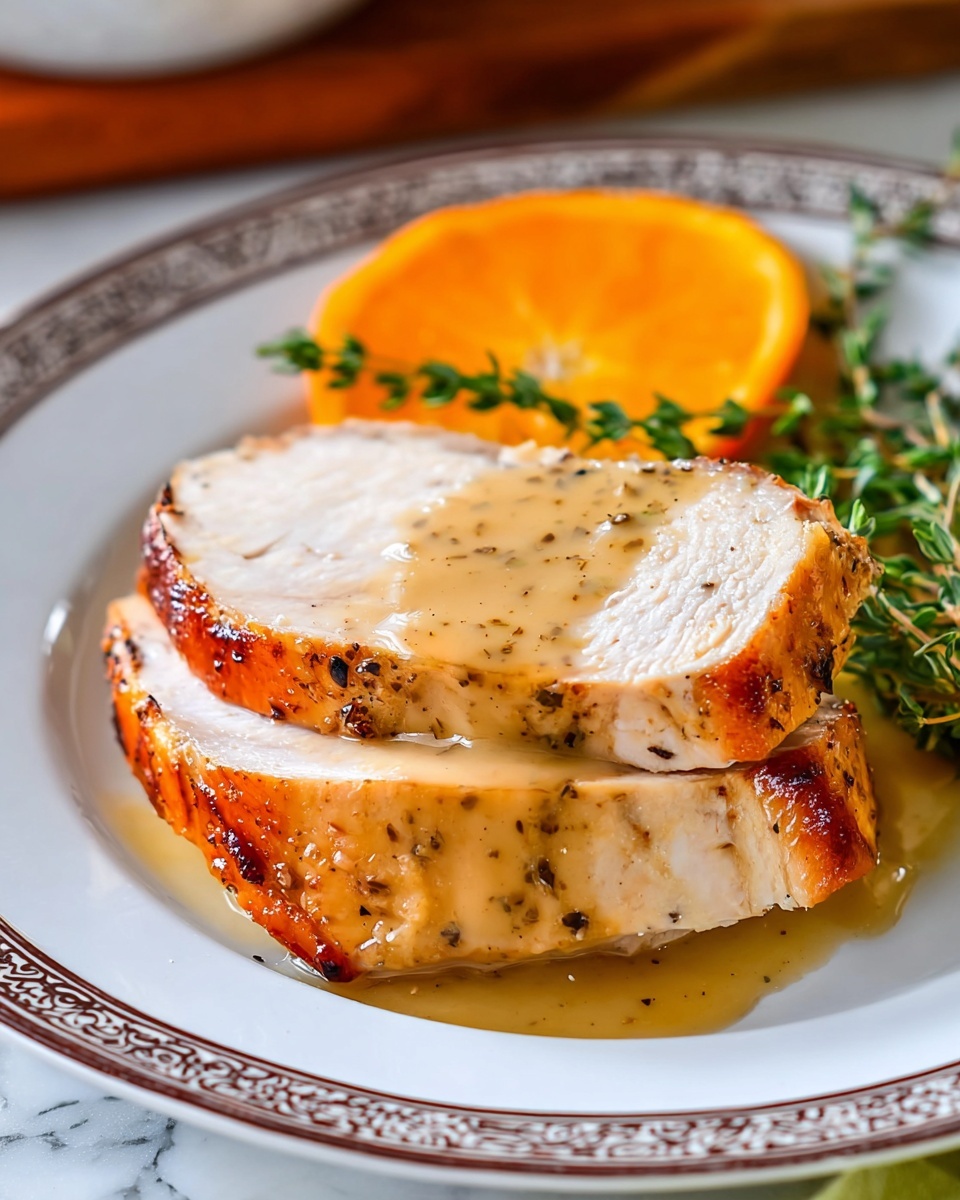
While The Best Turkey Gravy Recipe stands beautifully on its own, a sprinkle of fresh chopped parsley can add a pop of color and a hint of freshness. Some like a dash of cracked black pepper on top for visual appeal and a subtle kick.
Side Dishes
This gravy is the perfect companion to traditional mashed potatoes, roasted vegetables, stuffing, and of course, your turkey slices. It’s a unifying flavor element that makes every bite comforting and nostalgic.
Creative Ways to Present
Serve your turkey and sides family-style with a rustic wooden gravy boat or opt for elegant ceramic serving dishes for a polished Thanksgiving table. Drizzling some gravy artistically over individual plates also creates a lovely, inviting presentation that guests will appreciate.
Make Ahead and Storage
Storing Leftovers
After your feast, pour any leftover gravy into an airtight container and refrigerate promptly. It will keep well for up to 3 days, allowing you to enjoy that same rich flavor with your next meal.
Freezing
You can freeze leftover gravy by placing it in a freezer-safe container. Leave some space at the top for expansion, and it will stay delicious for about 2 to 3 months. Thaw in the refrigerator overnight before reheating.
Reheating
Reheat cold gravy gently on the stove over low heat, whisking occasionally to restore its smooth texture. If it’s too thick, slowly add a little broth or water until it reaches the perfect pourable consistency again.
FAQs
Can I make The Best Turkey Gravy Recipe without drippings?
While drippings provide unbeatable flavor, you can substitute with turkey or chicken broth combined with butter. The taste won’t be quite the same but still delicious and savory.
How do I prevent lumps in my gravy?
The key is to make a well-cooked roux and add hot drippings little by little while whisking vigorously. This helps achieve a smooth, lump-free gravy.
Can I prepare this gravy ahead of time?
Yes! You can make it a day in advance and gently reheat it on the stove. Just be sure to whisk during reheating to maintain its silky texture.
What can I use if I don’t want to add cream or butter at the end?
If you prefer a lighter gravy, you can omit the butter or cream. Just be sure to taste and adjust seasoning to keep the flavor balanced.
Can I make this gravy gluten-free?
To make this gluten-free, substitute the all-purpose flour with a gluten-free flour blend or cornstarch slurry. Cook and thicken as usual, keeping an eye on consistency.
Final Thoughts
Making The Best Turkey Gravy Recipe is like unlocking a secret to truly memorable meals. It’s simple enough for any home cook but rich and elegant enough to impress your guests. Next time you roast a turkey, treat yourself to this luscious gravy and savor that cozy, homemade touch that turns a meal into a cherished tradition.
Print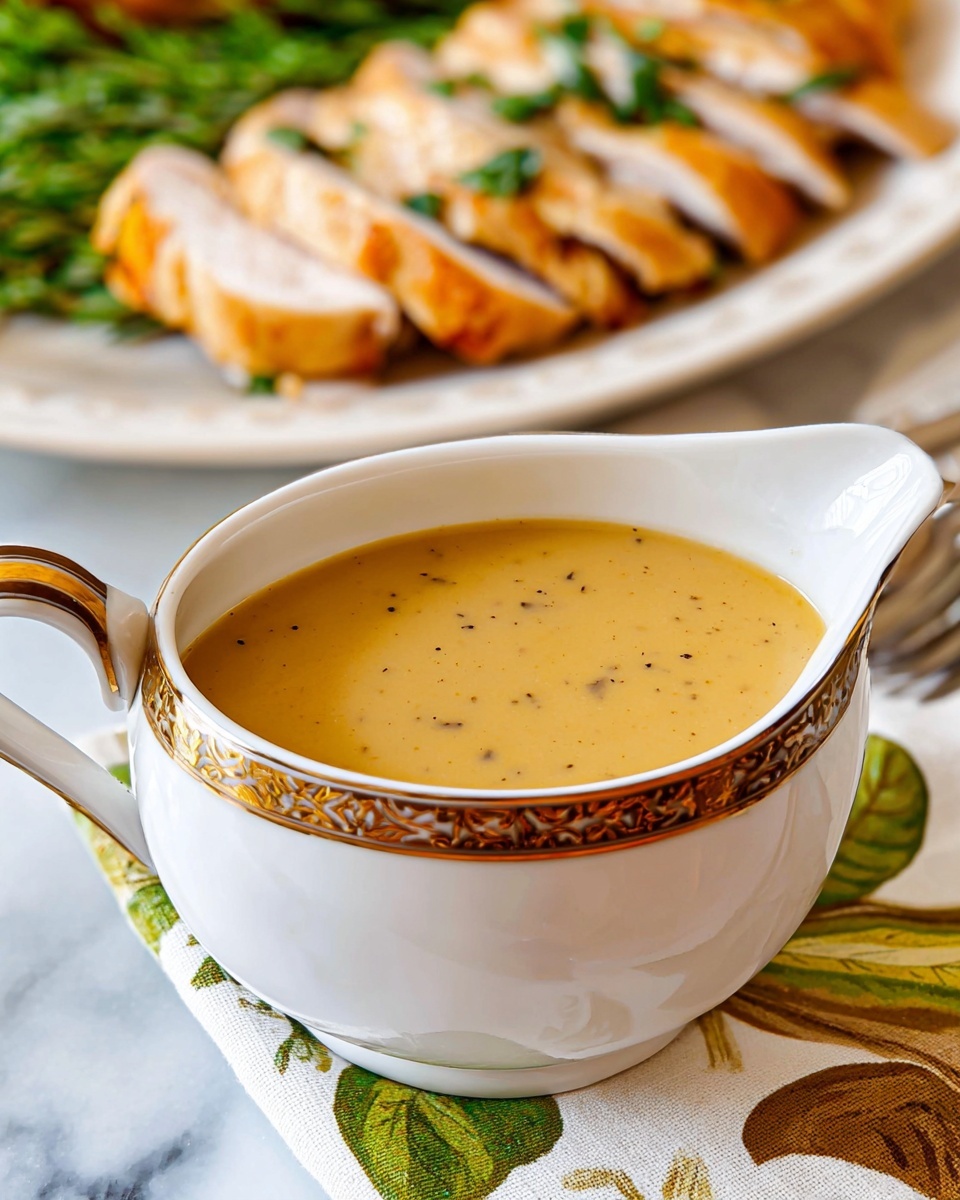
The Best Turkey Gravy Recipe
This classic turkey gravy recipe is the perfect complement to your holiday meal, made from pan drippings, butter, and flour to create a rich, smooth, and flavorful sauce. It’s easy to prepare and yields a delicious gravy that enhances the taste of your turkey or any roasted meat.
- Total Time: 20 minutes
- Yield: 16 servings
Ingredients
Gravy Ingredients
- ¼ cup fat skimmed from drippings (supplement with butter if needed)
- ¼ cup all-purpose flour
- 2 cups drippings (supplement with turkey or chicken broth if less)
- 1 tablespoon butter or heavy cream
- Salt and pepper to taste
Instructions
- Make roux: Transfer the fat from your pan drippings to a large saucepan over medium heat. Let the fat melt completely.
- Incorporate flour: Sprinkle the flour evenly over the melted fat and stir continuously with a wooden spoon until the mixture becomes homogeneous. Continue stirring for about 4 to 5 minutes until the flour browns slightly, which enhances the flavor.
- Heat drippings: Warm your drippings if they have cooled. Use the microwave to heat for thirty seconds or more until hot. If you have less than 2 cups of drippings, supplement with turkey broth or chicken broth to reach the required amount.
- Whisk in liquids: Slowly pour the hot drippings into the roux while whisking vigorously to fully incorporate the liquids and prevent lumps.
- Simmer: Bring the gravy to a gentle simmer and let it cook, stirring occasionally, until it thickens to your desired consistency.
- Season and finish: Add salt and pepper to taste. For a richer finish, stir in one tablespoon of butter or heavy cream just before serving.
- Serve: Pour the hot gravy into a gravy boat and serve immediately alongside turkey or your favorite roasted dish.
Notes
- If you don’t have enough fat from the drippings, supplement with butter to reach ¼ cup.
- Use turkey or chicken broth to supplement drippings if less than 2 cups are available.
- Constant whisking while adding drippings and during simmering prevents lumps and ensures smooth gravy.
- The addition of butter or heavy cream at the end adds richness and a silky texture.
- Adjust seasoning carefully as drippings may already contain salt.
- Prep Time: 5 minutes
- Cook Time: 15 minutes
- Category: Sauce/Condiment
- Method: Stovetop
- Cuisine: American