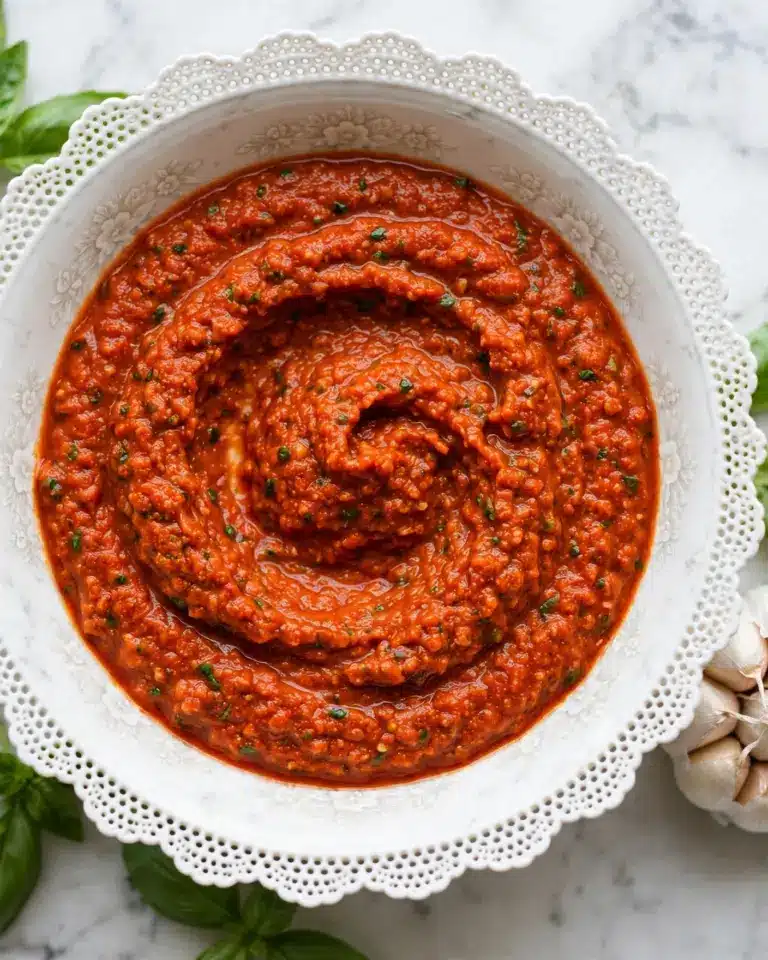
If you’ve ever wondered how to recreate that classic British comfort side, then you’re in for a treat with this easy guide on How To Make Mushy Peas With Frozen Peas Recipe. This dish is a vibrant burst of color and flavor that brings both nostalgia and simplicity to your table. Using only a handful of staple ingredients, this recipe captures the essence of mushy peas without the fuss, making it a perfect addition to any meal that calls for a creamy, buttery green side. Plus, it’s budget-friendly and super quick to whip up!
Ingredients You’ll Need

Simple ingredients create the foundation for this flavorful dish, each playing a vital role that elevates its texture and taste. From the sweetness of the peas to the tangy kick of apple cider vinegar, every element shines through. Here’s what you’ll gather before starting your mushy peas journey:
- 3 cups frozen garden peas: These are the star of the show, ready to burst with natural sweetness once cooked.
- 2 Tablespoons unsalted butter: Adds a rich, creamy mouthfeel that perfectly coats every pea.
- 2 Tablespoons single cream (optional): A little indulgence for extra smoothness, but you can skip it if you prefer lighter mushy peas.
- 1 Tablespoon apple cider vinegar: Brings a subtle tang that balances the richness and brightens the dish.
- Salt and pepper to taste: Essential seasonings that enhance all the natural flavors in the peas.
How to Make How To Make Mushy Peas With Frozen Peas Recipe
Step 1: Cook the Peas
The first step is simple but crucial. Toss your frozen garden peas into a saucepan, cover them with water, and bring it all to a gentle boil. Cooking them for about 5 minutes softens the peas just right while preserving their vibrant green color. You can also follow the instructions on your pea package if they differ—consistently tender peas make the best mushy peas.
Step 2: Drain and Prepare for Mashing
Once cooked, drain the peas thoroughly. This step ensures your mushy peas won’t turn watery and keeps the final texture perfectly luscious. Transfer the peas to a food processor if you have one, which will make pureeing quick and effortless.
Step 3: Add Butter, Cream, and Vinegar
Now comes the magic mixing moment. Add the unsalted butter and apple cider vinegar right away to infuse the creaminess and tang. If you’re using single cream, add it here too. Pulse the mixture until you reach your preferred mushiness—it can be smooth or slightly chunky depending on how you like it. Don’t have a food processor? No worries! A potato masher or fork does the trick just fine, giving you a more rustic texture.
Step 4: Season and Serve
Finally, taste and season with salt and pepper. This finishing touch takes your mushy peas from good to unforgettable. Stir well, taste again, and adjust as needed. Your mushy peas are now ready to wow your taste buds and your dinner guests.
How to Serve How To Make Mushy Peas With Frozen Peas Recipe

Garnishes
While mushy peas are delicious on their own, a sprinkle of fresh mint or a little chopped parsley can add a beautiful aroma and a touch of freshness. For something a bit more indulgent, a drizzle of extra virgin olive oil or a few shavings of Parmesan cheese works wonders to elevate the presentation and flavor.
Side Dishes
This recipe pairs wonderfully with traditional British fare such as fish and chips, sausage and mash, or even a juicy roast. The creamy peas add a vibrant green contrast that livens up any plate and offers a pleasant textural balance to crispy or hearty mains.
Creative Ways to Present
Think outside the bowl! Serve your mushy peas as a base under pan-seared scallops or roasted pork chops for a colorful, restaurant-quality plate. You can also use them as a spread on toasted rustic bread alongside smoked salmon or as part of a veggie-packed sandwich for a unique twist.
Make Ahead and Storage
Storing Leftovers
If you happen to have any mushy peas left over, store them in an airtight container in the refrigerator. They’ll keep nicely for up to 3 days, maintaining their flavor and texture for easy reheating later.
Freezing
Mushy peas freeze well if you want to stock up on this quick side dish. Portion them into freezer-safe containers or bags, leaving some room for expansion. Frozen mushy peas can last up to 2 months without losing their delicious qualities.
Reheating
To reheat, gently warm the mushy peas in a saucepan over low heat, stirring occasionally to prevent sticking. You can add a splash of cream or water if the mixture has thickened too much. Avoid the microwave when possible to keep the texture consistent and fresh.
FAQs
Can I use fresh peas instead of frozen for mushy peas?
Absolutely! Fresh peas work wonderfully and often have a sweeter flavor, but frozen peas make this recipe incredibly convenient and still deliver fantastic taste.
What if I don’t have apple cider vinegar?
White wine vinegar or lemon juice can be substituted to add that lovely tang, but avoid strong-flavored vinegars which might overpower the delicate pea flavor.
Is it necessary to add cream to the mushy peas?
The cream is optional but highly recommended if you want extra richness and a silky texture. You can easily omit it or replace it with a splash of milk if you prefer a lighter version.
Can I make mushy peas vegan?
Yes, simply replace the butter with a plant-based alternative and skip the cream or substitute with a dairy-free alternative like coconut cream or oat cream. The vinegar and peas still create that signature flavor.
How thick or smooth should mushy peas be?
That’s entirely up to your taste! Some like them velvety smooth, others prefer a chunkier consistency with some whole peas remaining. This recipe allows you to control the texture perfectly with either a food processor or manual mashing.
Final Thoughts
There’s something wonderfully comforting about a bowl of mushy peas, especially when prepared with frozen peas to save time without losing any charm or flavor. This How To Make Mushy Peas With Frozen Peas Recipe is a simple, delightful way to bring a pop of color and creamy goodness to your meals any day of the week. Give it a whirl—you’ll find it quickly becomes a beloved staple in your kitchen!
Print
How To Make Mushy Peas With Frozen Peas Recipe
A quick and easy recipe for creamy and flavorful mushy peas made from frozen garden peas. This classic British side dish is perfect to accompany fish and chips or any hearty meal, offering a smooth texture and subtle tang from apple cider vinegar.
- Total Time: 10 minutes
- Yield: 4 servings
Ingredients
Ingredients
- 3 cups frozen garden peas
- 2 Tablespoons unsalted butter
- 2 Tablespoons single cream (optional, can substitute half and half)
- 1 Tablespoon apple cider vinegar
- Salt and pepper to taste
Instructions
- Cook the peas: Add the frozen peas to a saucepan and cover them with water. Bring to a gentle boil over medium heat for about 5 minutes, or until the peas are tender. You may also follow the cooking instructions on the pea package.
- Drain and prepare for mashing: Drain the cooked peas thoroughly and transfer them into a food processor for blending.
- Blend to desired consistency: Add the unsalted butter, single cream (if using), and apple cider vinegar to the peas in the food processor. Pulse until you achieve a creamy mushy pea texture. Alternatively, if you do not have a food processor, mash the peas manually with a potato masher or fork until smooth.
- Season and serve: Taste and season with salt and pepper as needed. Serve immediately as a side dish and enjoy your homemade mushy peas!
Notes
- Using single cream is optional but adds extra creaminess; you can substitute with half and half or omit for a lighter version.
- Apple cider vinegar provides a subtle tang; adjust the quantity to taste.
- If you prefer chunkier texture, pulse fewer times or mash less thoroughly.
- Serve mushy peas warm for the best flavor.
- This dish pairs exceptionally well with traditional British fish and chips.
- Prep Time: 2 minutes
- Cook Time: 8 minutes
- Category: Side Dish
- Method: Stovetop
- Cuisine: British
- Diet: Vegetarian