If you’ve ever dreamed of biting into a rich, golden crust with a luscious, garlicky herb butter explosion inside, then you’re in for a treat with this Crispy Homemade Chicken Kiev with Herb Butter Recipe. This dish perfectly balances tender, juicy chicken breasts with a melt-in-your-mouth compound butter center, all wrapped in a crunchy coating that’s absolutely irresistible. It’s a classic comfort food that’s surprisingly simple to prepare, transforming a few humble ingredients into something spectacular every time.
Ingredients You’ll Need
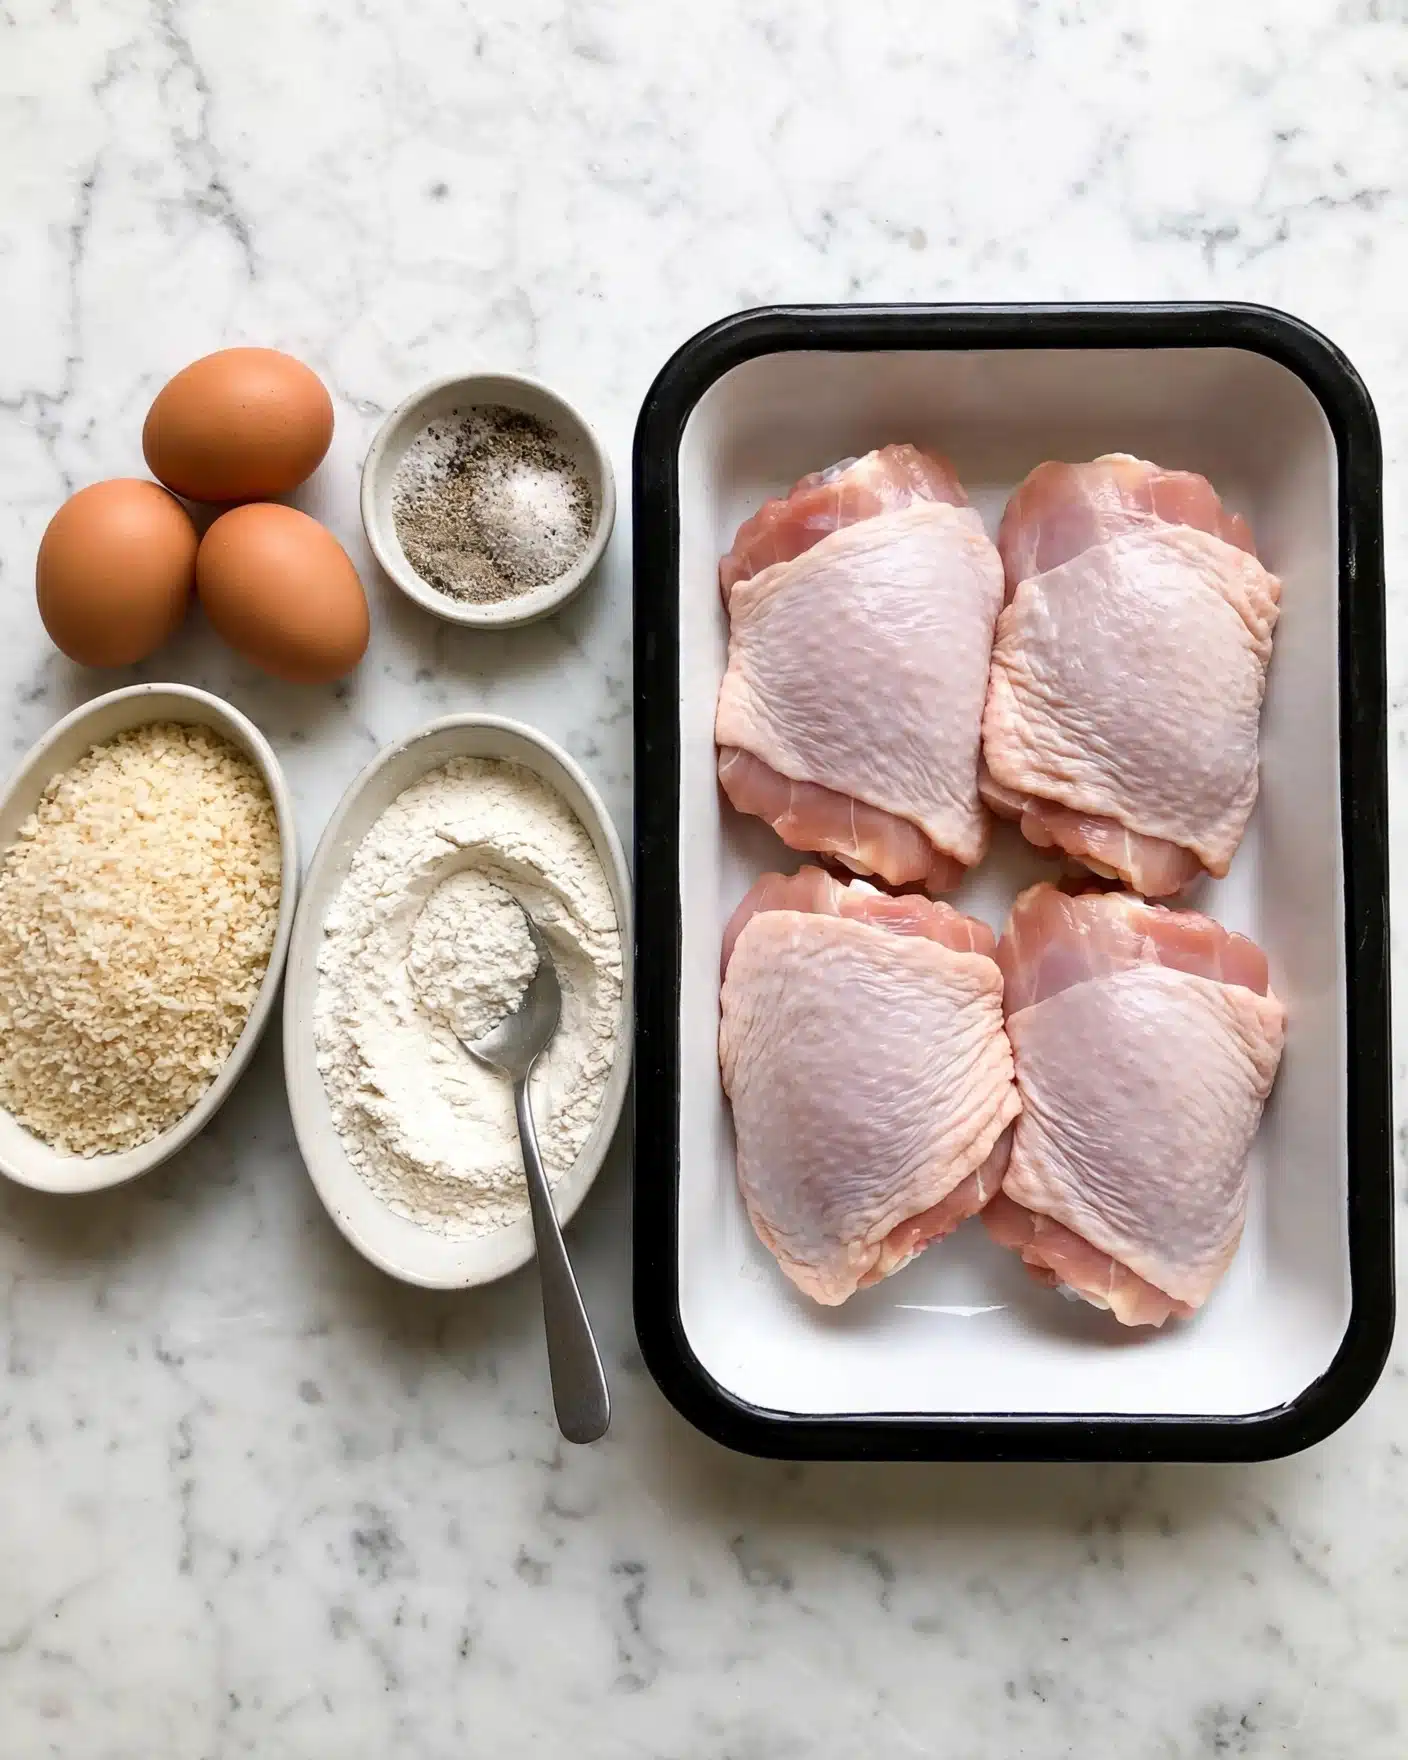
Keeping your ingredients straightforward and fresh is the secret to making this Crispy Homemade Chicken Kiev with Herb Butter Recipe shine. Each item plays a crucial role in building layers of flavor, texture, and aroma for that perfect bite.
- Unsalted butter (6 tablespoons): This forms the creamy, herb-packed center that melts into pure bliss as the chicken cooks.
- Garlic cloves (4, minced): Adds a punch of aromatic savoriness that pairs perfectly with the creamy butter.
- Fresh parsley (2 tablespoons, chopped): Brings a bright, herby freshness that breathes life into the butter mixture.
- Fresh thyme (1 tablespoon, chopped): Offers an earthy, woodsy note to deepen the flavor of the herb butter.
- Salt (to taste and 2 teaspoons): Essential for seasoning both the butter and the chicken to enhance natural flavors.
- Boneless, skinless chicken breasts (4): These are your tender canvas for holding that delicious herb butter filling.
- Freshly ground black pepper (½ teaspoon): Adds a subtle kick of spice to balance the richness.
- All-purpose flour (1 cup): Provides the base layer for the breading to help it adhere perfectly.
- Eggs (3, beaten): Acts as the glue in the breading process for crispy coating.
- Plain breadcrumbs (1½ cups): Creates that irresistible golden crunch everybody loves.
- Vegetable oil (2 cups or as needed): For frying up that beautifully crispy outer shell.
How to Make Crispy Homemade Chicken Kiev with Herb Butter Recipe
Step 1: Prepare the Herb Butter
First things first, let’s whip up that dreamy herb butter which is the heart and soul of this dish. Combine the softened unsalted butter with minced garlic, freshly chopped parsley, thyme, and salt. Mix everything together lovingly using a fork until the flavors are well combined. Then, shape the butter into a log using plastic wrap and pop it into the freezer. This chilling step firms up the butter, making it easier to stuff and preventing it from melting too soon during cooking.
Step 2: Prepare and Season the Chicken
While the butter chills, it’s time to prepare your chicken breasts. Carefully slice each breast horizontally, opening it like a book without cutting through completely. For even thickness and tenderness, place each breast between parchment paper and gently pound it to flatten. Season both sides generously with salt and freshly ground black pepper. This helps build the foundational flavor before adding the luscious herb butter filling.
Step 3: Stuff and Shape the Chicken
Take your chilled herb butter log and slice it into four equal pieces. Place one piece right in the center of each flattened chicken breast. Now, fold the chicken over the butter, gathering the edges carefully to seal in the buttery treasure, shaping each into a neat ball or log. To keep everything intact during cooking, wrap each chicken piece tightly in plastic wrap and freeze for about an hour. This step is crucial to preventing butter leakage and helps maintain that gorgeous shape.
Step 4: Bread and Fry the Chicken
Next, preheat your oven to 400°F and heat vegetable oil to 350°F for frying. Set up your breading station with three shallow bowls: seasoned flour, beaten eggs, and plain breadcrumbs. Unwrap your frozen chicken pieces and coat each sequentially in flour, egg, and breadcrumbs, making sure every inch is generously covered. Fry the breaded chicken in hot oil for 2 to 3 minutes until all sides are golden and crisp. Then transfer the fried pieces onto a baking dish.
Step 5: Bake and Rest
Pop the frying pan into the oven and bake for 15 to 20 minutes, until the chicken reaches an internal temperature of 165°F and cooks through without drying. Once done, remove your beautiful Crispy Homemade Chicken Kiev with Herb Butter Recipe from the oven and allow it to rest for 5 to 8 minutes to lock in all those luscious juices. This resting period is where the chicken truly finishes cooking and flavors meld perfectly.
How to Serve Crispy Homemade Chicken Kiev with Herb Butter Recipe
Garnishes
Simple garnish goes a long way here. A sprinkle of fresh parsley adds a pop of color and reinforces the herby freshness already bursting from inside the chicken. For an extra touch, a wedge of lemon on the side brightens the richness when squeezed just before eating.
Side Dishes
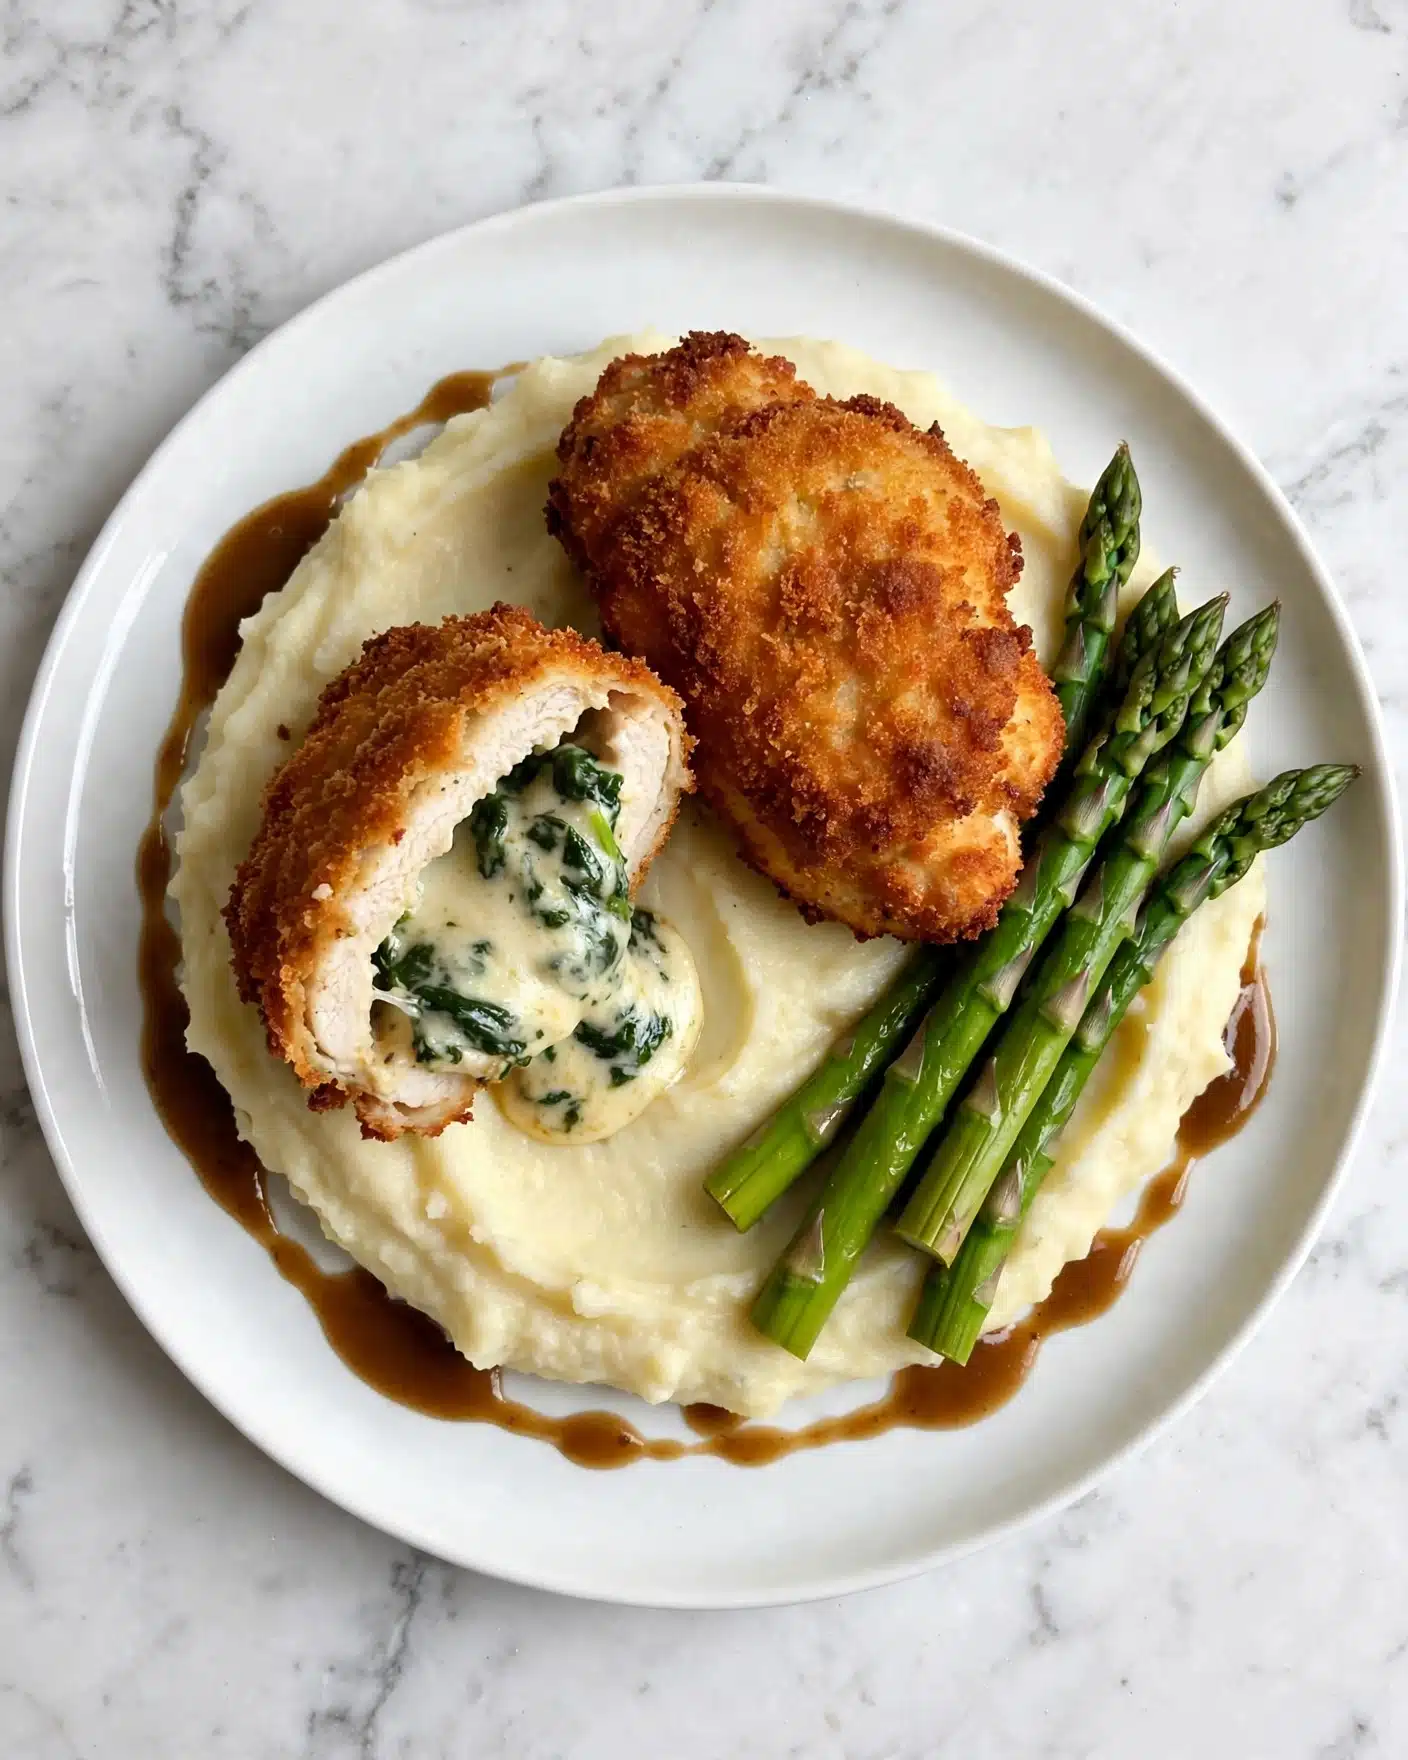
Classic sides are a match made in heaven for this Crispy Homemade Chicken Kiev with Herb Butter Recipe. Creamy mashed potatoes or buttery green beans bring comforting, mellow moods that complement the vibrant herb butter center. A crisp salad with light vinaigrette balances the dish with refreshing acidity and texture contrast.
Creative Ways to Present
For something a little fancier, slice the chicken to reveal the glowing pool of herb butter inside. Serve it over a bed of wild rice or alongside roasted seasonal vegetables, then drizzle with a garlic lemon sauce or extra herb butter. This transforms your meal into an eye-catching centerpiece perfect for dinner parties or special occasions.
Make Ahead and Storage
Storing Leftovers
If you happen to have leftovers, store your Crispy Homemade Chicken Kiev with Herb Butter Recipe in an airtight container in the refrigerator. They’ll stay fresh for 3 to 4 days, preserving the texture and flavor so you can enjoy delicious second helpings without compromise.
Freezing
You can absolutely make this recipe ahead by shaping the chicken Kiev pieces and freezing them before cooking. After wrapping each piece securely, firm them in the freezer, then transfer to airtight containers or freezer bags. This makes prep effortless when you want a fresh-cooked meal later. Use within three months for optimal taste.
Reheating
To bring your leftovers back to life, reheat gently in a 350°F oven for 10 to 12 minutes until warmed through. This method keeps the crust crispy and the butter gooey. Avoid microwaving if possible, as it may make the coating soggy and cause irregular heating of that luscious herb butter inside.
FAQs
What kind of breadcrumbs work best for this recipe?
Panko breadcrumbs are fantastic for extra crunch, but traditional plain breadcrumbs work wonderfully too. Choose what you have on hand or prefer; both create a deliciously crispy exterior.
Can I use chicken thighs instead of breasts?
You can, though breasts work best for their shape and ability to hold the herb butter filling evenly. Thighs might be trickier to slice and flatten but could offer a juicier alternative if you prefer dark meat.
How do I prevent the butter from leaking during cooking?
Freezing the butter and freezing the assembled chicken wrapped tightly helps a lot. This solidifies the butter and seals the chicken edges, reducing the chance of any buttery escape in the pan.
Is it necessary to deep fry the chicken?
While deep frying creates the crispiest crust, you can shallow fry or pan-fry with enough oil to cover the sides for a lighter method. Just be sure your oil is hot enough for a golden finish without absorbing too much oil.
Can I prepare the chicken Kievs in advance for a party?
Definitely! Make and bread your chicken pieces, freeze them, then fry and bake fresh just before serving. This way, you get beautiful, freshly cooked Crispy Homemade Chicken Kiev with Herb Butter Recipe without last-minute stress.
Final Thoughts
This Crispy Homemade Chicken Kiev with Herb Butter Recipe is one of those timeless dishes that feels both indulgent and comforting, perfect for sharing with loved ones or treating yourself on a special night. It’s approachable enough to make at home yet impressive enough to wow anyone at your table. So grab your ingredients, get ready to fill and fry, and let this stunning recipe become your new go-to for cozy, elegant meals.
Print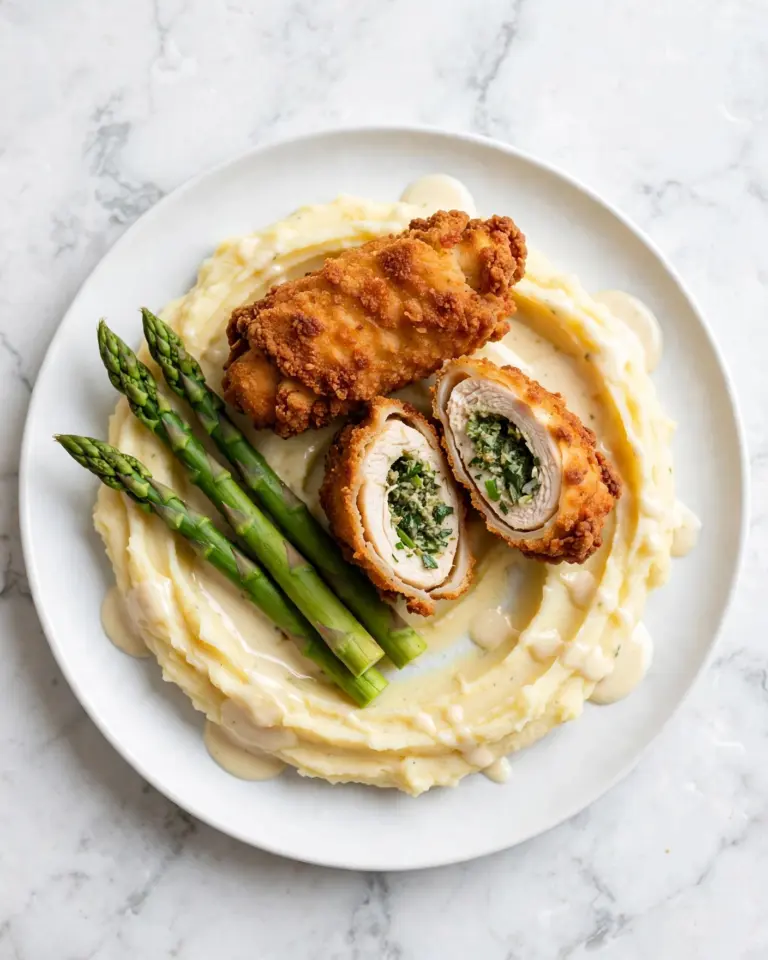
Crispy Homemade Chicken Kiev with Herb Butter Recipe
Chicken Kiev is a classic dish featuring tender, juicy chicken breasts stuffed with a flavorful herb garlic butter, coated in a crispy breadcrumb crust, fried to golden perfection, and finished in the oven. This recipe guides you through making compound butter, preparing chicken breasts, breading, frying, and baking for a delicious, restaurant-quality meal that’s both fun and satisfying.
- Total Time: 2 hours 15 minutes
- Yield: 4 servings
Ingredients
For The Compound Butter
- 6 tablespoons unsalted butter, softened
- 4 cloves garlic, minced
- 2 tablespoons chopped fresh parsley
- 1 tablespoon chopped fresh thyme
- Salt, to taste
For The Chicken
- 4 boneless skinless chicken breasts
- 2 teaspoons salt
- ½ teaspoon fresh ground black pepper
For The Breading
- 1 cup all-purpose flour
- ½ teaspoon salt
- 3 eggs, beaten
- 1½ cups plain breadcrumbs
- 2 cups vegetable oil, or as needed, for frying
Instructions
- Prepare the Compound Butter: In a small bowl, mix together the softened butter, minced garlic, chopped parsley, chopped thyme, and salt to taste until blended well. Shape the mixture into a log with plastic wrap, and freeze for 30 to 40 minutes until firm to make it easier to slice and handle.
- Prepare the Chicken Breasts: Slice each chicken breast horizontally without cutting all the way through to open it like a book. Place the chicken between two sheets of parchment paper or plastic wrap and gently pound with a meat mallet to flatten evenly. Season both sides with salt and pepper.
- Stuff the Chicken: Slice the frozen butter log into four equal pieces. Place one piece in the center of each flattened chicken breast, then carefully fold the chicken over the butter, pinching and gathering the edges to enclose the butter completely into a tight ball or log shape.
- Partially Freeze the Stuffed Chicken: Wrap each stuffed chicken piece tightly in plastic wrap, twisting the ends to seal. Place the wrapped pieces in the freezer for about one hour until the seams freeze solid. This helps the chicken maintain shape and prevents butter from leaking during cooking.
- Prepare for Breading and Frying: Preheat the oven to 400°F (200°C) and grease or line a 9×13 baking dish. Heat vegetable oil in a large saucepan or Dutch oven to 350°F (175°C). Set up three shallow bowls: one with flour mixed with ½ teaspoon salt, one with beaten eggs, and one with breadcrumbs for coating.
- Bread the Chicken: Remove plastic wrap from each frozen chicken piece. Dredge each piece in the seasoned flour, then dip into the beaten eggs, followed by coating evenly with breadcrumbs. Ensure each piece is well coated to form a crispy crust.
- Fry the Chicken: Carefully fry each breaded chicken piece in the preheated oil for 2 to 3 minutes, turning to brown all sides evenly until golden and crisp. Remove the chicken from oil and place them in the prepared baking dish.
- Bake the Chicken: Transfer the baking dish to the preheated oven. Bake for 15 to 20 minutes, or until the internal temperature reaches 165°F (74°C). Baking solidifies cooking and ensures the chicken is fully cooked inside.
- Rest and Serve: Remove the chicken from the oven and rest on a plate or cutting board for 5 to 8 minutes before serving to allow juices to redistribute for maximum juiciness and flavor.
Notes
- This recipe requires boneless, skinless chicken breasts for ease of stuffing and even cooking.
- Butter should be softened to room temperature before mixing for easy blending and shaping.
- Use plain or Panko breadcrumbs depending on preference for extra crunch.
- Leftover Chicken Kiev can be refrigerated up to 3-4 days in an airtight container.
- To reheat leftovers, warm them in an oven at 350°F (175°C) for 10-12 minutes until hot.
- You can freeze uncooked Chicken Kiev pieces after wrapping and form them ahead to cook fresh later. Freeze tightly in containers or bags and use within 3 months.
- Use an instant-read thermometer to ensure chicken is safely cooked through.
- Prep Time: 50 minutes
- Cook Time: 25 minutes
- Category: Main Course
- Method: Frying
- Cuisine: European