If you’ve ever dreamed of capturing the whimsical joy of cake batter in an ice cream form and then topping it with a crisp, luscious white chocolate shell, your dreams just came true! The Cake Batter Ice Cream with White Chocolate Magic Shell Topping Recipe is the perfect celebration of funfetti flavor, creamy texture, and that satisfying crackle of magic shell on top. It’s a guaranteed crowd-pleaser for birthdays, summer parties, or any day you want to treat yourself to a little homemade magic.
Ingredients You’ll Need
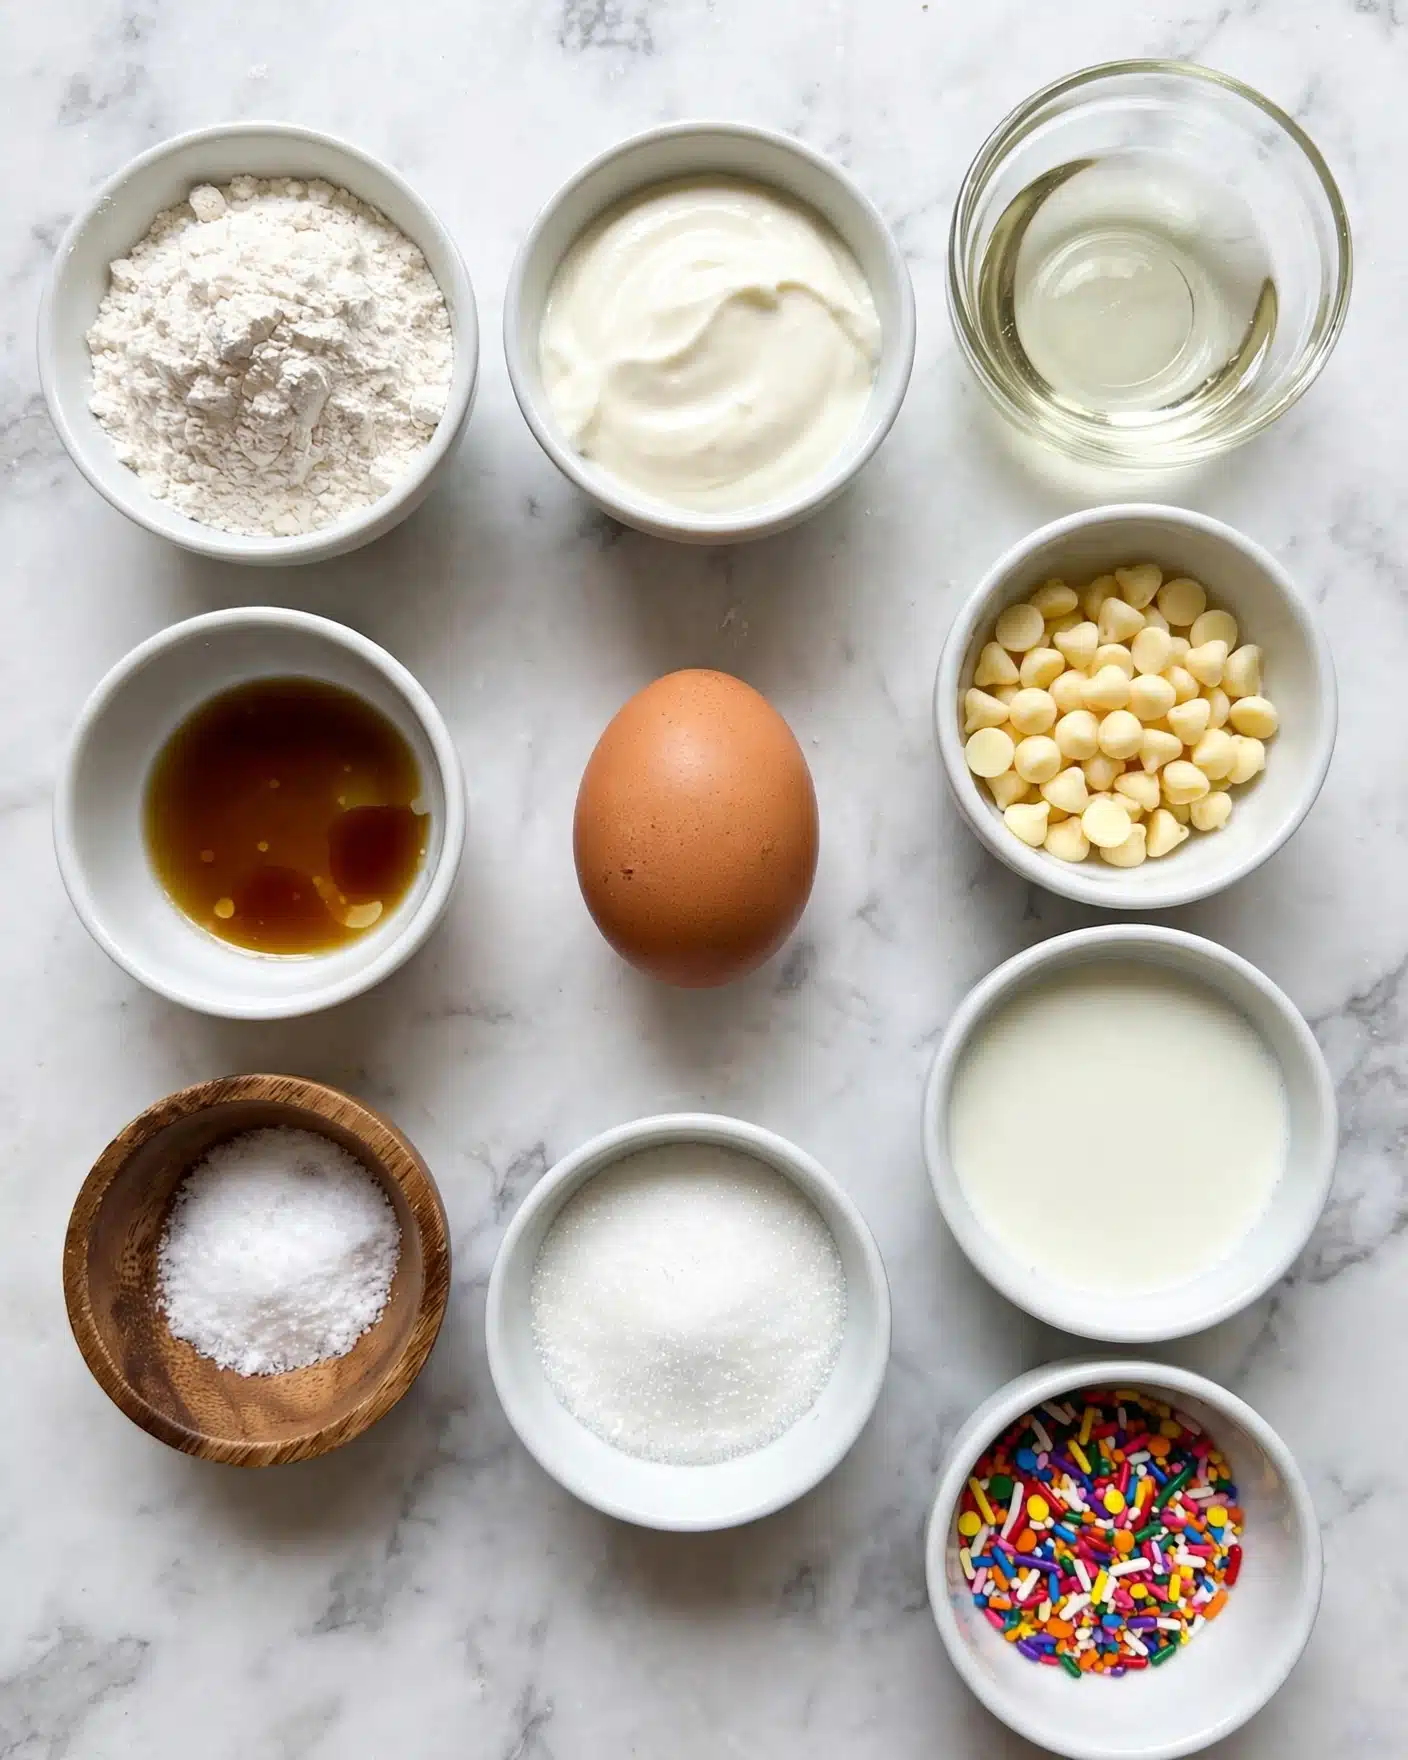
Gathering simple, quality ingredients is the key to making this delicious Cake Batter Ice Cream with White Chocolate Magic Shell Topping Recipe shine. Each component is thoughtfully chosen to build creamy texture, authentic cake flavor, and that irresistible jimmies sparkle.
- 1 ½ cups heavy cream: Gives the ice cream its rich, velvety base that’s essential for smoothness.
- 1 ½ cups whole milk: Balances the creaminess and lightens the texture for the perfect scoop.
- ¾ cup yellow or white cake mix, sifted: Brings the nostalgic cake batter flavor and a touch of sweetness.
- ½ cup sugar: Sweetens the ice cream while helping with texture and structure.
- 2 large egg yolks: Provide richness and help thicken the custard base for smoothness.
- Pinch of salt: Enhances all the flavors with a subtle contrast.
- 1 ½ teaspoons vanilla extract: Infuses the ice cream with warm, aromatic notes.
- ⅓ cup rainbow jimmies (optional): Adds playful bursts of color and fun texture without melting.
- 1 cup white chocolate chips: The base for your magic shell with creamy sweetness and crisp finish.
- ½ cup coconut oil: Key to the magic shell’s snap as it hardens on contact with cold ice cream.
- 1 teaspoon vanilla extract: Enhances the rich white chocolate shell with subtle depth.
- 2 tablespoons rainbow jimmies (for sprinkling): Give the topping an extra festive touch.
How to Make Cake Batter Ice Cream with White Chocolate Magic Shell Topping Recipe
Step 1: Create the Custard Base
Start by gently whisking together the heavy cream, whole milk, sifted cake mix, sugar, egg yolks, and a pinch of salt in a medium saucepan over medium-low heat. Stir this mixture frequently until it reaches about 160°F, which takes roughly 10 to 15 minutes. This slow, careful heating combines flavors beautifully and thickens the custard base without scrambling the eggs, setting you up for that perfectly creamy texture.
Step 2: Flavor and Chill
Once your custard reaches temperature, stir in the vanilla extract. Pour the mixture into a heatproof container, cover it up, and let it chill in the refrigerator for at least 2 to 3 hours or ideally overnight. This chilling step lets the flavors meld and the base fully cools, which is essential for a smooth churn later on.
Step 3: Churn the Ice Cream
Pour the chilled custard into your ice cream maker and churn according to the manufacturer’s instructions until it reaches a soft-serve consistency. If you love the colorful twist, stir in the rainbow jimmies by hand or add them during the last 30 seconds of churning. Transfer the ice cream to a freezer-safe container or bread pan and cover it well.
Step 4: Freeze Overnight
Pop your almost-ready ice cream into the freezer for at least 3 to 4 hours, or preferably overnight. This step lets it firm up to that perfect scoopable texture while locking in all the funfetti vibes.
Step 5: Prepare the White Chocolate Magic Shell
In a microwave-safe bowl, combine the white chocolate chips with the coconut oil. Heat in 30-second intervals at 50% power, stirring well after each, until the mixture is smooth—about 90 seconds. Add vanilla extract and stir to complete your magic shell. Keep this at room temperature so it stays pourable but thick enough to harden when it touches the cold ice cream.
How to Serve Cake Batter Ice Cream with White Chocolate Magic Shell Topping Recipe
Garnishes
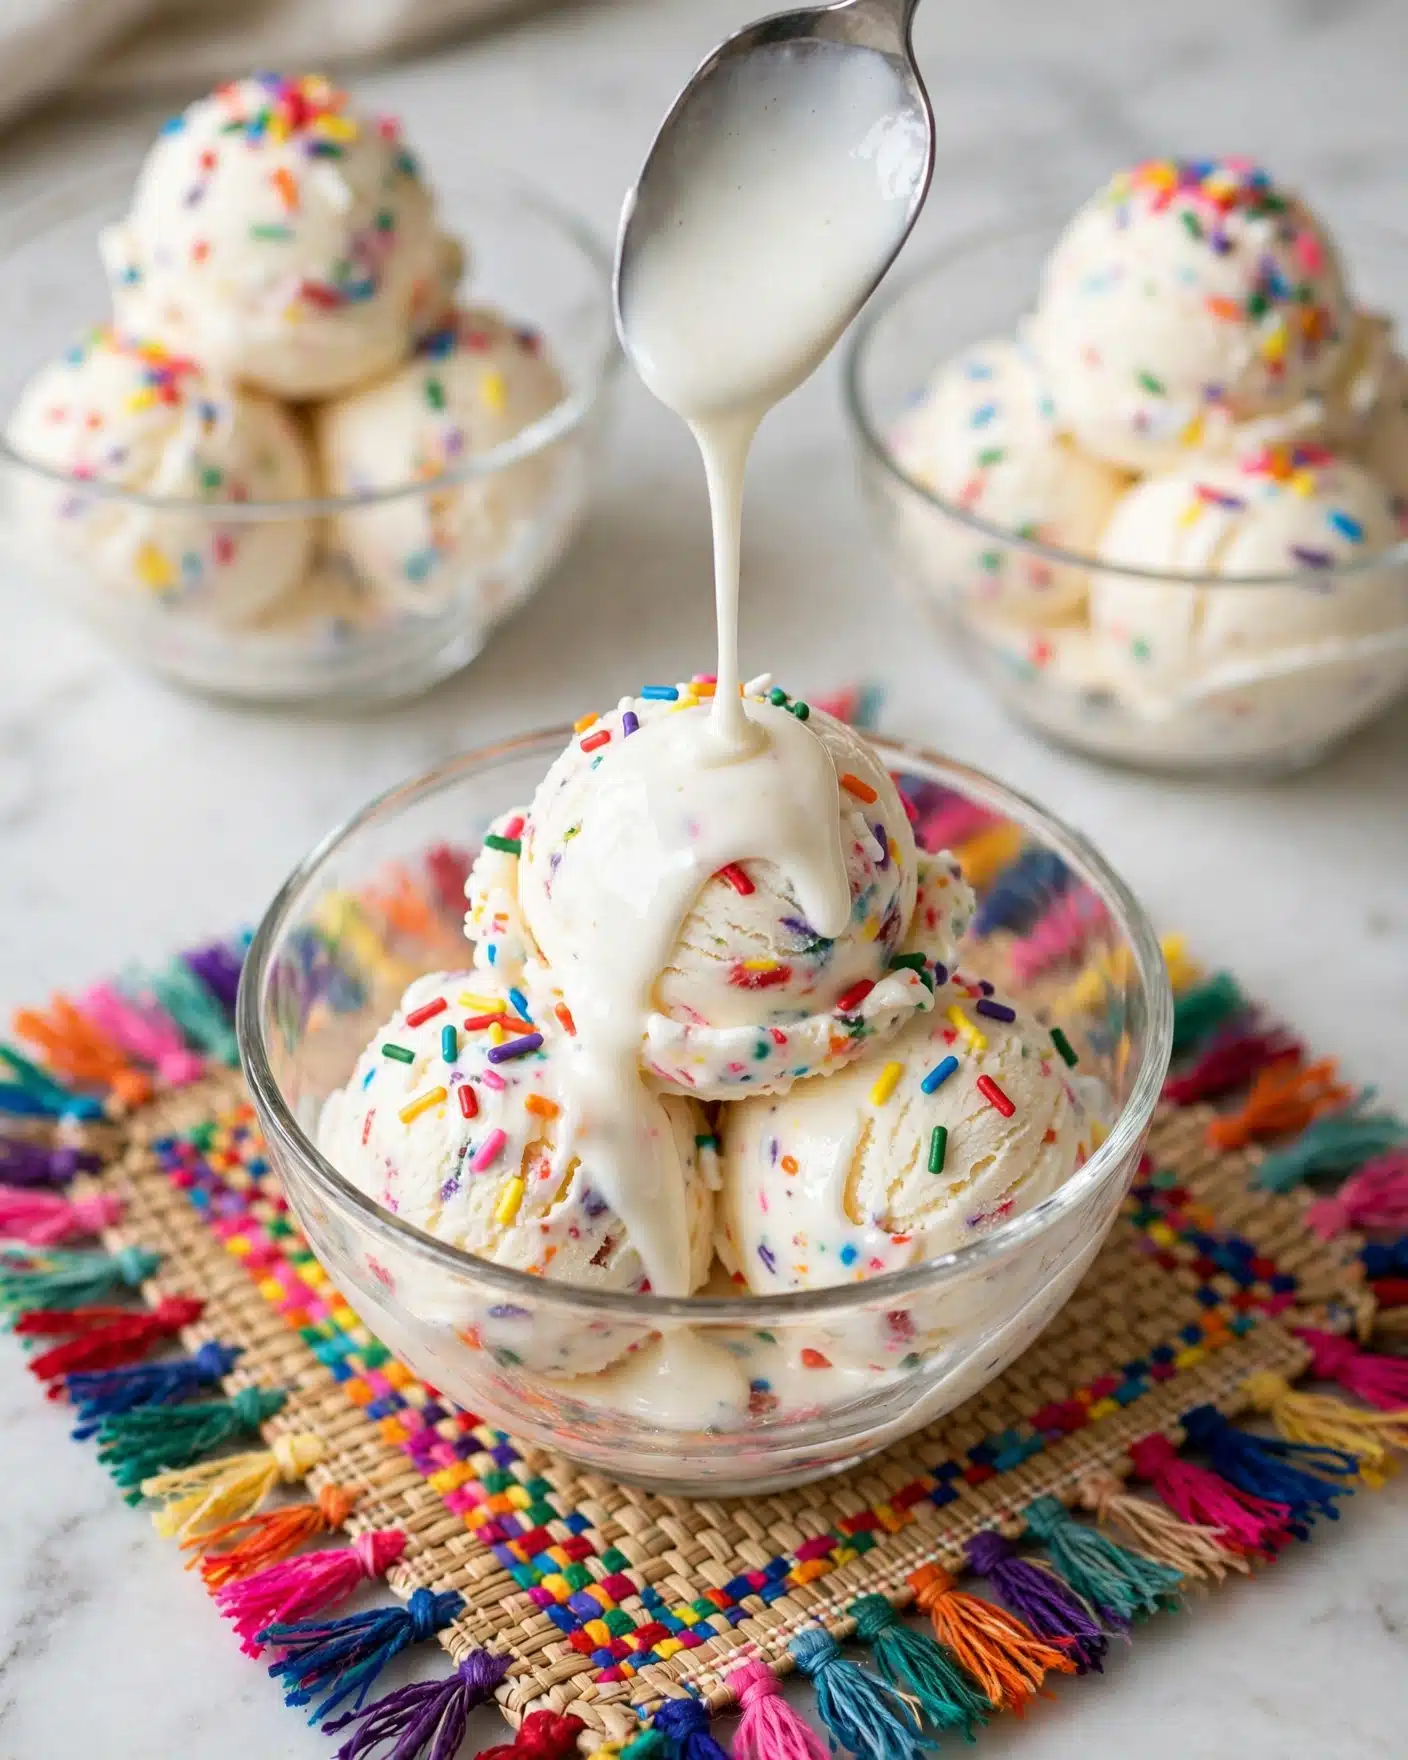
Once you scoop your luscious cake batter ice cream into bowls, drizzle the white chocolate magic shell over the top. Quickly sprinkle additional rainbow jimmies before the shell hardens to add another delightful pop of color and texture. This makes every bite feel like a little celebration.
Side Dishes
This ice cream is a showstopper on its own, but pairing it with a simple buttery sugar cookie or a slice of classic yellow cake enhances the cake batter theme. Fresh berries on the side add a juicy contrast that keeps every spoonful exciting and balanced.
Creative Ways to Present
Get playful by serving the ice cream in waffle cones for an on-the-go treat sprinkled with extra magic shell, or layer it in clear parfait cups with cake crumbs and fresh fruit for a visually stunning dessert. You could even use silicone molds to freeze the ice cream into colorful pops — just don’t forget the magic shell drizzle!
Make Ahead and Storage
Storing Leftovers
Any leftover ice cream should be tightly covered in an airtight container to prevent freezer burn and loss of flavor. Stored properly, it will stay delicious for up to two weeks. Avoid frequent thaw and refreeze cycles for the best texture.
Freezing
The cake batter ice cream benefits from full freezing overnight to firm up thoroughly after churning. When freezing, make sure you press plastic wrap right onto the surface of the ice cream before sealing the container to minimize ice crystals and keep that creamy texture intact.
Reheating
Since this is a frozen dessert, reheating isn’t needed. Instead, if the ice cream becomes too hard to scoop, simply leave it at room temperature for 5 minutes or run your scoop under hot water and dry it before scooping—it makes serving easier without melting the ice cream too much.
FAQs
Can I use any type of sprinkles for this recipe?
It’s best to use jimmies rather than nonpareils, as nonpareils tend to melt and bleed color into the ice cream or topping, which affects the look. Jimmies hold their shape and color better in both the ice cream and the magic shell.
What if I don’t have an ice cream maker?
While an ice cream maker produces the creamiest results, you can try freezing the custard in a shallow container and stirring vigorously every 30 minutes to break up ice crystals. It takes longer, but it can produce a decent homemade ice cream texture.
How long does the white chocolate magic shell last at room temperature?
The magic shell stays liquid and pourable at room temperature for several hours. If it firms up too much, gently rewarm it for 10 seconds in the microwave and stir before topping your ice cream.
Can I make this recipe dairy-free?
Yes! You can substitute the heavy cream and whole milk with coconut milk or another creamy plant-based milk, and swap the coconut oil in the magic shell remains perfect. Keep in mind texture and flavor may vary slightly.
What’s the best way to scoop really hard frozen ice cream?
If your ice cream is rock solid right out of the freezer, letting it sit at room temperature for about 5 minutes softens it just enough. Alternatively, dip your scoop in hot water, dry it thoroughly, and then scoop. This little trick makes serving a breeze.
Final Thoughts
There is something so joyful and nostalgic about the Cake Batter Ice Cream with White Chocolate Magic Shell Topping Recipe that makes it impossible not to smile. Whether you’re sharing it with friends, making a birthday extra special, or simply indulging yourself, this recipe brings together creamy, crunchy, and colorful elements that delight every sense. So go ahead — embrace that childhood whimsy, and make this magic happen in your kitchen today!
Print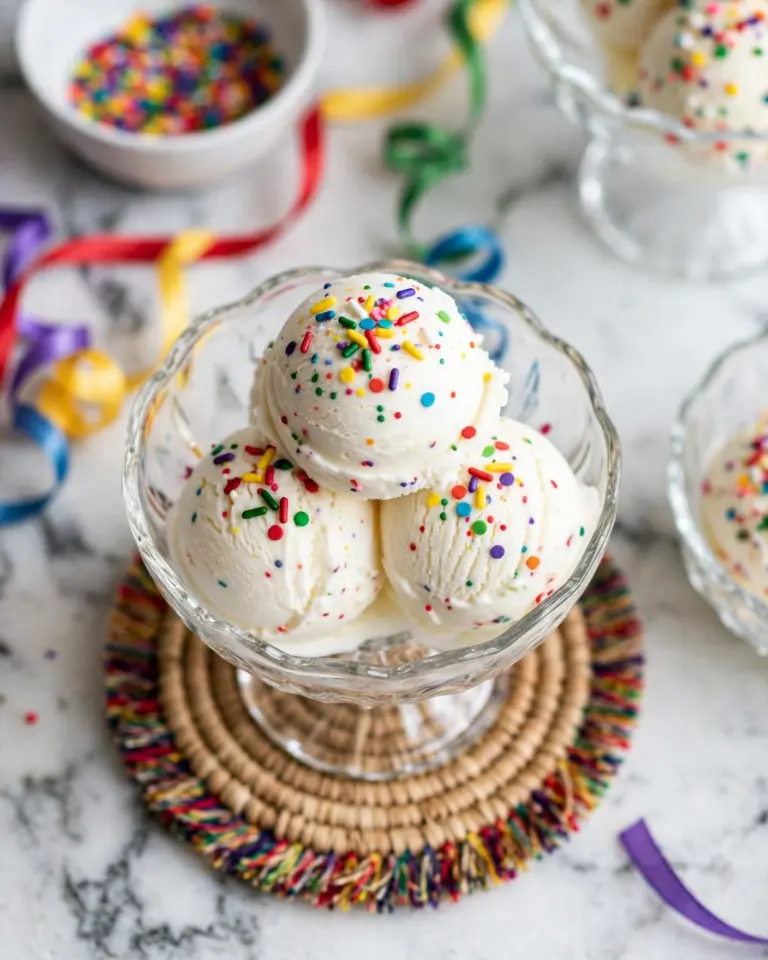
Cake Batter Ice Cream with White Chocolate Magic Shell Topping Recipe
This creamy cake batter ice cream with a crackly white chocolate magic shell topping is the ultimate homemade treat! With a funfetti flavor perfect for birthdays or summer fun, it features a smooth ice cream base infused with cake mix and colorful sprinkles, topped with a homemade white chocolate magic shell that hardens upon contact. Easy to make with straightforward steps, this dessert combines the nostalgic taste of cake batter with rich, creamy ice cream and a delightful crunchy topping.
- Total Time: 6 hours 35 minutes
- Yield: 4 big serving bowls
Ingredients
For the Ice Cream:
- 1 ½ cups heavy cream
- 1 ½ cups whole milk
- ¾ cup yellow or white cake mix, sifted
- ½ cup sugar
- 2 large egg yolks
- Pinch of salt
- 1 ½ teaspoons vanilla extract
- ⅓ cup rainbow jimmies, optional
For the Magic Shell:
- 1 cup white chocolate chips
- ½ cup coconut oil
- 1 teaspoon vanilla extract
- 2 tablespoons rainbow jimmies, for sprinkling on top
Instructions
- Prepare the Ice Cream Base: In a medium saucepan over medium-low heat, whisk together the heavy cream, whole milk, sifted cake mix, sugar, egg yolks, and a pinch of salt. Whisk frequently to prevent curdling until the mixture reaches 160°F (about 10-15 minutes), ensuring it thickens slightly and is safe to eat.
- Add Vanilla: Remove from heat and stir in the vanilla extract for added flavor and aroma.
- Chill the Mixture: Pour the custard mixture into a heat-proof container, cover it, and refrigerate for at least 2-3 hours or overnight until completely chilled. This step is crucial for a smooth texture during churning.
- Churn the Ice Cream: Pour the chilled mixture into your ice cream maker and freeze according to the manufacturer’s instructions until it reaches a soft serve consistency. Towards the end of churning, gently fold in the rainbow jimmies by hand or mix for 30 seconds in the machine to evenly distribute the sprinkles.
- Freeze to Firm: Transfer the churned ice cream into a freezer-safe container or bread pan, cover with a lid or plastic wrap, and freeze overnight or for at least 3-4 hours for a scoopable texture.
- Make the Magic Shell: In a microwave-safe bowl, combine the white chocolate chips and coconut oil. Heat at 50% power in 30-second intervals, stirring between each until smooth and fully melted, about 90 seconds total. Avoid overheating to prevent burning.
- Add Vanilla to Magic Shell: Stir in the vanilla extract until well combined, then transfer the magic shell mixture to a jar or container and keep at room temperature until ready to use.
- Assemble the Dessert: Scoop the hardened ice cream into serving bowls. Immediately drizzle the magic shell topping over the ice cream. Sprinkle additional rainbow jimmies on top quickly before the shell hardens to add color and crunch.
Notes
- Use jimmies sprinkles instead of nonpareils, as nonpareils tend to melt into the ice cream or topping and can discolor them. Jimmies maintain their color and form better.
- Allow ice cream to sit at room temperature for 5 minutes before scooping, or warm your ice cream scoop by running it under hot water and drying it for easier scooping.
- If the magic shell thickens and firms up before use, warm it in the microwave for 10 seconds and stir to soften.
- Prep Time: 10 minutes
- Cook Time: 10 minutes
- Category: Desserts
- Method: No-Cook
- Cuisine: American