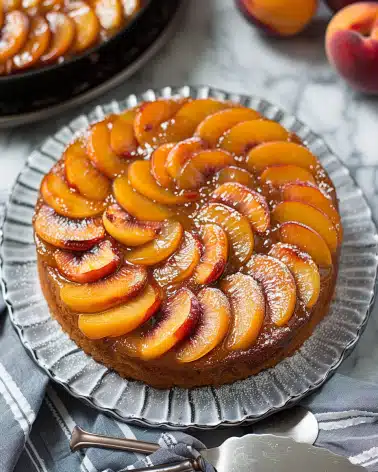
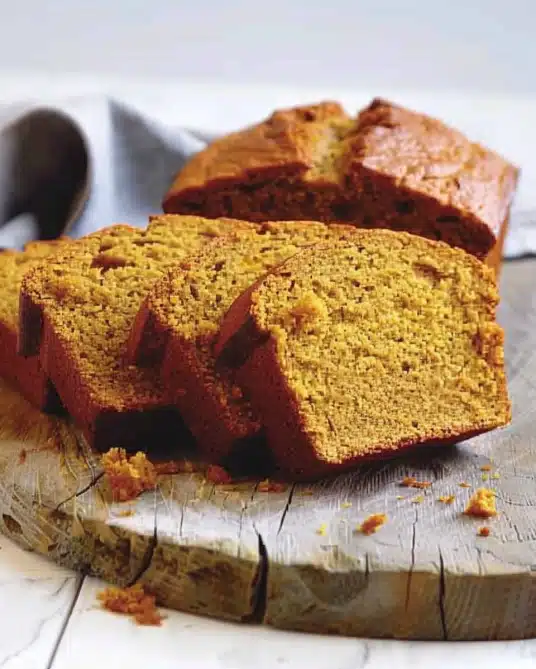
If you have a sweet tooth but want to keep things a little lighter and gluten-free, you are going to fall in love with this White Chocolate Peanut Butter Cups (Gluten-Free, Less Sugar) Recipe. These delightful treats put a fun spin on the classic peanut butter cup by pairing creamy, rich peanut butter with a luscious white chocolate shell. Made with simple ingredients and less sugar than the usual candy, these cups are perfect for sharing or sneaking a quick indulgence. I’m so excited to walk you through making these irresistible little bites that will quickly become a favorite in your dessert rotation!
Ingredients You’ll Need
Getting the right balance of flavors and textures starts with just a handful of essential ingredients. Each one plays a key role, from sweetness and creaminess to the ideal gluten-free binder that keeps everything together flawlessly.
- ½ cup peanut butter: Use creamy peanut butter for that smooth, rich filling that melts in your mouth.
- 1 teaspoon vanilla: Adds a warm depth of flavor that elevates the peanut butter layer.
- ⅓ cup almond flour: A gluten-free ingredient that adds texture and helps bind the filling.
- 3 tablespoons coconut sugar: A natural, less processed sweetener that keeps these cups lightly sweetened.
- 3 2.8 oz Lily’s White Chocolate Bars: These are sweetened with stevia, providing gorgeous white chocolate flavor without the excess sugar.
- 3 tablespoons coconut oil: Helps melt the white chocolate smoothly and creates that perfect glossy shell.
How to Make White Chocolate Peanut Butter Cups (Gluten-Free, Less Sugar) Recipe
Step 1: Prepare the Peanut Butter Filling
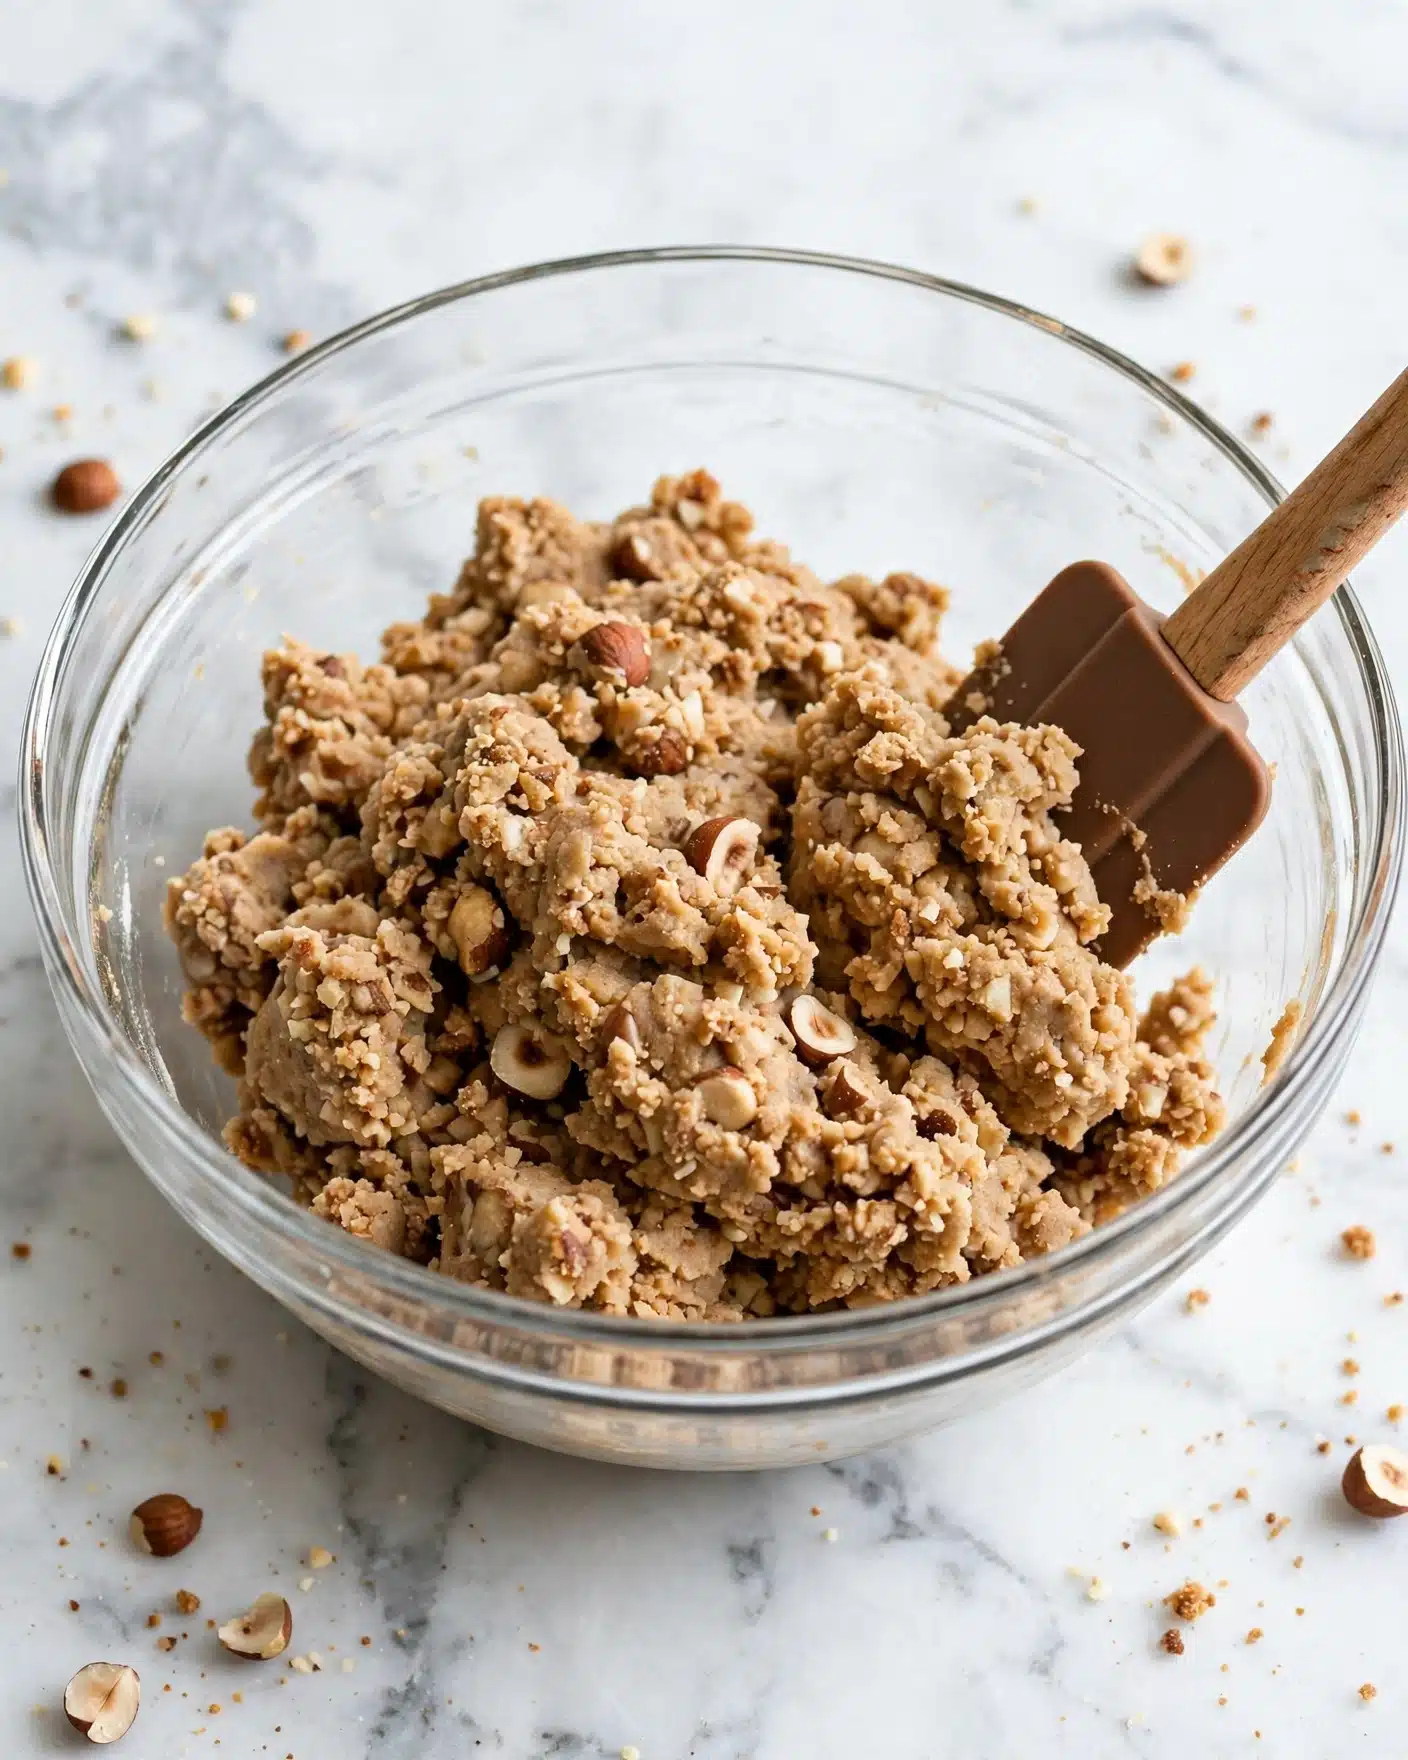
Start by combining your peanut butter, vanilla, almond flour, and coconut sugar in a small bowl. Mix until the ingredients are fully incorporated and the texture feels thick but spreadable, almost like a dense peanut butter paste. This mixture forms the creamy center of your cups, so taking a moment to blend it well sets the stage for a perfectly balanced bite.
Step 2: Melt the White Chocolate
Chop the Lily’s white chocolate bars into small pieces to help them melt evenly. Set up a double boiler by placing a heatproof bowl over a pot of simmering water – this gentle heat prevents the chocolate from burning. Add the coconut oil and chopped chocolate to the bowl and stir continuously until the mixture is silky, smooth, and combined. It might be a little thick, but that’s exactly what you want for a sturdy shell.
Step 3: Form the Base Layer
Line a muffin tin with 12 cupcake liners. Spoon a small amount of melted white chocolate into each liner, just enough to cover the bottom. This layer is the foundation that keeps the peanut butter securely nestled and adds that satisfying crunch when you bite in. Pop the pan in the fridge for a few minutes to let this base set slightly before adding the filling.
Step 4: Add the Peanut Butter Centers
Using about a tablespoon of filling, roll the peanut butter mixture into small balls. Lightly flatten each ball so it fits neatly inside the muffin liners. Place these peanut butter discs carefully on top of the white chocolate bases. The peanut butter holds all the rich flavor inside each cup, making every bite an amazing experience.
Step 5: Cover with White Chocolate and Chill
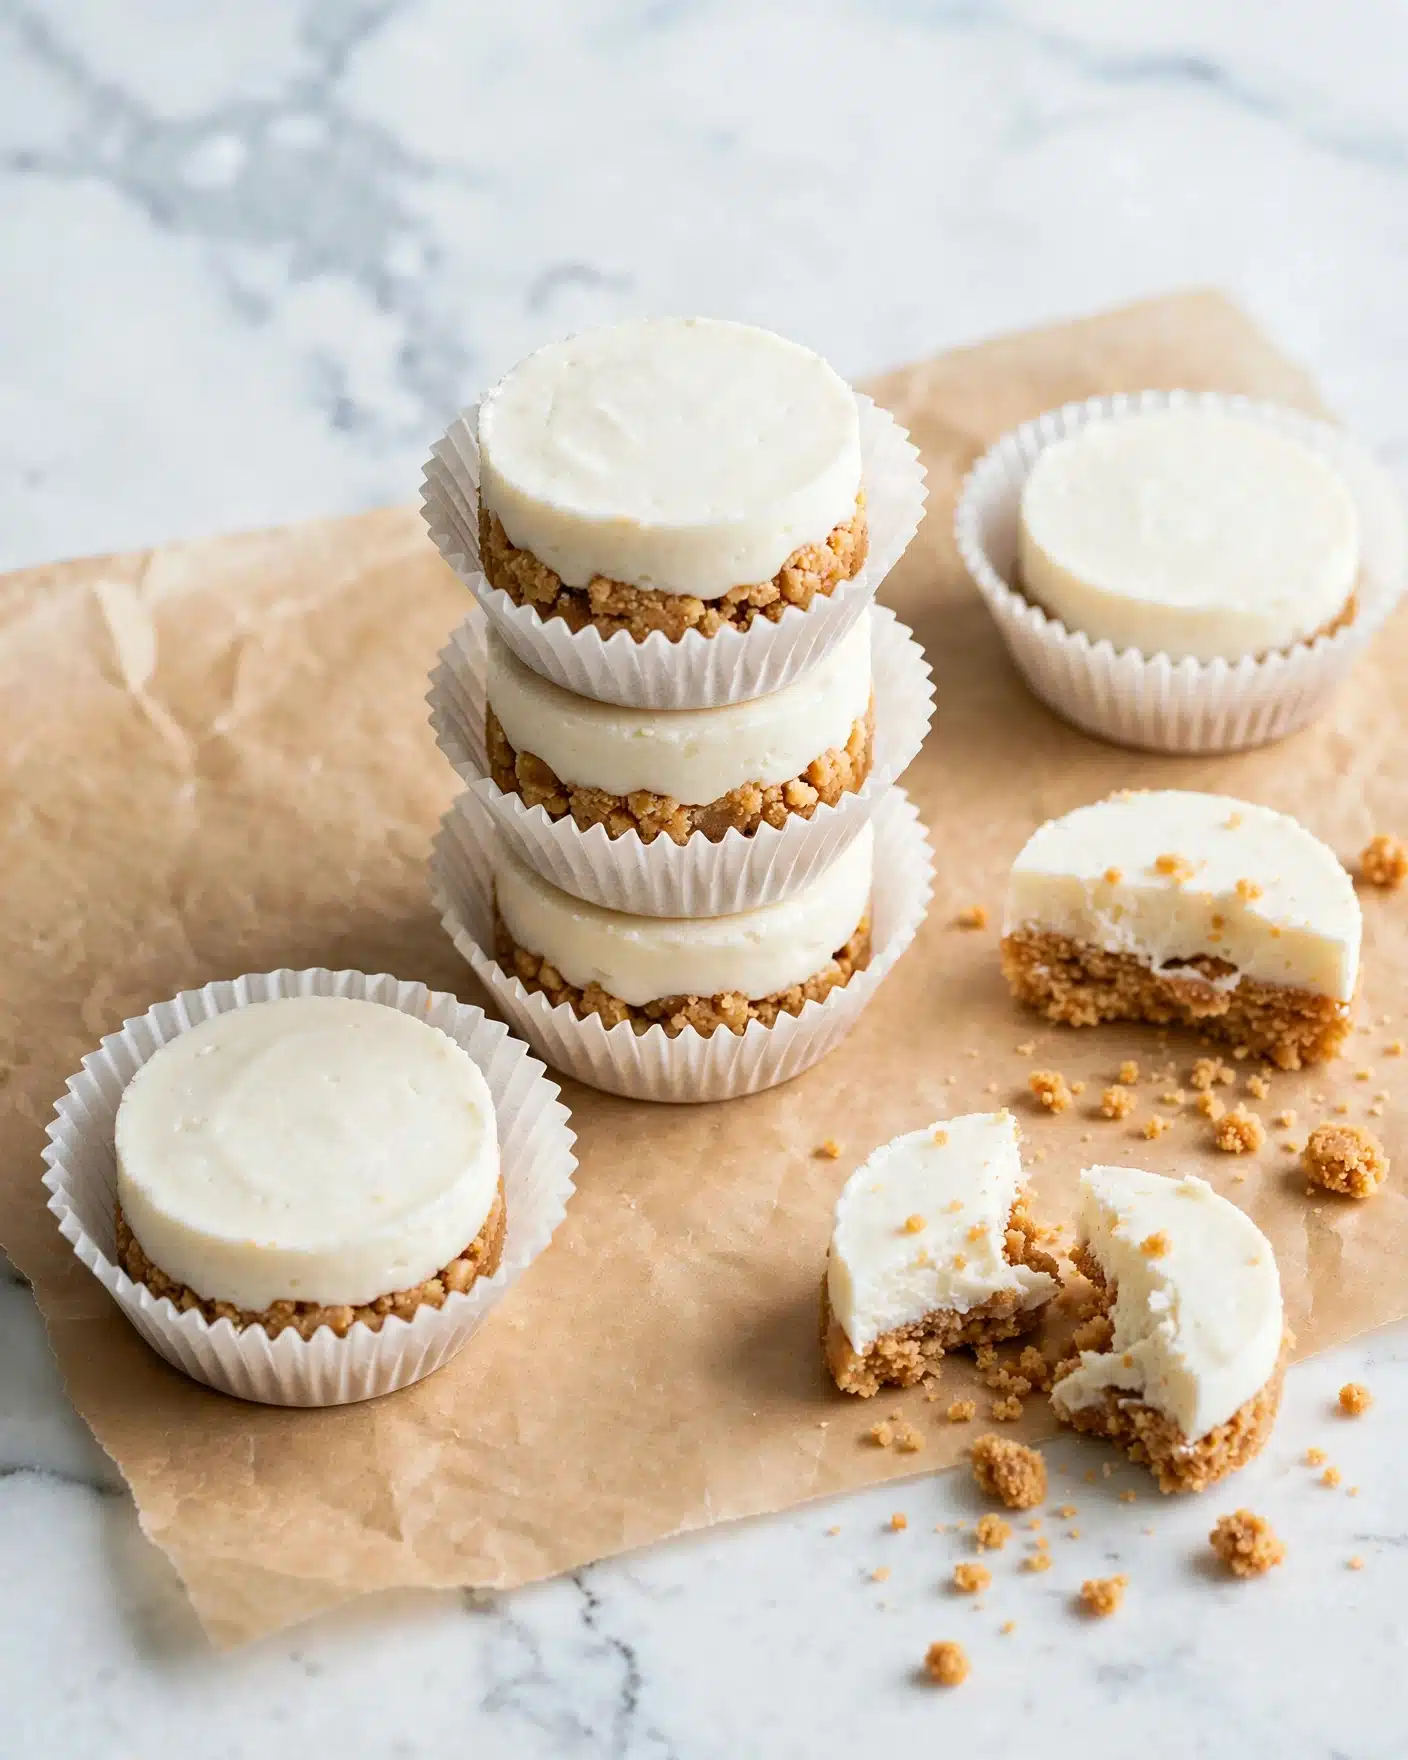
Pour the remaining melted white chocolate over each peanut butter center until completely covered. Make sure to seal the edges so the filling doesn’t peek out. Chill the entire muffin pan in the refrigerator for at least 30 minutes to allow the white chocolate to harden and the cups to firm up completely. Once set, remove the cupcake liners gently to reveal your beautiful, homemade peanut butter cups.
How to Serve White Chocolate Peanut Butter Cups (Gluten-Free, Less Sugar) Recipe
Garnishes
For a little extra flair when serving, sprinkle the tops with a pinch of flaky sea salt or finely chopped roasted peanuts. These add a lovely contrast to the sweetness and highlight the peanut flavor beautifully. You can also drizzle a touch of melted dark chocolate for a sophisticated visual and taste boost.
Side Dishes
Pair these peanut butter cups with fresh berries or a small bowl of fresh whipped cream. The tartness of the fruit balances the sweet richness perfectly, making this a well-rounded treat. They also go wonderfully alongside a hot cup of coffee or a creamy herbal tea for cozy afternoons.
Creative Ways to Present
These cups look adorable arranged on a pretty platter with edible flowers or mint leaves scattered around. For parties, consider placing each cup in a mini cupcake holder with decorative wrappers. Wrapping them individually in parchment paper tied with twine makes a charming gift that friends and family will adore!
Make Ahead and Storage
Storing Leftovers
Keep any leftover peanut butter cups in an airtight container in the refrigerator. They’ll stay fresh and delicious for up to one week, perfect for enjoying a sweet snack whenever the mood strikes without any guilt.
Freezing
If you want to make these ahead of time or stash some for later, freezing works like a charm. Place the cups on a baking sheet lined with parchment paper and freeze until firm, then transfer to a freezer-safe container. They can last for up to three months this way and thaw quickly at room temperature when ready to enjoy.
Reheating
These peanut butter cups are best served chilled or at room temperature, so reheating isn’t necessary. However, if they get too hard in the fridge, just let them sit out for 5 to 10 minutes before eating to soften and bring out the full creamy texture.
FAQs
Can I use natural peanut butter for this recipe?
Yes! Natural peanut butter works well, but make sure it’s well stirred and creamy so the filling holds together nicely. If it’s too runny, consider adding a touch more almond flour.
Is this recipe suitable for vegans?
This recipe is not strictly vegan because traditional white chocolate often contains dairy. However, you can substitute with vegan white chocolate alternatives to make it vegan-friendly.
Can I use a different nut flour?
Absolutely! Almond flour adds great texture and a mild nutty flavor, but you can substitute with cashew or hazelnut flour if preferred. Just keep it to the same quantity for the right consistency.
What’s the best way to melt white chocolate without burns?
Using a double boiler is key! Gentle, indirect heat melts the chocolate smoothly without scorching. Stir regularly and avoid getting water into the chocolate to keep it silky.
How do I reduce the sugar even more?
You can cut the coconut sugar slightly, but be aware it may affect the firmness of the peanut butter filling. Alternatively, use peanut butter with no added sugar and adjust sweetness to taste.
Final Thoughts
I can’t recommend this White Chocolate Peanut Butter Cups (Gluten-Free, Less Sugar) Recipe enough if you want a treat that feels indulgent without the usual sugar overload. It’s simple to make, and every bite offers a perfect harmony of creamy peanut butter and smooth white chocolate. Trust me, once you try making these yourself, they’ll quickly become your go-to snack or dessert to impress friends and family. So, grab your ingredients and start creating these little bites of happiness today!
Print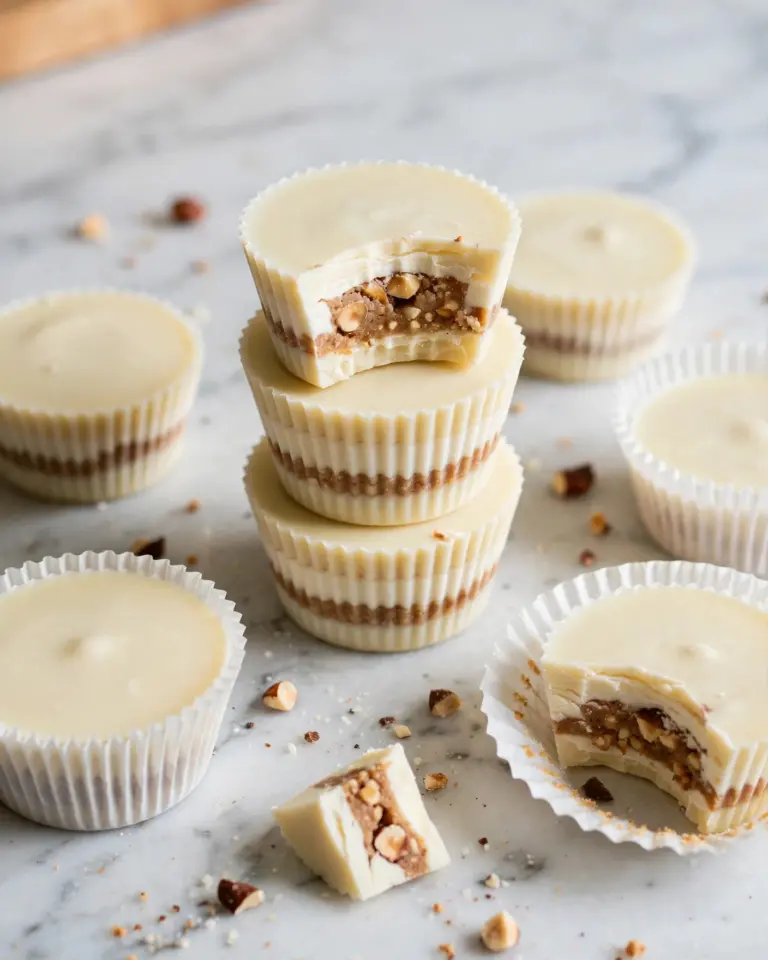
White Chocolate Peanut Butter Cups (Gluten-Free, Less Sugar) Recipe
These white chocolate Reese’s cups are a delightful variation of the classic peanut butter candy, featuring a silky smooth white chocolate shell and a creamy peanut butter filling. This recipe is gluten-free and contains less sugar than the traditional version, making it a delicious and slightly healthier treat option.
- Total Time: 50 minutes
- Yield: 12 cups
Ingredients
Peanut Butter Filling
- ½ cup peanut butter
- 1 teaspoon vanilla extract
- ⅓ cup almond flour
- 3 tablespoons coconut sugar
White Chocolate Shell
- 3 (2.8 oz) Lily’s White Chocolate Bars
- 3 tablespoons coconut oil
Instructions
- Prepare Peanut Butter Mixture: In a small bowl, mix together peanut butter, vanilla extract, almond flour, and coconut sugar until well combined. The resulting mixture should be thick and resemble peanut butter in texture. Set aside.
- Melt White Chocolate: Chop the Lily’s white chocolate bars and place them along with coconut oil in a double boiler. This can be done by setting a heatproof bowl over a pot of simmering water. Stir continuously until the chocolate melts; it might be thick and slightly grainy, but this is normal.
- Coat Muffin Liners: Line a muffin pan with paper liners. Spoon some melted white chocolate into each liner to cover the bottom layer thinly.
- Form Peanut Butter Centers: Scoop about a tablespoon of the peanut butter mixture and roll it between your hands into a ball. Flatten it slightly to create a disc shape, then place it into each muffin liner on top of the white chocolate base.
- Cover with Chocolate: Pour the remaining melted white chocolate over the peanut butter layer to fully cover it. Repeat for all muffin liners.
- Chill and Set: Place the muffin pan in the refrigerator and chill for at least 30 minutes until the white chocolate sets completely. Once firm, peel off the muffin liners and enjoy your white chocolate Reese’s cups.
Notes
- Using almond flour keeps this recipe gluten-free.
- The white chocolate may appear slightly thick and grainy when melted; this is normal.
- Make sure the peanut butter mixture is firm enough to hold shape when rolled.
- You can store the finished cups in an airtight container in the refrigerator for up to a week.
- This recipe yields 12 cups perfect for a sweet snack or party treat.
- Prep Time: 20 minutes
- Cook Time: 0 minutes
- Category: Dessert
- Method: No-Cook
- Cuisine: American
- Diet: Gluten Free