If you are looking for a festive, charming treat that will instantly brighten up your holiday dessert table, this Snowman Oreo Balls Recipe is an absolute must-try! These adorable little truffles combine the rich, fudgy flavors of crushed Oreos, hazelnut spread, and cream cheese, all covered in smooth white candy coating to create a deliciously creamy texture and delightful sweetness. With just a few simple ingredients and minimal prep time, you’ll have a batch of these snowy delights ready in under an hour, perfect for sharing with friends and family or even gifting during the holidays.
Ingredients You’ll Need
Ingredients You’ll Need
This Snowman Oreo Balls Recipe is incredibly simple, relying on a handful of straightforward ingredients that each play a crucial role. Every component works together to balance flavor, texture, and festive color, ensuring your truffles look as good as they taste!
- 36 Oreos: The base for the truffle dough, crushed into fine crumbs for a fudgy texture.
- 1 cup hazelnut spread (such as Nutella): Adds rich, nutty flavor and creamy smoothness to the mixture.
- 4 ounces cream cheese, softened: Provides moisture and tang, helping bind the Oreo crumbs into a perfect dough.
- 15 ounces white candy melts: Used for coating the truffles and creating that iconic snowy exterior.
- 30 mini peanut butter cups: These serve as the snowmen’s hat, adding a delicious chocolate-peanut punch.
- 2 teaspoons orange sprinkles: Perfect for the tiny carrot noses, bringing a pop of color.
- Black gel writer: Essential for drawing the eyes and mouths, giving each snowman personality and charm.
How to Make Snowman Oreo Balls Recipe
Step 1: Prepare Your Workspace and Crush Oreos
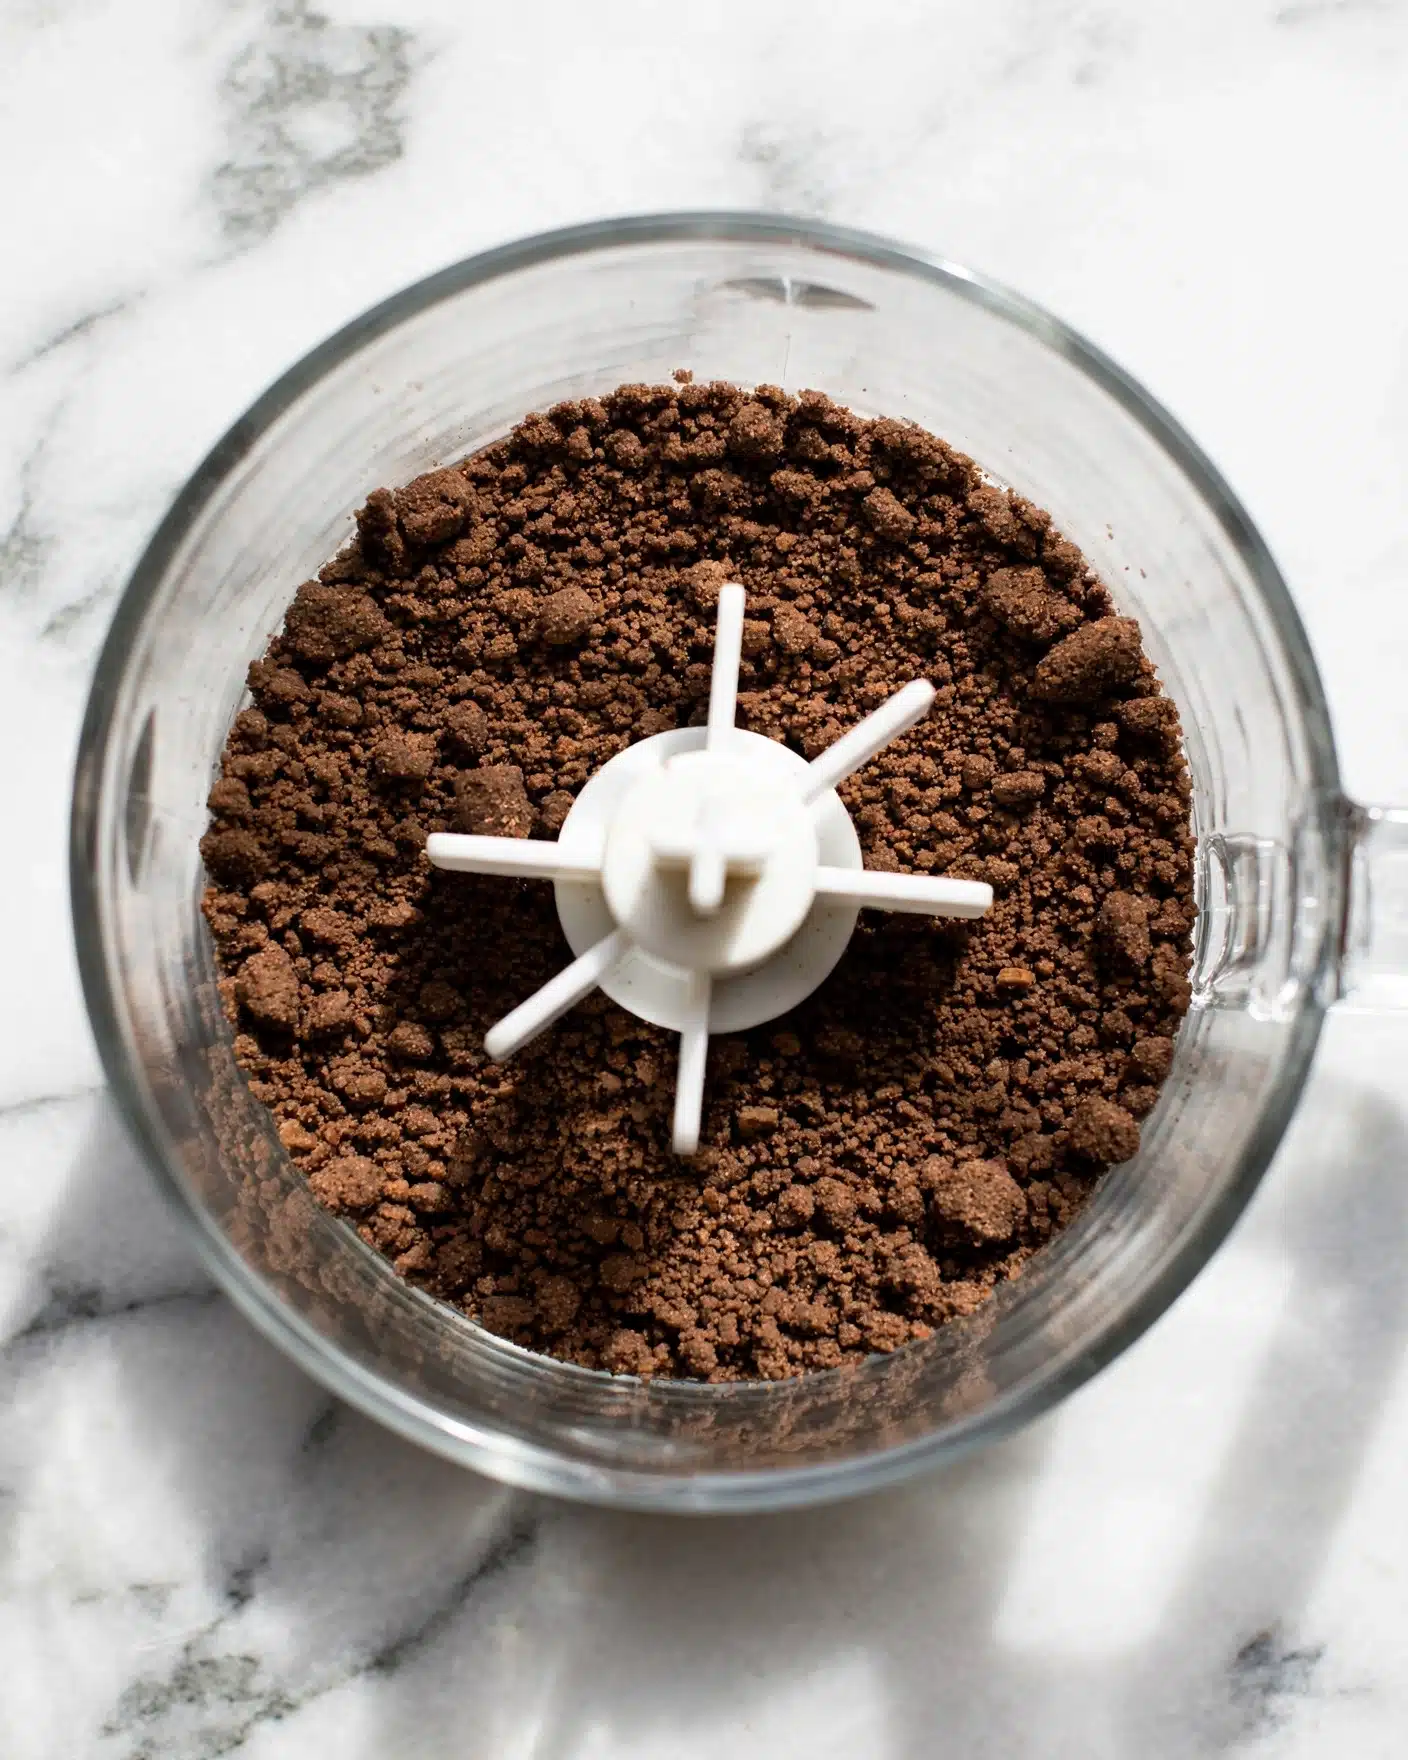
Start by lining a baking sheet with parchment or waxed paper to keep things clean and easy. Then, place all 36 Oreos into your mini food processor and pulse until you have fine crumbs. This crumb base is the secret to that fudgy, melt-in-your-mouth texture.
Step 2: Mix in Hazelnut Spread and Cream Cheese
Add the cup of hazelnut spread and softened cream cheese to the Oreo crumbs in the food processor. Blend everything until smooth and dough-like. This mixture needs to be pliable enough to roll but firm enough to hold its shape.
Step 3: Form the Truffle Balls
Using a tablespoon measure, scoop out portions of the dough, then roll them into smooth balls with your hands. Place each ball onto the prepared baking sheet. Pop the tray into the freezer for at least 10 minutes; chilling helps the balls hold their shape during dipping.
Step 4: Melt the White Candy Coating
In a microwave-safe bowl, melt the white candy melts using 30-second intervals, stirring after each until fully smooth. Keep a watchful eye so the candy doesn’t burn; smooth coating is key for a polished look.
Step 5: Dip and Decorate the Snowman Heads
Working quickly to keep the candy coating fluid, dip each chilled truffle ball into the white chocolate using a fork, letting excess drip off. Place the dipped ball back onto the baking sheet, then gently press a mini peanut butter cup on top to create the snowman’s hat. Using the orange sprinkles, add a tiny dot for the carrot nose while the coating is still tacky. Allow the chocolate to set in the refrigerator for about 10 minutes.
Step 6: Add Facial Features
Once the coating is fully hardened, take your black gel writer and draw on expressive eyes and a joyful mouth to each snowman. This final touch turns simple truffles into adorable, festive treats that bring smiles all around.
How to Serve Snowman Oreo Balls Recipe
Garnishes
Enhance the snowy charm by sprinkling some edible glitter or shredded coconut around your Snowman Oreo Balls to mimic fresh snow. Fresh mint leaves can add a pop of color and a refreshing hint to balance the sweetness.
Side Dishes
Pair these truffles with a warm cup of hot cocoa or spiced cider to create a cozy treat experience. They also go wonderfully alongside simple sugar cookies or gingerbread for a holiday platter everyone will love.
Creative Ways to Present
For an eye-catching dessert table centerpiece, stack the Snowman Oreo Balls Recipe treats on tiered trays or arrange them on a mirrored platter with holiday figurines. You can also package them individually in clear cellophane bags tied with festive ribbons for charming edible gifts.
Make Ahead and Storage
Storing Leftovers
Store any leftover Snowman Oreo Balls in an airtight container in the refrigerator. They keep well for up to one week while maintaining their texture and flavor, making them the perfect make-ahead party snack.
Freezing
If you want to prepare these truffles in advance, freezing is an excellent option. Whether frozen before or after decorating, place them on a tray to flash freeze, then transfer to a freezer-safe container. They’ll last up to two months and thaw perfectly when you’re ready to indulge.
Reheating
Since these are no-bake treats, reheating is not necessary. Simply bring them out of the fridge or freezer to come to room temperature for a few minutes before serving to enjoy the best texture.
FAQs
Can I substitute the hazelnut spread?
Absolutely! You can use peanut butter or almond butter instead, but keep in mind this will slightly change the flavor profile. Choose a creamy variety for the best texture.
What if I don’t have a food processor?
No worries. You can place the Oreos in a sturdy zip-top bag and crush them with a rolling pin until finely ground. Then mix by hand with the other ingredients.
How do I avoid cracks in the candy coating?
Make sure the candy melts are fully melted and smooth before dipping. Also, chilling the balls before dipping helps keep the coating intact without cracking.
Can I use regular peanut butter cups instead of mini ones?
You can, but mini peanut butter cups are perfect for proportion and ease of attaching hats to your snowmen. Larger ones might overwhelm the truffles.
Are these Oreo balls gluten-free?
Unfortunately, Oreos contain gluten, so this recipe is not suitable for a gluten-free diet unless you find a gluten-free cookie alternative to use instead.
Final Thoughts
Making these Snowman Oreo Balls Recipe treats is like adding a sprinkle of magic to your holiday season. The combination of simple ingredients, ease of preparation, and festive charm makes them a joy to create and share. Whether it’s a fun family activity or an impressive gift, these snowman truffles are sure to become a beloved tradition. Get your ingredients ready and dive into this delightful recipe—you won’t regret it!
Print
Snowman Oreo Balls Recipe
Festive Snowman Oreo Balls are adorable no-bake truffles made with Oreo cookies, hazelnut spread, and cream cheese, coated in white candy melts, and decorated with mini peanut butter cups and sprinkles. These fudgy treats require minimal prep time and are perfect for holiday dessert tables or parties.
- Total Time: 50 minutes
- Yield: 30 servings
Ingredients
Main Ingredients
- 36 Oreos
- 1 cup hazelnut spread (such as Nutella)
- 4 ounces cream cheese, softened to room temperature
Coating and Decoration
- 15 ounces white candy melts
- 30 mini peanut butter cups
- 2 teaspoons orange sprinkles
- Black gel writer for eyes and mouth
Instructions
- Prepare the workspace: Line a baking sheet with parchment or waxed paper and set it aside to use later.
- Crush Oreos: Place the Oreo cookies into the bowl of a mini food processor and pulse until they are broken down into fine crumbs.
- Mix dough: Add the hazelnut spread and softened cream cheese to the Oreo crumbs in the food processor. Mix until the ingredients are well combined and form a dough-like consistency.
- Shape balls: Portion the mixture into tablespoon-sized amounts, roll each portion into a ball with your hands, and place them onto the prepared baking sheet.
- Freeze balls: Place the baking sheet with the Oreo balls in the freezer for at least 10 minutes to firm them up. This chilling step helps make them easier to dip.
- Melt candy melts: In a microwave-safe bowl, melt the white candy melts by heating in 30-second intervals, stirring between each interval until the chocolate is smooth.
- Dip truffles: Using a fork, dip each chilled Oreo ball into the melted white chocolate to coat it completely. Let the excess chocolate drip off before placing the coated truffle back on the baking sheet.
- Add decorations: While the coating is still tacky, top each dipped truffle with a mini peanut butter cup to form the snowman’s hat, and add a sprinkle for the nose. Continue this process for all the truffles.
- Chill coatings: Refrigerate the decorated truffles for about 10 minutes or until the candy coating has fully hardened.
- Draw faces: After the candy has set, use black gel writer to draw eyes and mouths on each snowman to complete their adorable faces.
Notes
- Work quickly when dipping in chocolate to prevent it from hardening mid-process; reheat the candy melts if needed.
- If using a fork for dipping is difficult, try a toothpick and cover any holes left with extra melted chocolate afterwards.
- Ensure the chocolate coating is fully set before adding gel decorations to avoid sliding.
- Add sprinkles while the coating is still tacky for the best adhesion.
- Feel free to get creative with other decorations like different sprinkles, gels, or candies to make unique snowman faces and accessories.
- Store Oreo balls in an airtight container in the refrigerator for up to 1 week.
- For longer storage, freeze the Oreo balls before or after decorating; flash freeze first, then store for up to 2 months.
- Prep Time: 5 minutes
- Cook Time: 0 minutes
- Category: Dessert
- Method: No-Cook
- Cuisine: American