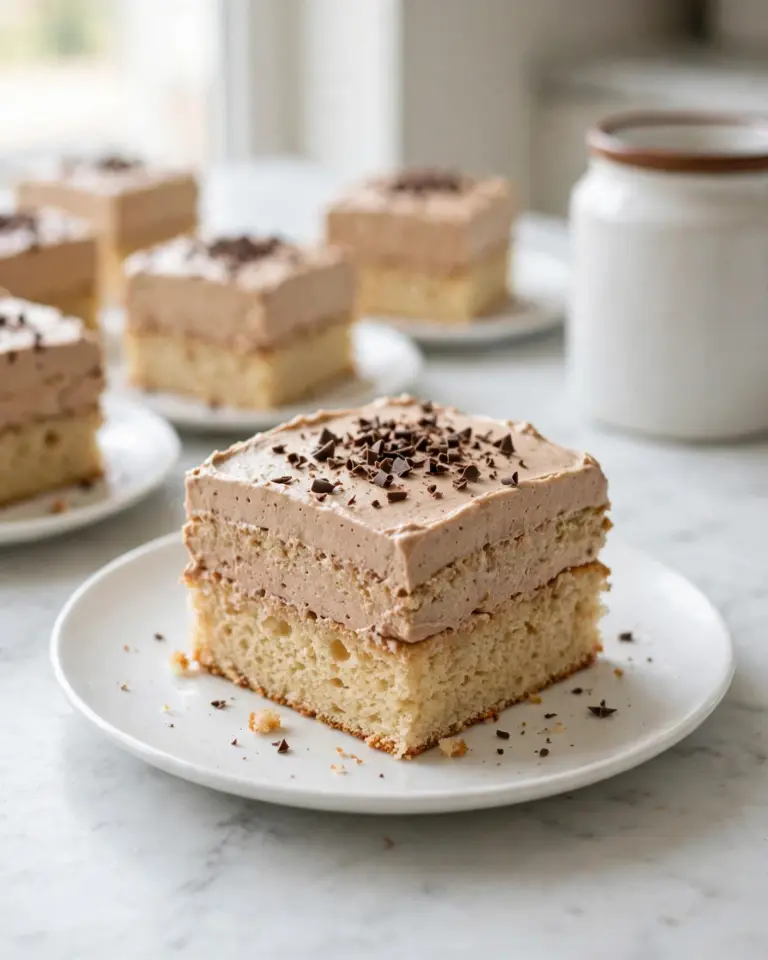
If you are on the lookout for a delightfully nostalgic treat, this Old Fashioned Lemon Slice Recipe will quickly become your go-to favorite. It delivers a perfect balance of tangy lemon filling, creamy topping, and a buttery, tender base that melts in your mouth. Every bite transports you to simpler times when desserts were made with care and full of sunshine. This recipe’s simple ingredients come together to create a luscious, refreshing slice that is as charming as it is delicious.
Ingredients You’ll Need

The magic of the Old Fashioned Lemon Slice Recipe lies in its simple, everyday ingredients that pack so much flavor. Each component plays its part to create layers of texture and taste that make the slice truly unforgettable. From the buttery base to the zesty lemon filling and creamy topping, every ingredient is essential.
- Butter (120 grams): Adds richness and a luscious crumb to the base.
- Caster sugar (1/2 cup for base, 1/2 cup for filling): Sweetens both the crust and the lemon layer to balance the tartness.
- Egg (1): Binds the base ingredients making it tender yet firm.
- Self-raising flour (1 1/2 cups): Creates structure in the base, substitutable with plain flour plus baking powder.
- Lemon zest (from 1 lemon): Infuses a fresh, aromatic citrus flavor into the base.
- Water (1 cup for filling, plus 2 tablespoons for cornflour mix): Helps create the smooth lemon filling texture.
- Lemon juice (1/2 cup): The star ingredient that gives the lemon slice its bright, tangy punch.
- Cornflour/cornstarch (5 tablespoons total): Thickens both the filling and the cream topping for perfect consistency.
- Full cream milk (1 1/2 cups plus 1 tablespoon for cornflour mixture): Adds creaminess to the topping while balancing the tart filling.
- Butter (20 grams for topping): Adds a silky texture to the creamy layer.
- Icing sugar (1/2 cup): Sweetens and smooths the cream topping perfectly.
- Shredded coconut (2 tablespoons, optional): Adds a toasted, nutty garnish for extra flair and texture.
How to Make Old Fashioned Lemon Slice Recipe
Step 1: Prepare the Base
Start by greasing your slice tin and lining it with baking paper. This will make removing your beautiful lemon slice a breeze. Preheat the oven to a moderate 180 degrees Celsius (355 degrees Fahrenheit, fan-forced). Cream the butter and caster sugar together until light and fluffy – this step is key to a tender crumb. Beat in the egg until fully combined, then fold in the sifted self-raising flour and fresh lemon zest. Press the mixture firmly and evenly into your slice tin, using floured hands if needed, then smooth the surface with the back of a spoon or a small jar. Bake for 17 to 20 minutes until the edges are lightly golden. Let this cool completely in the tin so it sets perfectly for the next step.
Step 2: Make the Tangy Lemon Filling
In a saucepan, combine sugar, water, and fresh lemon juice, then bring to a gentle boil. Meanwhile, blend the cornflour with the 2 tablespoons of water to a smooth paste. Stir this paste into the boiling lemon mixture and continue boiling rapidly for about 10 minutes, stirring occasionally as the filling thickens beautifully. Once thickened, allow this luscious filling to cool to lukewarm before spreading it evenly over your cooled biscuit base. Chill this in the fridge now to let it firm up while you prepare the cream topping.
Step 3: Create the Creamy Topping
Heat the full cream milk on the stove just until tiny bubbles form around the edges. In a small bowl, mix the cornflour with 1 tablespoon of milk to form a smooth paste. Whisk this slowly into the warm milk over heat until the mixture thickens into a silky cream. Remove from the heat and quickly stir in the butter cubes and icing sugar, combining until smooth and sumptuous. Allow this cream to cool completely, then whisk it to lighten the texture before spreading it generously over the set lemon filling. For a finishing touch, sprinkle shredded coconut over the top if you are feeling fancy!
Step 4: Chill and Serve
Pop the whole tray back into the fridge and allow the layers to set firmly for at least a few hours – ideally 3 to 4. When ready, use the baking paper overhang to lift the slice gently from the tin, slice into neat squares, and prepare to be impressed by how the layers hold together with that irresistible tang and creaminess.
How to Serve Old Fashioned Lemon Slice Recipe

Garnishes
To elevate your Old Fashioned Lemon Slice Recipe, consider garnishing with a sprinkle of extra shredded coconut for texture and a tropical touch. Fresh lemon zest or thin lemon slices work wonderfully as well, adding a pop of color and enhancing the citrus aroma at serving time.
Side Dishes
This lemon slice pairs beautifully with a cup of hot tea – classic Earl Grey or green tea match particularly well with the slice’s zesty profile. For a more indulgent treat, serve alongside a dollop of fresh whipped cream or a scoop of vanilla bean ice cream for creamy contrast.
Creative Ways to Present
Serve your Old Fashioned Lemon Slice Recipe on a beautiful vintage cake stand to highlight its heritage appeal. For parties, arrange the slices on a platter with edible flowers or a dusting of powdered sugar for added elegance. You can also wrap individual squares in parchment paper for a charming, rustic gift idea.
Make Ahead and Storage
Storing Leftovers
Leftover lemon slice can be stored in an airtight container in the fridge for up to 4 days, and it holds its texture and flavor wonderfully. Keeping the slice chilled ensures the creamy topping stays set and the lemon filling remains fresh and vibrant.
Freezing
You can freeze the lemon slice by wrapping individual pieces tightly in cling film and placing them in a freezer-safe container. Freeze for up to 2 months. When you want to enjoy them, thaw overnight in the fridge for best results.
Reheating
This slice is best served chilled, so reheating is generally not recommended. If you prefer it slightly softer, let slices sit at room temperature for about 20 minutes before serving, allowing the cream topping to soften gently.
FAQs
Can I use plain flour instead of self-raising flour?
Yes! Simply substitute the self-raising flour with plain flour and add 3 teaspoons of baking powder to the mixture to get the right rise and texture for the base.
Is there a dairy-free option for this recipe?
You can substitute the butter with a dairy-free margarine and use a plant-based milk such as almond or oat milk to make this lemon slice dairy-free, though the texture and flavor will be slightly different.
How do I prevent the lemon filling from becoming too runny?
Make sure to cook the lemon filling mixture until it thickens considerably during the boiling step, and use the correct amount of cornflour to achieve that perfect, firm lemon layer that won’t run when cooled.
Why is the cream topping a bit grainy sometimes?
This can happen if the cornflour isn’t fully dissolved before adding to the milk or if the mixture overheats. Whisking continuously and smoothly blending the cornflour with milk before mixing helps avoid lumps and any graininess.
Can I make this slice ahead of time for a party?
Definitely! The Old Fashioned Lemon Slice Recipe actually improves if made a day ahead, as the flavors settle and the layers firm up nicely. Just keep it refrigerated until ready to serve.
Final Thoughts
There is something truly special about the Old Fashioned Lemon Slice Recipe that brings a smile to any gathering. Its perfect harmony of tart, sweet, and creamy layers makes it an irresistible treat that feels both homey and timeless. I hope you give this recipe a go and enjoy every zesty, rich bite as much as I do. Trust me, it’s bound to become a treasured staple in your dessert repertoire!
Print
Old Fashioned Lemon Slice Recipe
This Old Fashioned Lemon Slice recipe features a buttery biscuit base topped with a tangy lemon filling and a creamy milk topping, finished with optional shredded coconut. Perfectly balanced between sweet and tart, this classic dessert requires no fancy ingredients and is chilled to set, making it an easy and refreshing treat.
- Total Time: 4 hours 60 minutes
- Yield: 24 servings
Ingredients
Base
- 120 grams butter
- 1/2 cup caster sugar (110 grams)
- 1 egg
- 1 1/2 cups self-raising flour (or 1 1/2 cups plain/all-purpose flour + 3 teaspoons baking powder)
- Zest from one lemon
Lemon Filling
- 1/2 cup caster sugar
- 1 cup water
- 1/2 cup lemon juice (approximate juice from 2 lemons)
- 3 tablespoons cornflour (cornstarch)
- 2 tablespoons water (for blending with cornflour)
Cream Topping
- 1 1/2 cups full cream milk
- 2 tablespoons cornflour (cornstarch)
- 1 tablespoon milk (for blending with cornflour)
- 20 grams butter (cut into cubes)
- 1/2 cup icing sugar (powdered sugar)
- 2 tablespoons shredded coconut (optional)
Instructions
- Prepare the base: Grease a slice tin and line with baking paper, leaving paper overhanging on the sides to help with removal later. Preheat the oven to moderate heat (180°C/355°F, fan-forced).
- Cream butter and sugar: In a bowl, cream together 120 grams of butter and 1/2 cup (110 grams) caster sugar until smooth and fluffy.
- Add egg: Beat in 1 egg for a minute or two until fully incorporated.
- Add flour and zest: Sift 1 1/2 cups self-raising flour and fold in along with the zest from one lemon until just combined.
- Press base into tin: Press the mixture evenly into the prepared tin. If the mixture is sticky, flour your hands to help. Use the back of a metal spoon and the base of a small glass jar to smooth out the surface evenly.
- Bake base: Bake in the preheated oven for 17-20 minutes or until lightly browned. Remove and allow to cool completely in the tin.
- Make lemon filling: In a saucepan, combine 1/2 cup caster sugar, 1 cup water, and 1/2 cup lemon juice. Bring to a boil over medium heat.
- Thicken filling: Mix 3 tablespoons cornflour with 2 tablespoons water to form a smooth paste, then add to the boiling lemon mixture. Continue to boil rapidly, stirring occasionally, for about 10 minutes until thickened.
- Cool and spread filling: Allow the lemon filling to cool to lukewarm, then spread evenly over the cooled biscuit base. Place in the fridge to chill while preparing the cream topping.
- Prepare cream topping: Heat 1 1/2 cups full cream milk in a saucepan until bubbles form around the edges.
- Thicken cream: Blend 2 tablespoons cornflour with 1 tablespoon milk to a smooth paste and whisk into the hot milk. Cook and stir continuously over heat until the mixture thickens. Remove from heat.
- Add butter and sugar: Stir in 20 grams cubed butter and 1/2 cup icing sugar until the mixture is smooth and combined. Allow to cool completely.
- Whisk and spread cream topping: Whisk the cooled cream mixture until smooth and spread evenly over the lemon filling layer.
- Add coconut (optional): Sprinkle 2 tablespoons shredded coconut over the top if desired.
- Chill slice: Refrigerate the slice for at least a few hours, preferably 4 hours or more, until fully set.
- Serve: Remove the slice from the tin using the overhanging paper and cut into 24 squares to serve.
Notes
- Use self-raising flour or create your own by adding 3 teaspoons baking powder to plain/all-purpose flour.
- Flouring your hands helps to press down sticky dough smoothly.
- Ensure the lemon filling boils rapidly during thickening for proper set.
- The cream topping must be allowed to cool completely before spreading to prevent mixing with the lemon layer.
- Chilling the slice for several hours or overnight improves flavor and texture.
- Shredded coconut on top is optional but adds a nice texture and flavor contrast.
- Prep Time: 20 minutes
- Cook Time: 40 minutes
- Category: Dessert
- Method: Baking
- Cuisine: Western