If you love the nostalgic flavors of a classic blueberry pie but crave something cool, creamy, and effortless to make, then this No Churn Blueberry Pie Ice Cream Recipe is going to be an absolute game changer for your dessert menu. With fresh blueberries transformed into a luscious pie filling and swirled into a tender, dreamy no-churn ice cream base, this recipe brings together the best of both worlds without any fancy equipment or complicated steps. It’s the perfect way to enjoy a homemade treat that’s bursting with summery, fruity goodness and a buttery graham cracker crunch that feels just like a slice of pie on a hot day.
Ingredients You’ll Need
Ingredients You’ll Need
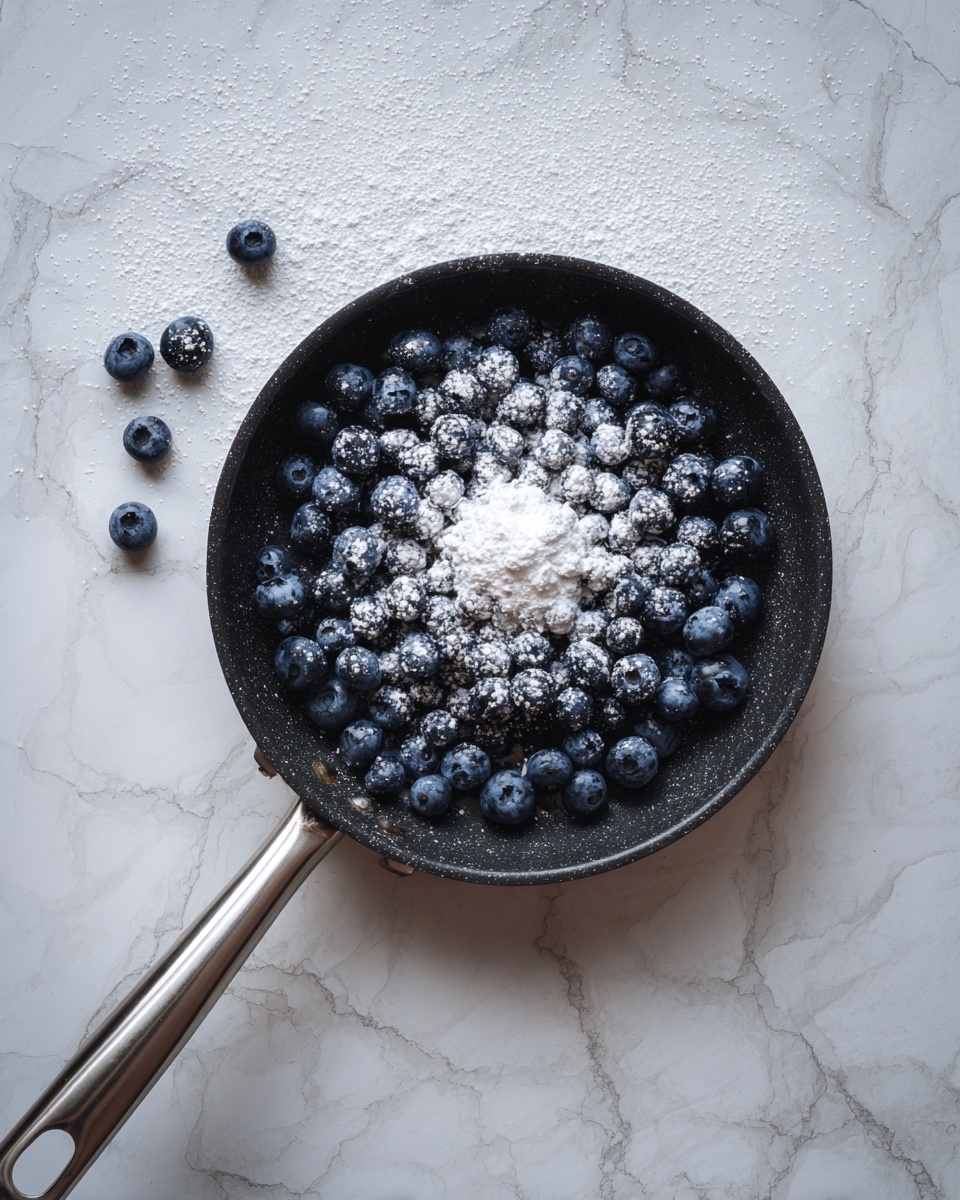
These ingredients are simple staples that come together to create a perfect balance of creamy, fruity, and crunchy textures. Each one plays a crucial role, from the fresh blueberries that bring natural sweetness and color, to the graham crackers that add that unmistakable pie crust vibe.
- 3 cups fresh blueberries: Choose ripe, plump berries for the brightest flavor and juiciest filling.
- ½ cup sugar: Sweetens the blueberry filling, helping it thicken beautifully while balancing tartness.
- 2 tablespoons water: Assists in dissolving the sugar and creating a syrupy base for the filling.
- 1 tablespoon corn starch: Thickens the blueberry filling, giving it that rich, jammy texture.
- 2 cups heavy whipping cream: The creamy heart of the ice cream that whips up to fluffy perfection.
- 14 ounces sweetened condensed milk: Adds sweetness and creaminess, eliminating the need for an ice cream maker.
- 1 teaspoon vanilla extract: Injects warmth and depth to the ice cream base.
- ¼ teaspoon salt: Enhances all the flavors and balances the sweetness delicately.
- 5 graham crackers, crushed: Provides the classic pie crust crunch and a lovely contrast to the creamy texture.
How to Make No Churn Blueberry Pie Ice Cream Recipe
Step 1: Prepare the Blueberry Pie Filling
Begin by combining fresh blueberries, sugar, water, and corn starch in a saucepan over medium heat. Stir carefully as the berries begin to pop, releasing their natural juices and mixing into a thick, luscious filling. The corn starch is your secret weapon for that perfect pie-filling consistency, so keep cooking and stirring until the mixture thickens nicely—about 10 to 15 minutes. Once it’s ready, transfer it to a bowl and chill in the refrigerator to set the flavors while you move on to the ice cream base.
Step 2: Whip the Cream
In the bowl of your stand mixer fitted with the whisk attachment, whip the heavy cream on high speed until you get stiff peaks. This step is essential because the light, airy texture of the whipped cream makes the ice cream so dreamy and rich without the need for an ice cream maker. Once whipped, pop the bowl into the fridge to keep the cream chilled as you prepare your other ingredients.
Step 3: Mix the Ice Cream Base
Next, take a large bowl and whisk together the sweetened condensed milk, vanilla extract, and salt until everything is perfectly combined. Then gently fold in half a cup of the whipped cream, using a rubber spatula to preserve that fluffy texture. After that, carefully fold in the remaining whipped cream until the mixture is smooth and well incorporated. This base is luxuriously creamy and provides the perfect canvas for your blueberry pie flavors.
Step 4: Assemble the Layers
In a bread pan or loaf tin, spread half of your ice cream base evenly across the bottom. Add half of the chilled blueberry pie filling and sprinkle half of the crushed graham crackers on top. Use a toothpick or butter knife to swirl the filling gently through the ice cream base—it’s so fun to create beautiful marbled patterns! Repeat the layering with the remaining ice cream, filling, and graham crackers, swirling once more on the top layer for that extra eye-catching finish.
Step 5: Freeze Until Firm
Cover your pan tightly with plastic wrap, then wrap with foil for extra protection against freezer burn. Place it in the freezer for at least 4 hours, although overnight will yield the best, scoopable consistency. Patience here rewards you with an ice cream that’s perfectly firm but still creamy and full of luscious blueberry pie flavor in every bite.
How to Serve No Churn Blueberry Pie Ice Cream Recipe
Garnishes
For an irresistible finishing touch, consider topping scoops with a few fresh blueberries or a sprinkle of extra crushed graham crackers for crunch. A light drizzle of honey or a dollop of freshly whipped cream can elevate the presentation to dessert-party status in seconds. These simple garnishes celebrate the dish’s pie inspiration while adding a fresh, elegant twist.
Side Dishes
This ice cream pairs beautifully with fruity summer desserts like a warm peach cobbler or your favorite buttery shortbread cookies. Alternatively, serve it alongside a slice of lemon pound cake for a tart-sweet balance. These side dishes complement the No Churn Blueberry Pie Ice Cream Recipe’s creamy and fruity profile without overpowering it.
Creative Ways to Present
Take your serving game up a notch by presenting the ice cream in mini mason jars layered with extra pie filling and graham cracker crumbs. You can also serve scoops inside halved and hollowed-out blueberries or alongside small tarts for a bite-sized delight. Get creative with colorful plates or fun edible flowers—it’s a dessert that’s as pretty as it is delicious and invites all kinds of summer celebrations.
Make Ahead and Storage
Storing Leftovers
Once you’ve enjoyed your first round of this dreamy ice cream, store any leftovers in an airtight container to keep flavors fresh and prevent ice crystals from forming. The graham crackers may soften slightly over time, but the flavor will stay rich and vibrant for up to one week.
Freezing
The magic of the No Churn Blueberry Pie Ice Cream Recipe is that it freezes beautifully. Keep it wrapped tightly with plastic wrap and foil or sealed in a freezer-safe container to avoid freezer burn. Properly stored, it will maintain its best quality for up to one month.
Reheating
While ice cream isn’t a dish you typically reheat, if you want to soften your frozen masterpiece for serving, simply let it sit at room temperature for 5 to 10 minutes. Avoid melting it completely by keeping close watch—this way, every scoop is perfectly soft and scoopable.
FAQs
Can I use frozen blueberries for this recipe?
Yes, you can substitute frozen blueberries if fresh are not available, just make sure to thaw and drain any excess liquid before cooking to avoid a watery filling.
Is it possible to make this recipe dairy-free?
For a dairy-free option, try using coconut cream instead of heavy whipping cream and a dairy-free sweetened condensed milk alternative, though the flavor and texture will vary slightly.
How long does the ice cream need to freeze?
While the recipe suggests at least 4 hours, freezing overnight is best to ensure the ice cream sets properly and has a creamy, scoopable texture.
Can I add other pie fillings or fruits?
Absolutely! This no churn ice cream technique works well with other fruit fillings like cherry, apple, or peach, so feel free to experiment with your favorite pie flavors.
Do I need an ice cream maker?
Not at all! This recipe is designed specifically to make rich, creamy ice cream without any churning equipment, making it perfect for home cooks of all levels.
Final Thoughts
This No Churn Blueberry Pie Ice Cream Recipe is a delightful way to capture the essence of summer pie with minimal effort and maximum flavor. It’s creamy, fruity, and satisfyingly crunchy all in one, and it’s sure to become a beloved staple in your recipe collection. So grab your fresh blueberries and graham crackers, and get ready to impress yourself and your loved ones with this homemade frozen treat!
Print
No Churn Blueberry Pie Ice Cream Recipe
This No Churn Blueberry Pie Ice Cream is a delightful homemade treat combining sweet blueberry pie filling, creamy vanilla ice cream, and crunchy graham cracker swirls. It requires no ice cream maker and is perfect for berry lovers looking for a refreshing and easy frozen dessert.
- Total Time: 4 hours 40 minutes
- Yield: 12 servings
Ingredients
Blueberry Pie Filling
- 3 cups fresh blueberries
- ½ cup sugar
- 2 tablespoons water
- 1 tablespoon corn starch
Vanilla Ice Cream Base
- 2 cups heavy whipping cream
- 14 ounces sweetened condensed milk
- 1 teaspoon vanilla extract
- ¼ teaspoon salt
Mix-ins
- 5 graham crackers, crushed
Instructions
- Prepare Blueberry Pie Filling: In a medium saucepan over medium heat, combine the blueberries, sugar, water, and corn starch. Stir occasionally and gently crush some berries with the back of a spatula to release juices. Cook for 10-15 minutes until the mixture thickens. Transfer to a small bowl and chill in the refrigerator until completely cooled.
- Whip the Cream: Using a stand mixer fitted with the whisk attachment, whip the heavy cream on high speed until stiff peaks form, about 1-2 minutes. Place the whipped cream bowl in the refrigerator while preparing the ice cream base.
- Make Ice Cream Base: In a large bowl, whisk together the sweetened condensed milk, vanilla extract, and salt until smooth. Fold in half a cup of whipped cream gently using a rubber spatula, then fold in the remaining whipped cream until fully combined and smooth.
- Assemble Layers: Spread half of the ice cream mixture evenly into a bread pan. Spoon half of the chilled blueberry pie filling over it, then sprinkle half of the crushed graham crackers. Use a toothpick or butter knife to gently swirl the filling and crackers into the ice cream base.
- Repeat Layers: Add the remaining ice cream mixture on top, followed by the remaining blueberry pie filling and crushed graham crackers. Swirl again gently on top for a marbled effect.
- Freeze: Cover the pan tightly with plastic wrap and then aluminum foil. Freeze for at least 4 hours, preferably overnight, until firm and scoopable.
Notes
- For best texture, ensure the blueberry filling is completely cooled before layering.
- Use fresh or frozen blueberries, but thaw and drain if using frozen.
- You can substitute graham crackers with digestive biscuits if desired.
- This ice cream is best stored in an airtight container to prevent freezer burn.
- Allow the ice cream to sit at room temperature for 5-10 minutes before scooping for easier serving.
- Prep Time: 25 minutes
- Cook Time: 15 minutes
- Category: Dessert
- Method: No-Cook
- Cuisine: American
- Diet: Vegetarian