If you’ve ever wondered how to capture the vibrant flavor of pomegranates in a jar, this Homemade Pomegranate Jelly Recipe is just the answer. It transforms fresh or store-bought pomegranate juice into a beautifully clear, glossy jelly with the perfect balance of sweet and tart. Whether you’re topping your morning toast, dolloping it on desserts, or gifting it to friends, this jelly’s rich ruby color and delightful wobble will make it a standout in your kitchen. Plus, making it yourself means you control every ingredient, ensuring a pure and natural treat that’s truly special.
Ingredients You’ll Need
Getting started on this homemade jelly is as simple as gathering a few essential ingredients. Each one plays its role in creating that luscious texture, perfect gel, and that unmistakable pomegranate punch.
- 5 cups pomegranate juice: Use pure juice with no added sugar to get the best natural flavor and vibrant color.
- 7 cups white sugar: This is crucial for sweetness and helps the jelly set just right.
- 1.75 ounces dry regular pectin (1 packet): The magic agent that gives the jelly its perfect wobbly consistency.
- 1 tsp unsalted butter (optional): Adds a touch of richness and helps reduce foam during cooking for a clearer final jelly.
How to Make Homemade Pomegranate Jelly Recipe
Step 1: Prepare Your Jars and Juice
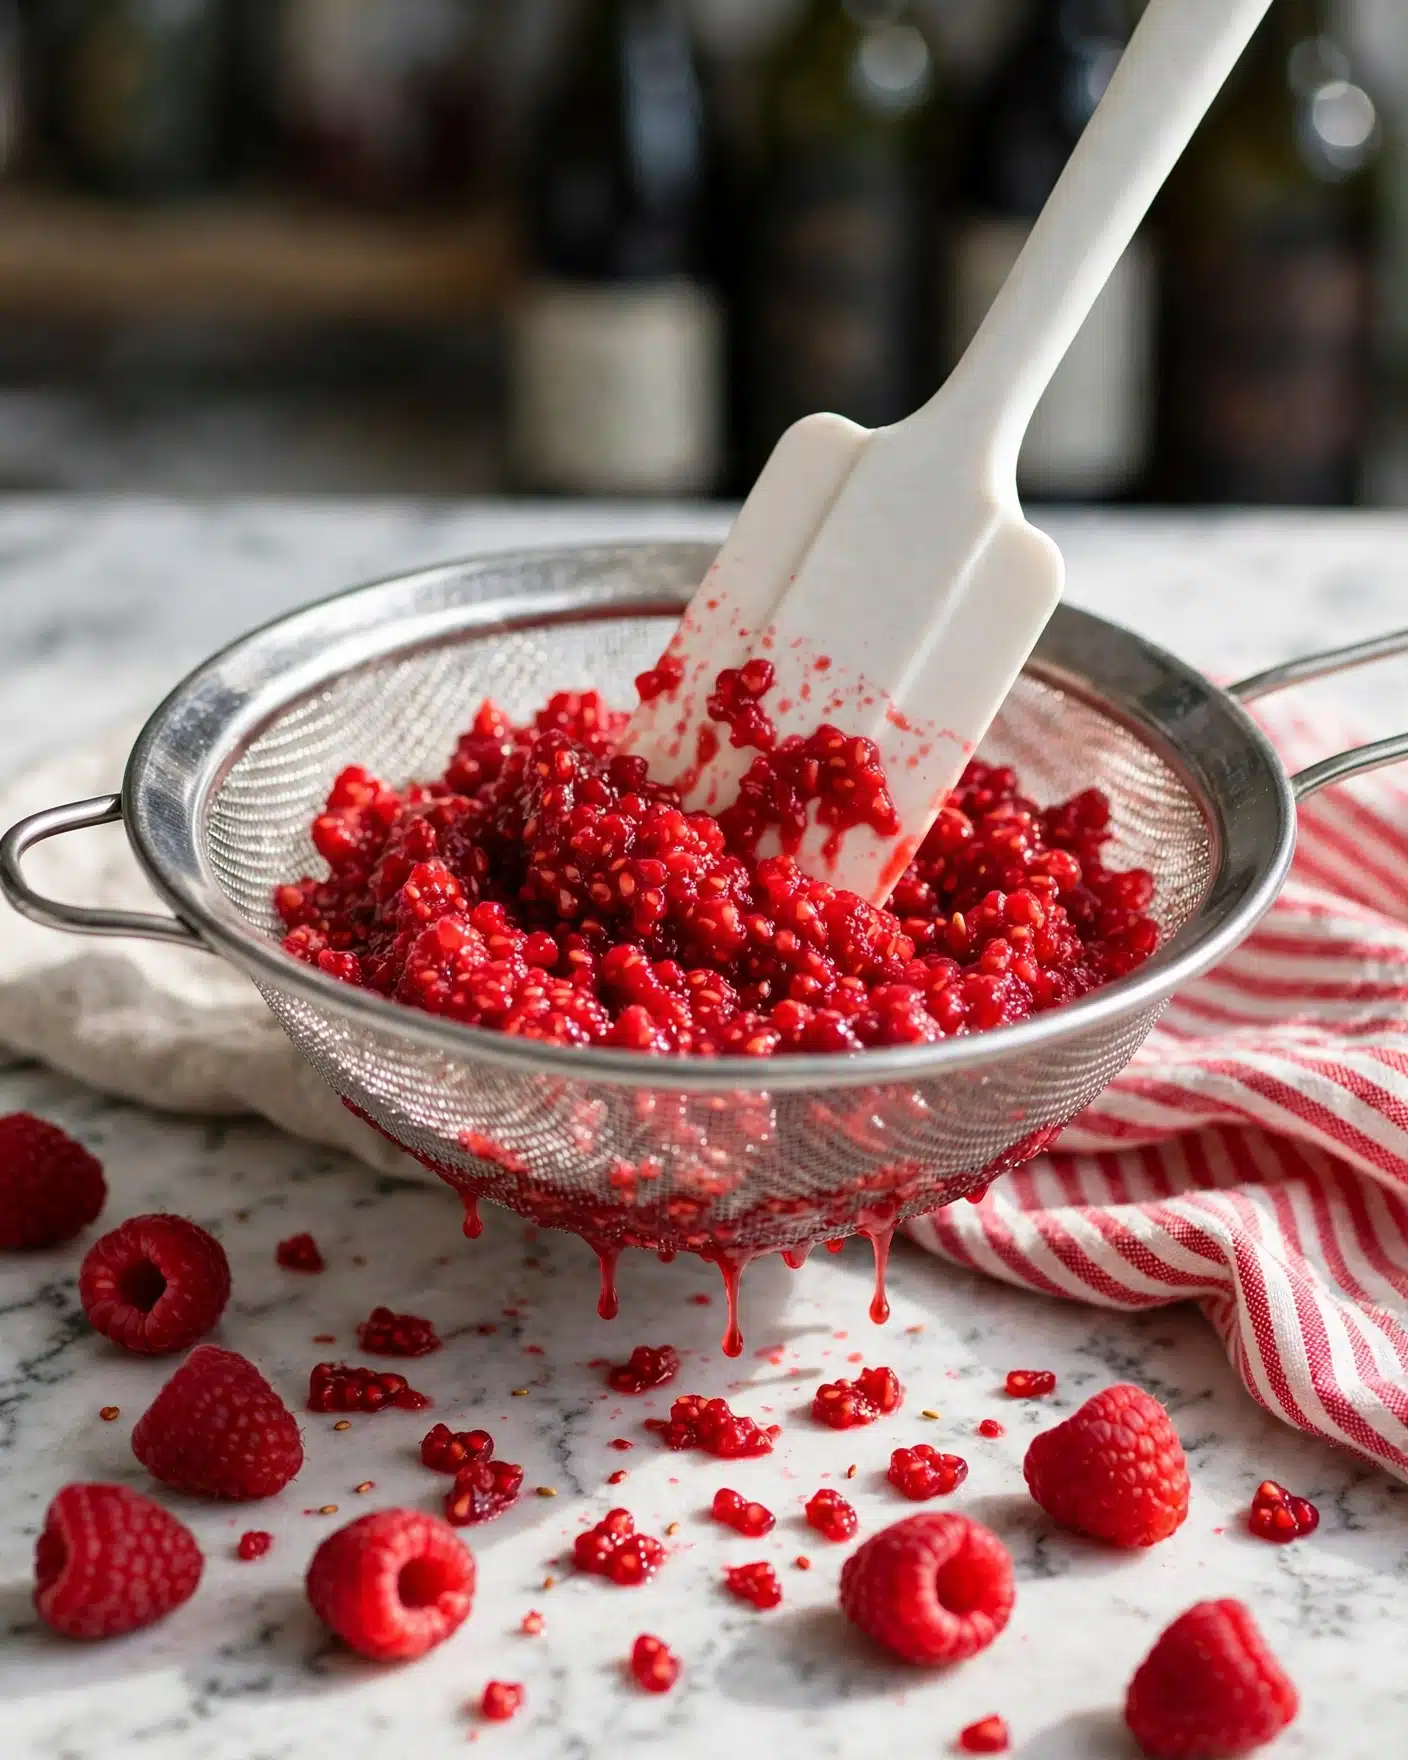
Before you even touch the stove, make sure your pint jars, screw bands, and seals are cleaned thoroughly with warm soapy water. Dry them on a clean towel and if you’re water bath canning, prepare a large pot with boiling water that can cover your jars by at least an inch. For fresh juice, crush pomegranate seeds in a blender and strain through a fine mesh sieve to get that pure, ruby-red nectar ready for the stove.
Step 2: Combine Juice, Pectin, and Butter
In a medium pot, pour in the pomegranate juice and sprinkle in the pectin. If you’re using butter, add it now to reduce foam during cooking. Stir well and bring this mixture to a boil over medium-high heat, stirring occasionally to prevent sticking.
Step 3: Boil and Add Sugar
Once your mixture reaches a full rolling boil, quickly add the sugar, continuing to stir so it dissolves completely. Keep stirring and allow it to return to a boil. The key here is timing precisely—once boiling again, cook for exactly 2 and a half minutes to get the perfect jiggle and set for your jelly.
Step 4: Skim Foam and Fill Jars
Removing the foam might feel a bit like fussing, but it makes your jars look beautifully clear and appetizing. Use a spoon to gently skim the foam off the top. Then, ladle the hot jelly into your warm jars, leaving about a 1/4 inch of headspace. Wipe the rims clean, then carefully place the seals and screw bands on, tightening them just enough to hold.
Step 5: Process Your Jars (Optional Water Bath)
Submerge your filled jars in the boiling water bath for 10 minutes to ensure long shelf life and safe sealing. After removing the jars, let them cool undisturbed until sealed. When unopened, your homemade pomegranate jelly can last up to a year stored in a cool cupboard, and about a month in the fridge once opened.
How to Serve Homemade Pomegranate Jelly Recipe
Garnishes
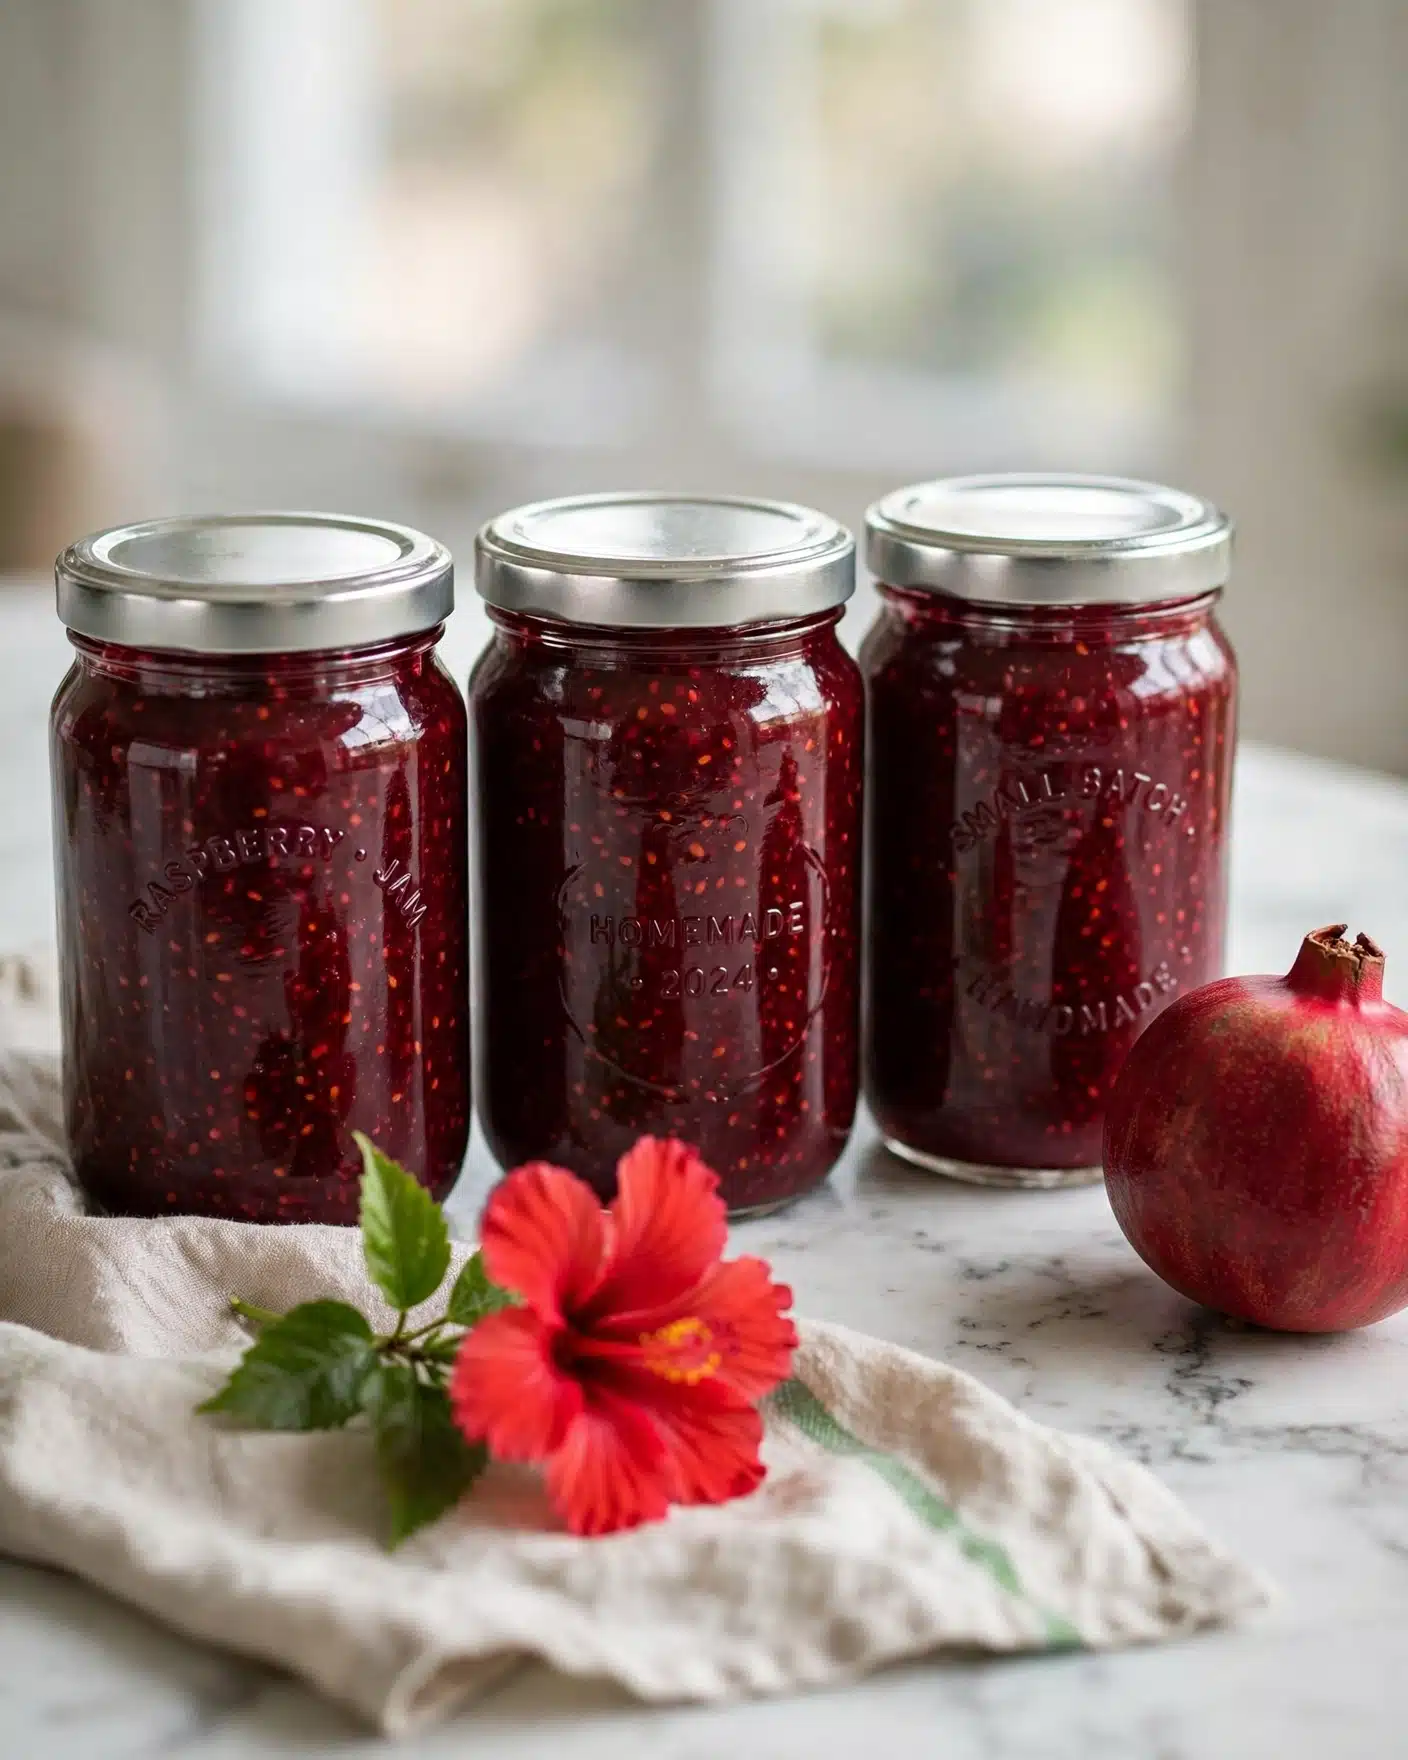
A simple dollop of this jelly deserves a little extra flair. Try garnishing with fresh pomegranate seeds or a sprig of mint when serving to elevate both visual appeal and flavor contrast. These little touches turn your homemade jelly into a show-stopping spread.
Side Dishes
Homemade pomegranate jelly is incredibly versatile and pairs wonderfully with a variety of dishes. Spread it on warm buttered toast for a classic breakfast treat, serve it alongside sharp cheeses on a charcuterie board, or even spoon it over vanilla ice cream or yogurt to add a sweet and tangy zing.
Creative Ways to Present
Beyond the usual, try swirling this jelly into whipped cream for a stunning dessert topping, or brush it over grilled fruit for added glaze and flavor. You can also incorporate it into salad dressings or cocktail syrups to surprise your guests with its complexity and natural sweetness.
Make Ahead and Storage
Storing Leftovers
If you find yourself with extra jelly, no worries! Store it in airtight jars in the refrigerator, where it will stay fresh and delicious for up to a month. Remember to always use a clean spoon to avoid contamination and maintain quality.
Freezing
This Homemade Pomegranate Jelly Recipe can be frozen if you want to save it for later or prepare in bulk. Let the jelly cool completely before transferring it to freezer-safe containers, leaving some headspace for expansion. Properly frozen, it will keep for about one year without loss of flavor or texture.
Reheating
When you’re ready to enjoy your frozen jelly, thaw it overnight in the refrigerator. It doesn’t typically require reheating unless you’re using it as a glaze or in cooking. If you do warm it slightly, do so gently over low heat to maintain the jelly’s beautiful texture.
FAQs
Can I use fresh pomegranates instead of store-bought juice?
Absolutely! Crushing fresh pomegranate seeds and straining the juice delivers a vibrant and fresh flavor. Just be sure to strain well to avoid pulp or seeds in your jelly.
Why do I need pectin for this recipe?
Pectin is a natural thickening agent that helps the jelly set properly. Without it, your jelly might stay runny and won’t hold that perfect wobble everyone loves.
Is the butter necessary in this recipe?
Butter is optional but recommended to minimize foam during the boil. It makes skimming easier and results in clearer, more attractive jelly, but the jelly will set fine without it.
How long can I store homemade pomegranate jelly?
If sealed and stored properly in a cool, dark place, unopened jars can last up to one year. Once opened, keep it refrigerated and consume within one month for the best taste and safety.
Can I adjust the sweetness in the jelly?
While you can experiment slightly with sugar levels, keep in mind that sugar not only sweetens but also helps the jelly set and preserves it. Reducing sugar too much might affect texture and shelf life.
Final Thoughts
There’s something truly rewarding about crafting your own Homemade Pomegranate Jelly Recipe. It’s not just about the end product but the process—the aroma filling your kitchen, the anticipation of that first spoonful, and sharing it with loved ones. Once you try making this jelly, it will quickly become a beloved staple that brings a pop of color and a burst of flavor to your meals. So, gather your ingredients, roll up your sleeves, and dive into this delicious adventure!
Print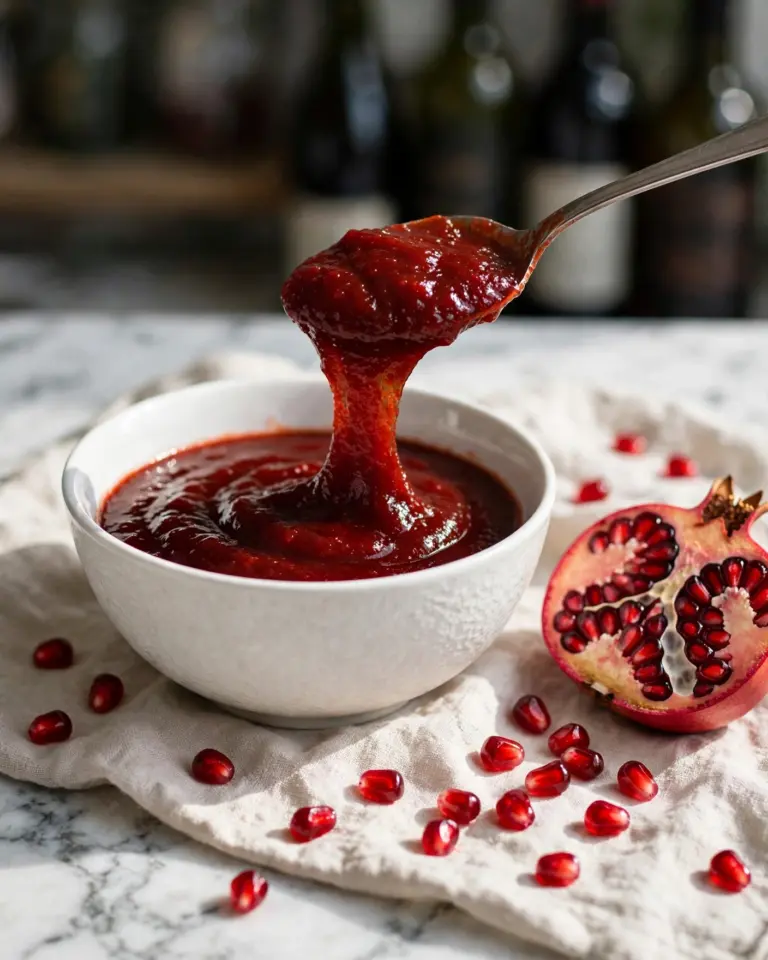
Homemade Pomegranate Jelly Recipe
This homemade pomegranate jelly recipe yields a sweet, tart, and glossy jelly with a perfect clear wobble. Easy to prepare with fresh or store-bought pomegranate juice, it’s ideal as a condiment or spread for breakfast and desserts. The recipe includes optional water bath canning for long-term storage and tips to reduce foam for a neater finish.
- Total Time: 40 minutes
- Yield: 64 ounces (4 pint jars)
Ingredients
Jelly Ingredients
- 5 cups pomegranate juice, pure (no sugar added if buying from store)
- 7 cups white sugar
- 1.75 ounces dry regular pectin (1 packet)
- 1 tsp unsalted butter (optional, for reducing foam)
Instructions
- Prepare jars and canning setup: Wash four pint jars, screw bands, and seals with warm soapy water. Set them on a clean kitchen towel to dry. If water bath canning, prepare a large pot with enough boiling water to cover jars by 1 inch.
- Extract juice (if using fresh pomegranates): Crush fresh pomegranate seeds in a blender or food processor and strain through a fine mesh sieve to collect the juice.
- Cook jelly base: In a second pot, combine pomegranate juice, dry pectin, and butter if using. Bring to a boil over medium-high heat, stirring occasionally.
- Warm jars: Submerge the clean jars in boiling water for a few minutes to warm them, then remove and place on a clean towel to dry.
- Add sugar and boil: Once the juice mixture is boiling, add the sugar and stir to dissolve. Continue stirring until it returns to a boil. Start timing and cook for exactly 2½ minutes.
- Remove foam: Remove the pot from heat and skim off any foam from the surface to improve the jelly’s appearance.
- Fill jars: Ladle the hot jelly into the warm jars, leaving ¼ inch headspace. Wipe rims clean, then apply seals and screw bands tightly by hand.
- Water bath canning (optional): Submerge the sealed jars in boiling water for 10 minutes. Remove and let sit until sealed. Store unopened jars in a cupboard for up to 1 year. Once opened, refrigerate and use within 1 month.
Notes
- Butter reduces foam produced during boiling and makes skimming easier but is optional.
- New Kerr and Ball jar seals do not require prepping in simmering water, but check your seal manufacturer’s instructions.
- If skipping water bath canning, freeze the jelly for up to 1 year. Allow it to cool and leave ½ to 1 inch headspace to allow for expansion.
- For a firmer jelly set, increase the cooking time to 3 minutes after adding sugar.
- Prep Time: 10 minutes
- Cook Time: 20 minutes
- Category: Condiment
- Method: Stovetop
- Cuisine: American