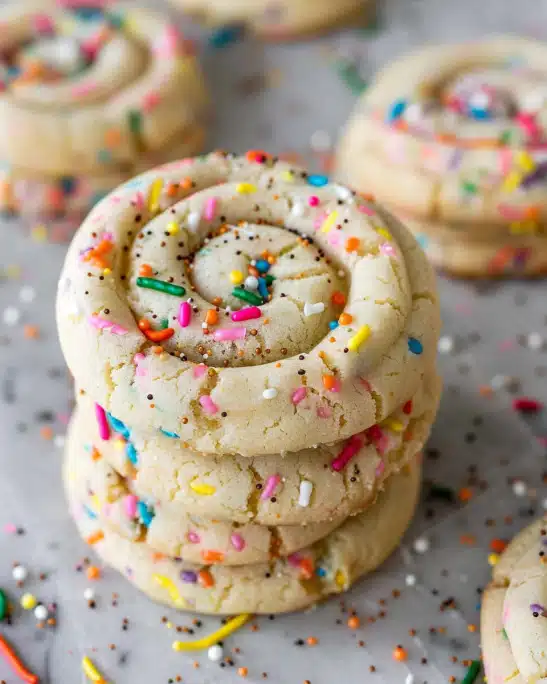
If you’re on the hunt for a dessert that feels like a celebration in a single-serving treat, then you absolutely must try this Easy Vegan Dot Cake Mug Cakes Recipe. These delightful little cakes are fluffy, dairy-free, and topped with a fun, colorful layer of ice cream and sprinkles that bring a nostalgic joy to every bite. What I love most is how this recipe combines simplicity with whimsy, creating a dessert that’s as quick to make as it is charming to serve. Whether you’re a seasoned vegan or just curious about dairy-free sweets, this dot cake mug cake is a total winner that’s bound to brighten your day.
Ingredients You’ll Need
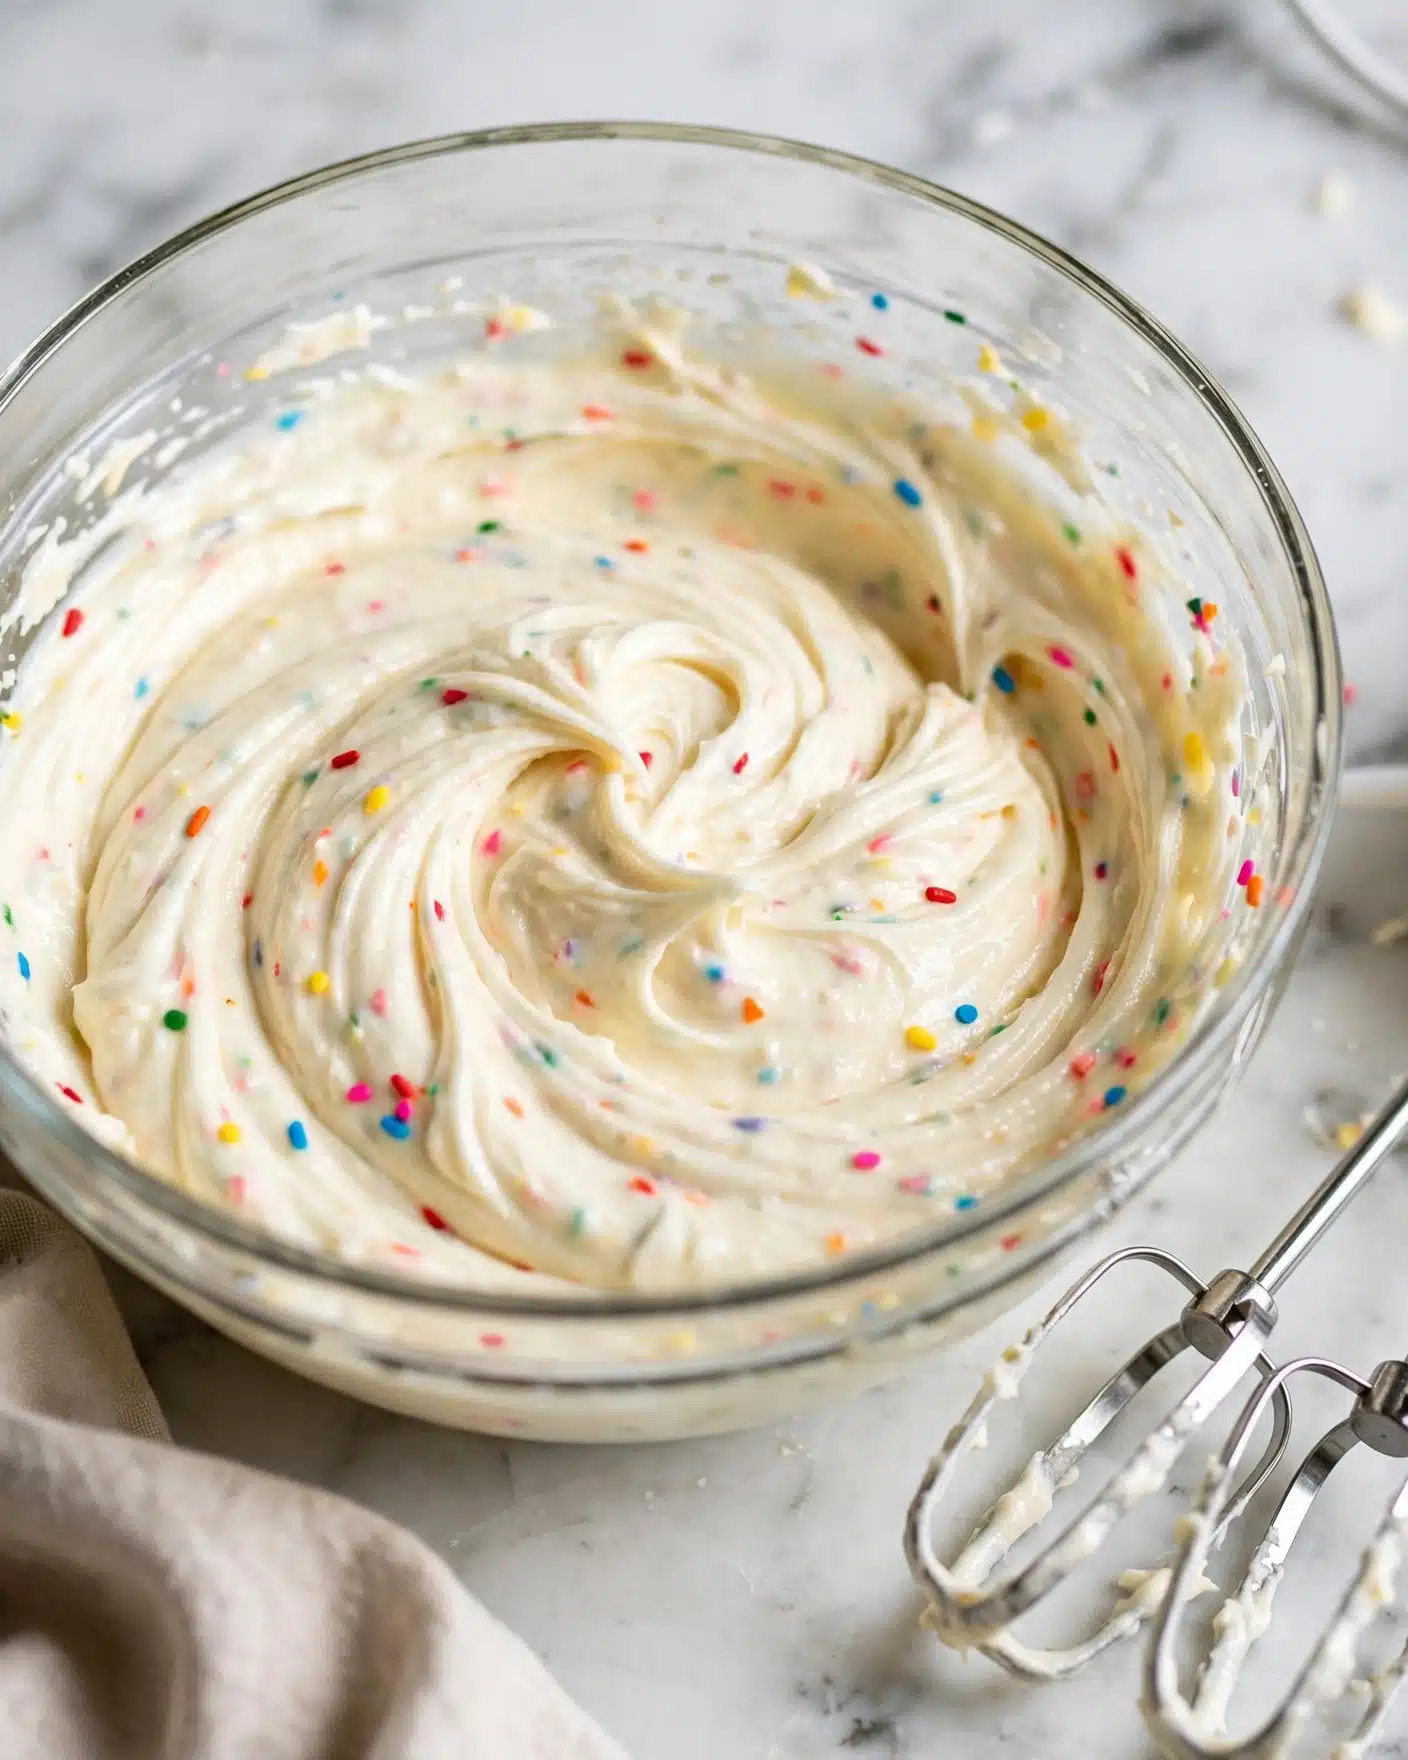
The beauty of this Easy Vegan Dot Cake Mug Cakes Recipe is in its straightforward ingredients, each playing a crucial role in delivering flavor, texture, and that irresistible dairy-free creaminess. These basics come together effortlessly to create the perfect soft cake base with a dreamy ice cream finish.
- Dairy free butter (35 grams): Provides richness and helps create a tender crumb in the cake.
- White sugar (2 tablespoons): Sweetens the cake without overpowering the delicate vanilla notes.
- Vanilla extract (1 teaspoon): Adds warm, aromatic flavor that enhances the overall taste.
- Dairy free milk (2 tablespoons): Keeps the batter smooth and moist without dairy.
- Plain flour (¼ cup): The cake’s structure foundation ensuring softness and rise.
- Baking powder (½ teaspoon): Gives the cake a light, fluffy texture by helping it rise.
- Dairy free vanilla ice cream (2–3 scoops, slightly softened): Creates a creamy topping that sets into a playful layer after freezing.
- 100s and 1000s sprinkles: For that fun, colorful finishing touch that makes the cake truly special.
How to Make Easy Vegan Dot Cake Mug Cakes Recipe
Step 1: Cream the Butter and Sugar
Start by beating the dairy free butter and white sugar together using electric beaters until the mixture becomes lighter in color and fluffy in texture. This step is crucial because it creates tiny air pockets that will help your mug cake rise beautifully.
Step 2: Mix in the Vanilla and Milk
Once your butter and sugar are fluffy, add the vanilla extract and dairy free milk, blending everything gently until combined. These ingredients add flavor and moisture to keep the cake tender.
Step 3: Add the Dry Ingredients
Next, sift in the plain flour and baking powder, then stir just until the batter is smooth and combined. Be careful not to overmix here; overworking the batter can make the cake dense instead of light and soft.
Step 4: Divide and Microwave
Divide the batter evenly between two ramekins that have been lightly greased. Microwave one ramekin at a time for around 75 seconds, adjusting as needed for your microwave’s power. The cake should appear set on top but remain soft inside, finishing to perfection as it cools.
Step 5: Set the Ice Cream Layer
After allowing the cakes to cool slightly for about 10 minutes, scoop a generous layer of slightly softened dairy free vanilla ice cream on top of each cake. Use a knife or spatula to gently spread the ice cream into a flat, even layer. Place the cakes in the freezer for roughly 3 hours until the ice cream is fully set.
Step 6: Decorate with Sprinkles and Serve
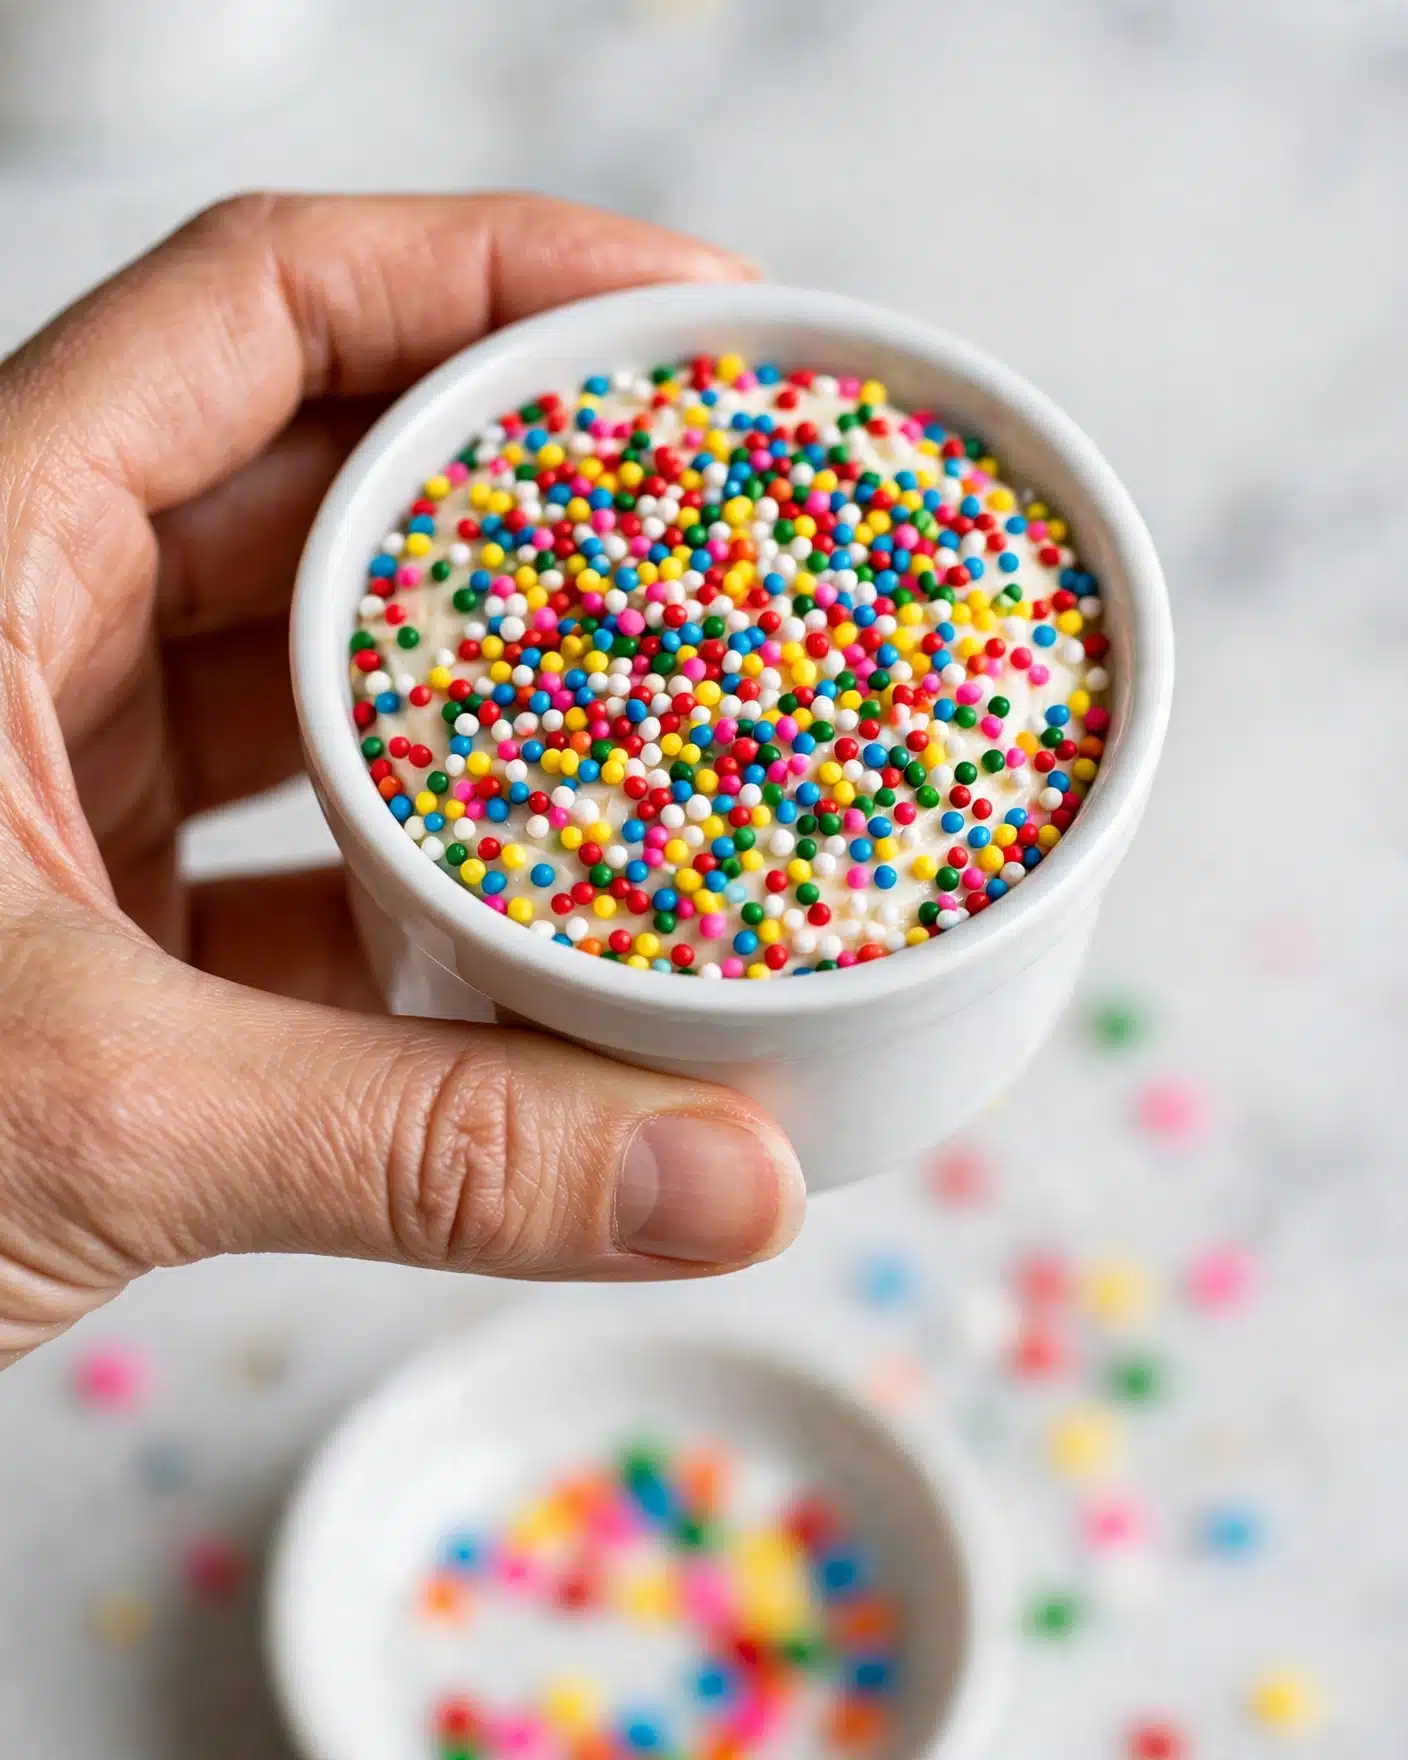
Scatter 100s and 1000s sprinkles on a plate. Remove the cakes from the freezer, then carefully dip the ice cream layer into the sprinkles to coat the top evenly. Press gently to ensure they stick, then serve your adorable dot cake mug cakes immediately to impress your guests or indulge on your own.
How to Serve Easy Vegan Dot Cake Mug Cakes Recipe
Garnishes
The sprinkle-coated ice cream layer is already a showstopper, but for extra pizzazz, you can add fresh berries, a drizzle of dairy free chocolate sauce, or a sprinkle of finely chopped nuts. These additions bring unique flavors and textures that pair beautifully with the soft cake.
Side Dishes
This mug cake works wonderfully as a standalone dessert, but if you want to offer variety, consider serving it alongside fresh fruit salad or a small scoop of vegan coconut whipped cream. These lighter accompaniments help balance the sweet richness of the cake.
Creative Ways to Present
For a fun twist, try layering several mini dot cake mug cakes in clear dessert glasses for a colorful parfait effect. You could also pipe the ice cream in swirls before freezing or use themed sprinkles to suit different occasions—kids’ parties, holidays, or cozy evenings in.
Make Ahead and Storage
Storing Leftovers
If you happen to have any leftover mug cakes (though rare!), cover them tightly with plastic wrap or transfer to an airtight container and keep them in the refrigerator for up to 2 days. The texture will be best enjoyed fresh but refrigerating helps keep the ice cream topping intact.
Freezing
You can freeze the assembled mug cakes after the ice cream layer has set. Wrap each cake securely in cling film and place in a freezer-safe container. Frozen, they’ll maintain their quality for up to 1 month, perfect for preparing treats in advance.
Reheating
To enjoy your leftover mug cake warm with the ice cream still delicious, remove it from the freezer and let it sit at room temperature for a few minutes. Then microwave briefly (about 20 seconds), careful not to melt the ice cream completely. This way, you get the best of both textures: warm cake and cool topping.
FAQs
Can I use any type of dairy free butter?
Yes! Most plant-based butters work well here. Just be sure to use a spreadable variety for easy creaming and a buttery flavor that complements the cake.
What substitutes can I use for the plain flour?
Plain flour is preferred for the fluffiest result, but you could try a gluten-free flour blend if you need a gluten-free option. Just check if your blend contains baking powder or if you need to adjust the leavening.
Is it possible to make this recipe without a microwave?
Absolutely! You can bake the batter in a preheated oven at 180°C (350°F) in small ramekins for about 15-20 minutes. Keep an eye on the cakes so they don’t overbake.
Can I use other flavors of dairy free ice cream?
Definitely! Although vanilla ice cream complements the vanilla in the cake perfectly, flavors like chocolate, strawberry, or caramel can add an exciting twist to your dot cake mug cakes.
How do I prevent the sprinkles from falling off?
Make sure the ice cream layer is slightly softened but not too melted when you dip it in sprinkles, and press gently to help them stick. Freezing the cake thoroughly before dipping also ensures the sprinkles adhere well.
Final Thoughts
There’s something truly special about an Easy Vegan Dot Cake Mug Cakes Recipe that feels like a small celebration every time you make it. It’s quick, fun, and so satisfying—plus, it’s perfect for when you want a charming personal dessert without fuss. Give this recipe a try and watch those dots of colorful sprinkles light up your day and your taste buds!
Print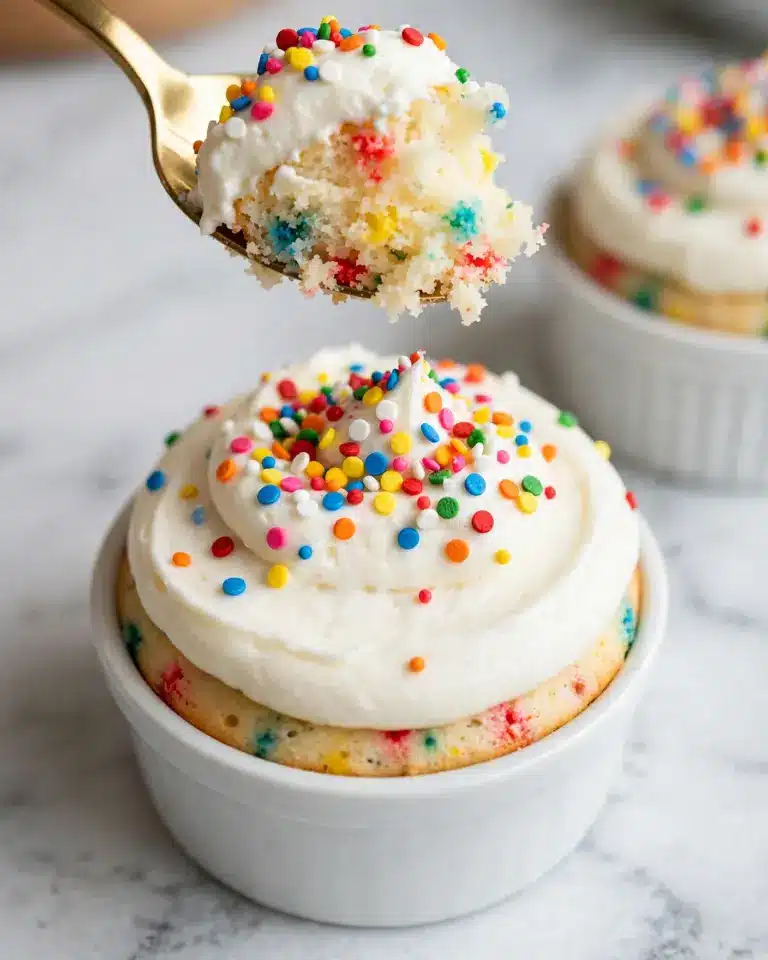
Easy Vegan Dot Cake Mug Cakes Recipe
This Easy Viral Dot Cake Mug Cake recipe is a delightful dairy-free treat that combines a soft, fluffy mug cake base with a creamy vanilla ice cream topping decorated with colorful sprinkles. Perfect for a quick, indulgent dessert, this recipe requires minimal ingredients and cooks in the microwave, making it an ideal sweet fix for any time of day.
- Total Time: 3 hours 17 minutes
- Yield: 2 servings
Ingredients
Cake Batter
- 35 grams dairy free butter (see notes)
- 2 tablespoons white sugar
- 1 teaspoon vanilla extract
- 2 tablespoons dairy free milk
- ¼ cup plain flour
- ½ teaspoon baking powder
Topping
- 2–3 scoops dairy free vanilla ice cream (slightly softened)
- 100s and 1000s sprinkles (for decorating)
Instructions
- Prepare Batter: In a small bowl, beat the dairy free butter and white sugar together using electric beaters until lighter and fluffy. This helps to incorporate air and create a light texture.
- Add Wet Ingredients & Dry Mix: Mix in the vanilla extract and dairy free milk until combined. Then, add plain flour and baking powder and stir just until smooth to avoid overmixing and developing gluten.
- Divide Batter: Evenly divide the batter between two lightly greased ramekins to ensure easy release and uniform cooking.
- Microwave Cooking: Microwave one ramekin at a time for about 75 seconds, adjusting time based on your microwave wattage. The cakes should appear set on top but remain soft, as residual heat will complete cooking.
- Cool & Ice Cream Layer: Let the cakes cool for 10 minutes, then place a scoop or two of softened dairy-free vanilla ice cream on top. Smooth the ice cream into a flat, even layer with a knife or spatula.
- Freeze to Set: Pop the cakes into the freezer until the ice cream is fully set, approximately 3 hours, ensuring a firm topping.
- Decorate & Serve: Scatter 100s and 1000s sprinkles on a plate. Remove the cakes from the freezer and dip the flat ice cream top into the sprinkles, pressing gently to make them stick. Serve immediately for a colorful, festive dessert.
Notes
- Use good quality dairy free butter for best flavor and texture.
- If you don’t have electric beaters, whisk the butter and sugar vigorously by hand until fluffy.
- Microwave wattages vary; adjust cooking times as needed to prevent overcooking.
- For a richer flavor, try using coconut or almond dairy free milk.
- Prep Time: 15 minutes
- Cook Time: 2 minutes
- Category: Dessert
- Method: Microwaving
- Cuisine: Western
- Diet: Dairy Free