There is something truly magical about the warming, spicy sweetness of a freshly brewed cup of cider, and this Easy Homemade Apple Cider Recipe captures that cozy comfort perfectly. Imagine filling your kitchen with the inviting aromas of cinnamon, allspice, and simmered apples while effortlessly crafting a beverage that feels like a hug in a mug. Whether you’re looking to impress guests or simply enjoy a soothing treat on a crisp day, this recipe is an absolute must-try that brings out the best of autumn’s bounty with minimal fuss.
Ingredients You’ll Need
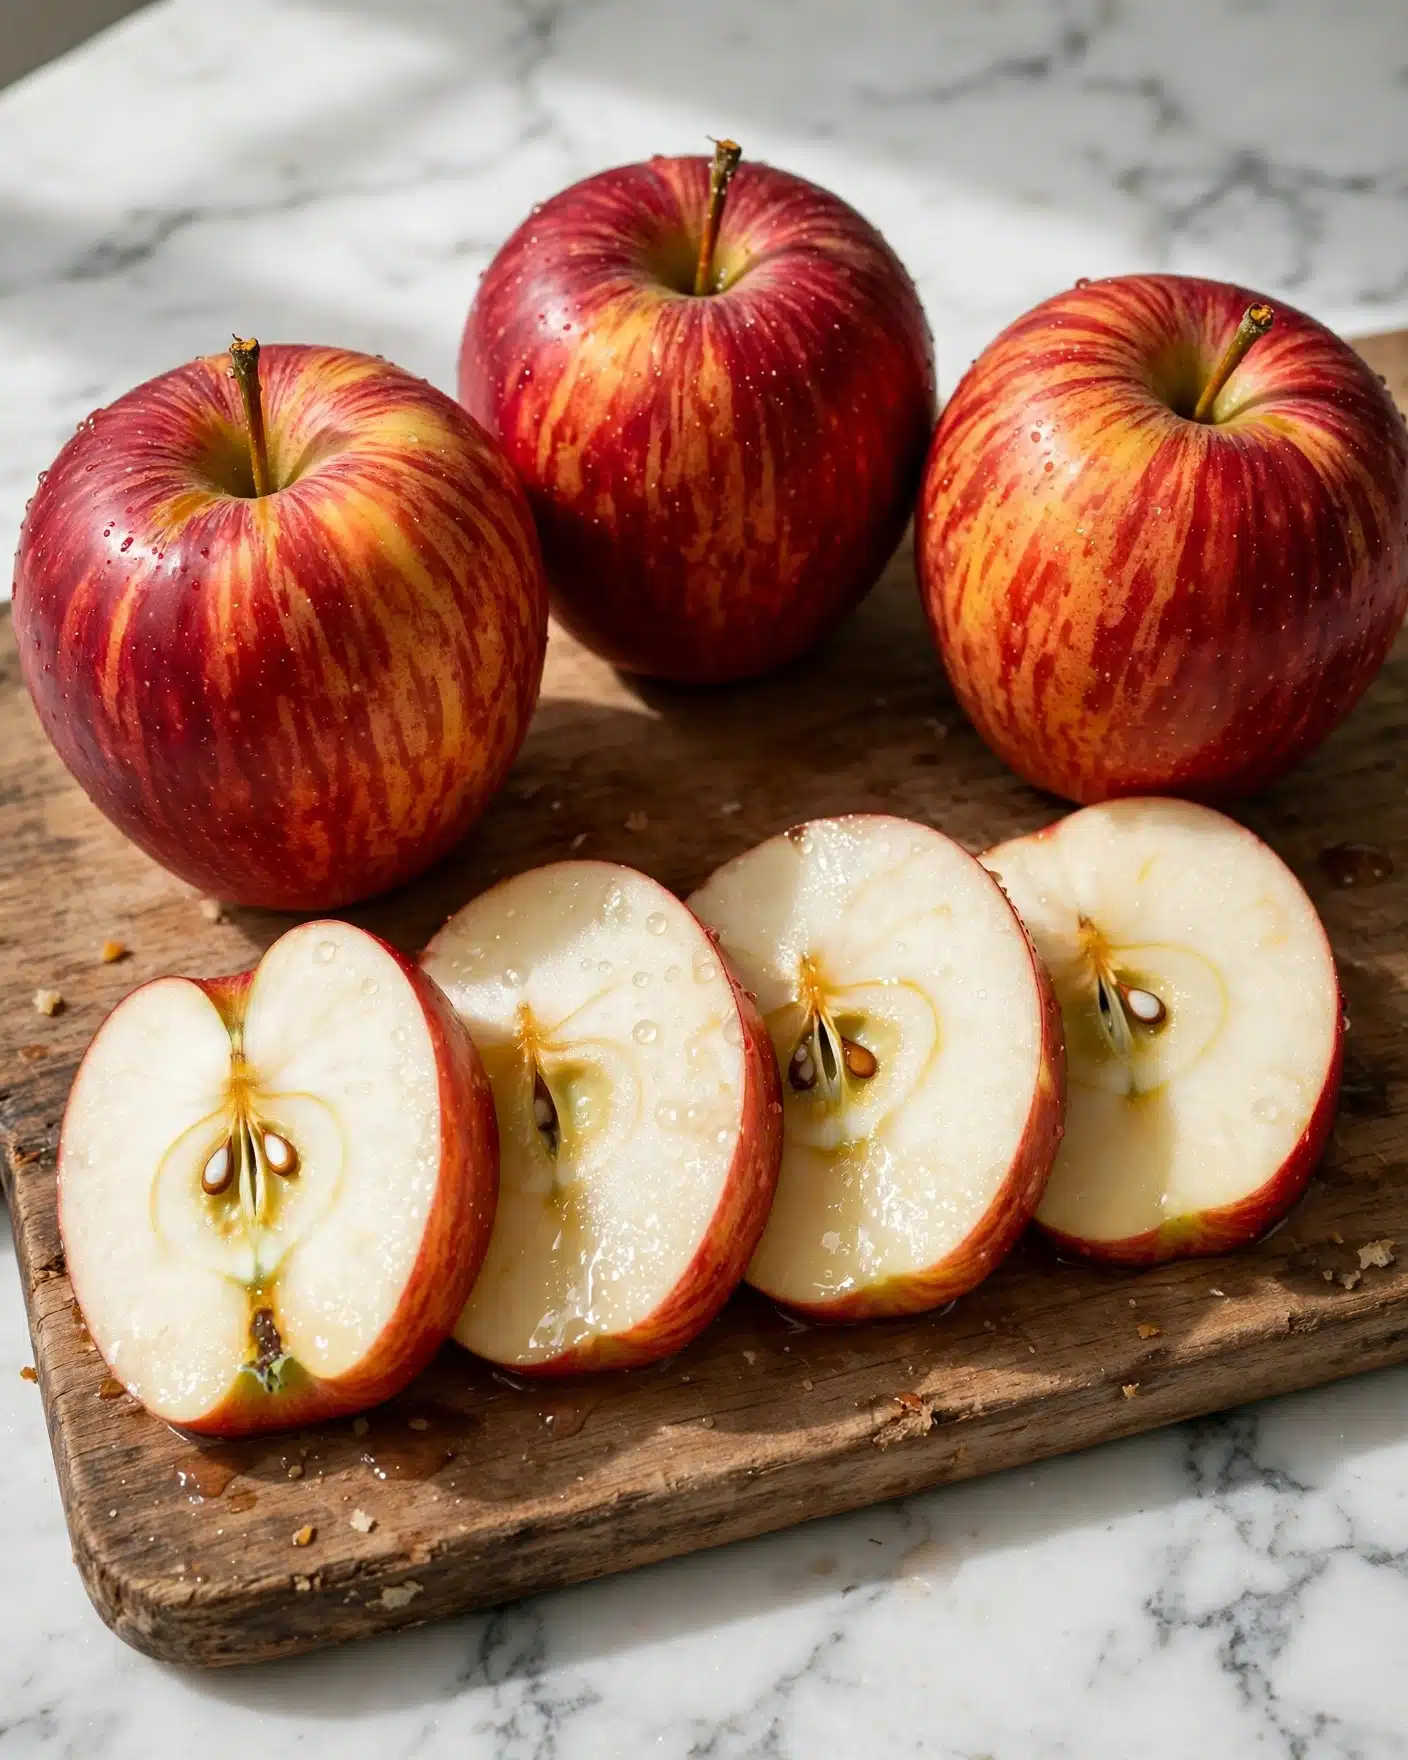
Gathering your ingredients is the first joyful step toward making this classic drink. Each is simple yet essential, combining to create the perfect balance of sweetness, spice, and natural apple goodness that defines this Easy Homemade Apple Cider Recipe.
- 9 medium apples, quartered: Use a mix of sweet and tart apples to deepen the flavor; no need to peel or core, saving you prep time.
- ½ cup light brown sugar: Adds just the right touch of caramel-like sweetness that complements the spices beautifully.
- 1 tablespoon allspice: A warm spice that enhances the cider’s complexity without overpowering the fruit.
- 3 cinnamon sticks: Essential for that classic cozy spice aroma that makes cider unforgettable.
- 12 cups water: The base that gently extracts the flavors while keeping the cider light and refreshing.
How to Make Easy Homemade Apple Cider Recipe
Step 1: Load up the Pot
Begin by tossing your quartered apples into a large stockpot or Dutch oven. There’s no peeling or coring needed here, which makes the process incredibly straightforward. The apples form the heart of the cider and provide all of its fruity richness.
Step 2: Combine with Sweetness and Spice
Pour in 12 cups of water, then stir in the brown sugar, allspice, and cinnamon sticks. This trio of spices and sweetener is what transforms the apples into that unmistakable smooth, flavorful cider you’re craving.
Step 3: Bring to a Boil
Turn the heat up and bring the mixture to a boil with the lid off. Let it bubble away for about 1 hour to soften the apples and start extracting flavors. This bubble session is key to building that rich, deep cider taste.
Step 4: Simmer with the Lid On
Once boiling has done its work, put the lid on, reduce the heat to low, and let your cider simmer for 2 hours. This slow simmer gently melds the ingredients together and releases the aromatic spices that will fill your home with irresistible warmth.
Step 5: Strain and Press
Turn off the heat and allow the mixture to cool for 10 to 15 minutes, making it easier to handle. Then carefully strain the liquid through a cheesecloth or fine mesh sieve into a large bowl or jug. Press down firmly on the apples to squeeze out every last drop of that flavorful cider.
Step 6: Bottle and Enjoy
Pour your freshly made cider into clean glass jars or bottles. Enjoy it immediately, either served warm by gently reheating in a saucepan or microwave, or chill it for a refreshing twist. This step completes your easy homemade apple cider recipe with a satisfying, delicious reward.
How to Serve Easy Homemade Apple Cider Recipe

Garnishes
Enhance your cider experience with simple garnishes like a cinnamon stick, a thin slice of apple, or even a star anise pod. These add a pop of color and extra aromatic notes that make every sip feel special and festive.
Side Dishes
Pair your cider with warm baked goods like cinnamon rolls, soft pretzels, or spice cake to amplify the cozy flavors. The sweet, spiced cider beautifully complements sweet or savory snacks that share similar autumn-inspired spices.
Creative Ways to Present
For a crowd-pleasing presentation, serve your cider in clear mugs or mason jars garnished with fresh fruit slices. You could also float a few cranberries or a sprig of rosemary in the mug for a festive touch that wows your guests.
Make Ahead and Storage
Storing Leftovers
Store any leftover cider in airtight jars or bottles in the fridge for up to 5 days. This allows you to enjoy that delicious homemade warmth well beyond the initial batch, perfect for busy days when you want a quick treat.
Freezing
If you want to keep your cider longer, it freezes beautifully. Use freezer-safe containers leaving some space for expansion. When you take it out, thaw overnight in the fridge for best texture and flavor.
Reheating
Reheat your cider gently on the stove over low heat or in short bursts in the microwave. Avoid bringing it back to a boil to preserve the delicate balance of spices and prevent bitterness.
FAQs
Can I use any type of apples for this recipe?
Absolutely! A combination of tart and sweet apples often yields the best flavor, but feel free to use whatever you have on hand. Each variety adds its own nuance to the cider.
Do I have to peel or core the apples?
No need to peel or core the apples. Quartering them and adding them whole saves time and helps extract maximum flavor during cooking.
Can I adjust the sweetness level?
Definitely. You can reduce or add more brown sugar depending on your taste. Keep in mind that the apples themselves contribute natural sweetness, so adjust gradually.
Is it possible to make this cider spicier?
Yes! Feel free to add extra cinnamon sticks, cloves, or even a pinch of nutmeg to customize the spice intensity to your liking.
How long can I keep homemade apple cider in the fridge?
Stored properly in airtight containers, your cider will stay fresh for about 5 days, allowing you to enjoy its comforting flavors throughout the week.
Final Thoughts
This Easy Homemade Apple Cider Recipe is a beautiful way to bring warmth and flavor into your daily routine. It’s straightforward, filled with natural ingredients, and delivers that perfect blend of sweet and spice that feels like fall in every sip. Give it a try—you’ll soon find it hard to go back to store-bought cider once you’ve tasted this homemade delight.
Print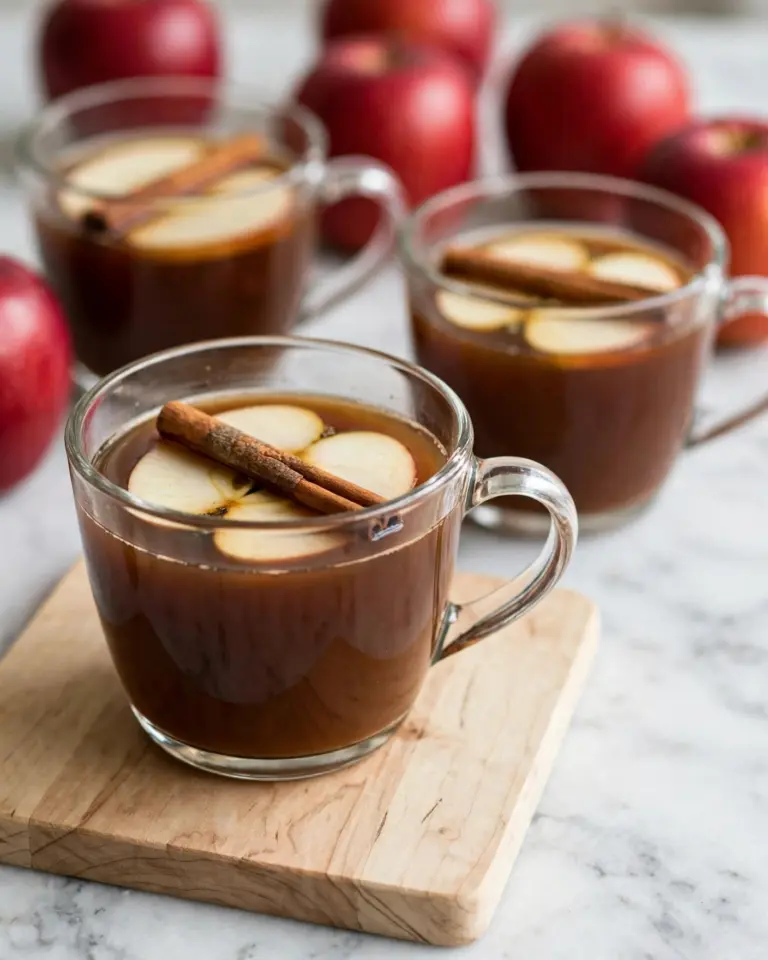
Easy Homemade Apple Cider Recipe
This easy homemade apple cider recipe is a comforting and flavorful fall favorite made by simmering fresh apples with warm spices like cinnamon and allspice. Perfect for cozy gatherings, this cider is naturally sweetened with light brown sugar and captures the essence of autumn in every sip.
- Total Time: 3 hours 10 minutes
- Yield: 6 servings
Ingredients
Ingredients
- 9 medium apples (quartered)
- ½ cup light brown sugar
- 1 tablespoon allspice
- 3 cinnamon sticks
- 12 cups water
Instructions
- Prepare the apples: Start by adding your quartered apples to a large stockpot or Dutch oven. There’s no need to peel or core the apples, as the simmering process will fully extract their flavor.
- Add ingredients and water: Pour in the 12 cups of water, then stir in the brown sugar, allspice, and cinnamon sticks to distribute the sweetness and spices evenly throughout the cider.
- Bring to boil: Place the pot over medium-high heat without the lid. Let the mixture come to a boil and bubble away for about 1 hour. This step softens the apples and intensifies the flavor profile.
- Simmer with lid: After boiling, cover the pot with the lid, reduce the heat to low, and let the cider simmer gently for 2 hours. This slow simmer allows the spices and apples to meld beautifully, filling your home with a delightful aroma.
- Cool and strain: Turn off the heat and allow the cider to cool for 10–15 minutes to make it safer and easier to handle. Then strain the mixture through a cheesecloth or fine mesh sieve into a large bowl or jug, pressing the apple solids firmly to extract maximum juice.
- Store and serve: Pour the strained cider into clean glass jars or bottles. You can enjoy it immediately by gently warming it in a saucepan or microwave. Refrigerate any leftovers for later enjoyment.
Notes
- No need to peel or core the apples as the simmering extracts all flavors.
- Use a cheesecloth or fine mesh sieve for a clearer cider.
- Store leftover cider in the refrigerator for up to one week.
- Reheat gently without boiling to preserve flavor.
- Experiment with different apple varieties for unique flavor combinations.
- Prep Time: 10 minutes
- Cook Time: 3 hours
- Category: Beverages
- Method: Stovetop
- Cuisine: American